Scan
To scan and upload a document, follow the steps below.
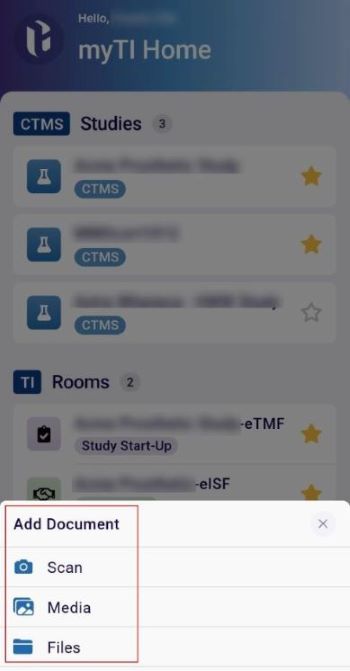
- On the myTI home screen, click on the +Add tab.
- Select the Scan option.
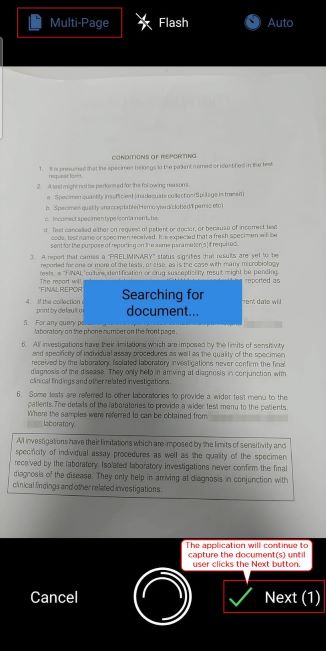
- Scan the required document and click on the Next button. Select the Multi-Page
option to scan multiple documents at a time.
- On the Document Preview page, perform the following actions if required else click on the
Next button to proceed further.
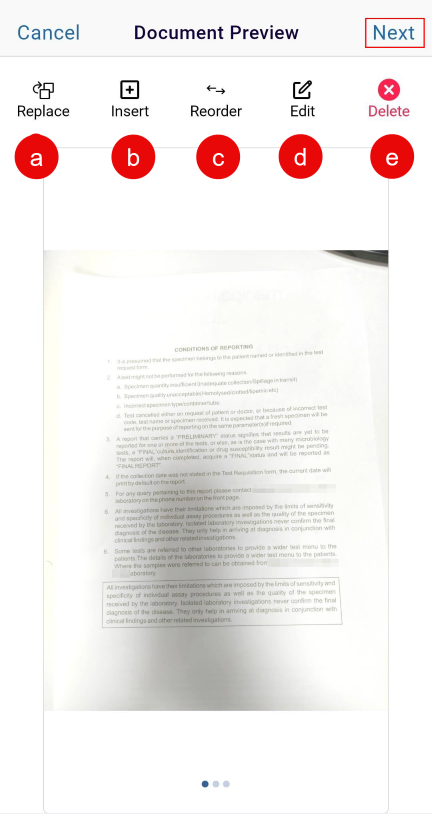
On the Document Preview, the following actions can be performed. (Refer to the sequence in the above image)
- Replace: Selecting the Replace option will discard the initially captured document and allow users to capture another document in place of the initial one.
- Insert: Selecting the Insert option will allow adding a document along with the initially captured document.
-
Reorder: The Reorder option allows rearranging the order of documents as per the
user's requirements. On the Reorder photos screen, rearrange the order of
documents by using the Drag and Drop option.
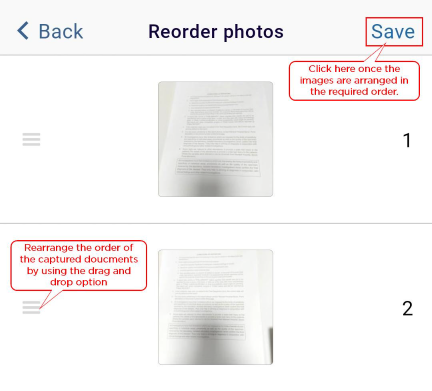
Note: The Reorder option becomes accessible if multiple documents are scanned, uploaded or inserted -
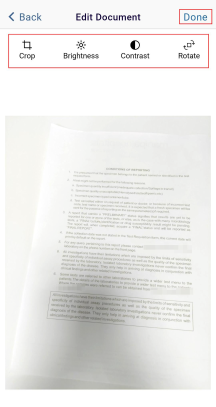
Edit: Selecting the Edit option will allow making aesthetic changes to the
captured document(s) on the Edit Document screen such as:
- Crop
- Brightness
- Contrast
- Rotate
-
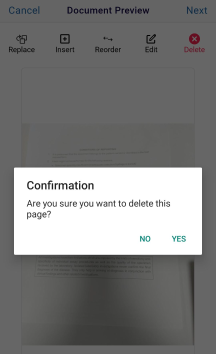
Delete: Selecting the Delete option will allow deleting the captured document.
Click on Delete > Yes to delete the document.
- Click on the Next button.
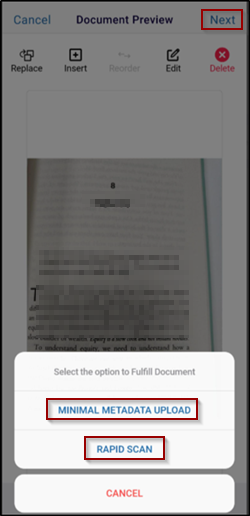
- On the Add Document screen, click on the Rapid Scan or Minimal Metadata Upload, once the charges are made, click on the Modify Document button to make changes to the document and click on the Next button once the changes are made.
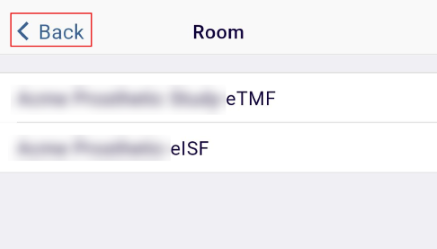
- On the Add Document screen, click on the Room* field.
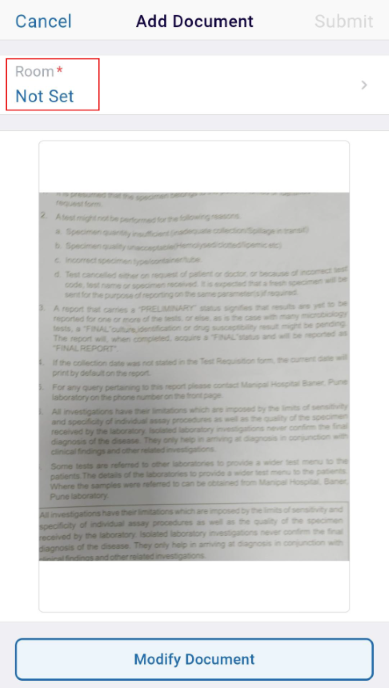
- Select a Room from the available list to associate the document with and click on the
<Back button.
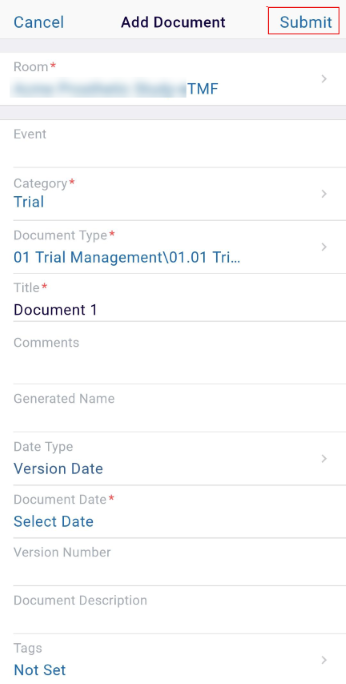
- Fill in the mandatory metadata fields highlighted with a red asterisk (*) mark and click
on the Submit button.
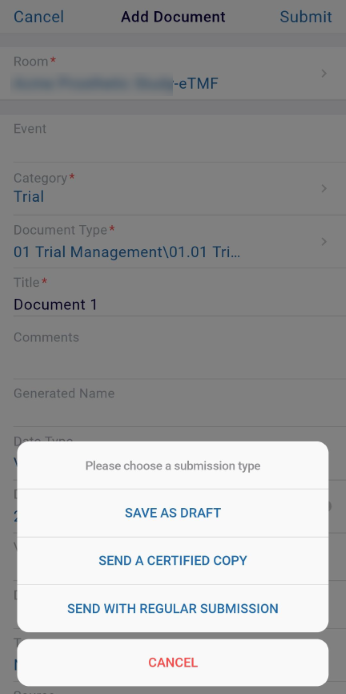
- Select a submission type from the available options.
- SAVE AS DRAFT
- SEND A CERTIFIED COPY
- SEND WITH REGULAR SUBMISSION
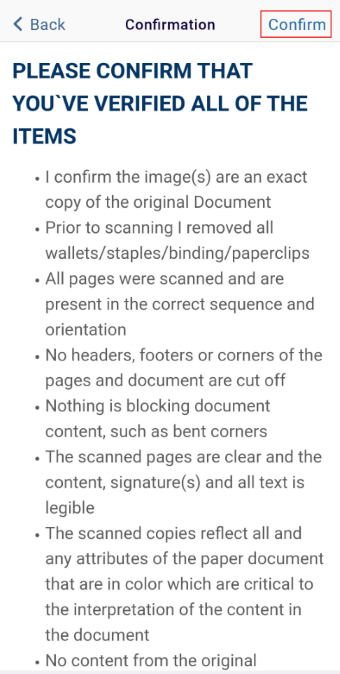
- If the user selects SEND A
CERTIFIED COPY, click on the Confirm button on the confirmation
screen.
- Enter the Username and Password and click on the SIGN IN
button.

- Upon successful submission, the application displays the corresponding notification
message.
- If the user selects the SEND WITH REGULAR SUBMISSION, the document is submitted without certifying and the application displays the corresponding success message.
Important
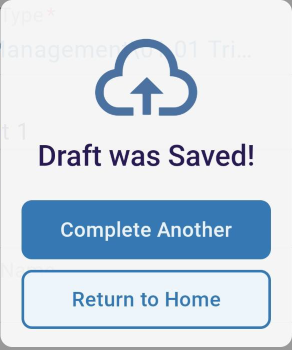
- If users select the SAVE AS DRAFT option, the application saves the document as a draft for future use.
- Once the document is successfully saved as a draft, users can select the Complete
Another option to upload another document or select the Return to Home option
to navigate back to the myTI home screen.
TransPerfect’s Trial Interactive is an industry leader in practical, global eClinical innovation
PRODUCTS
 Linkedin
 X
X
Didn’t find what you need?
Our dedicated Project Management and Client Services team will be available to meet your needs
24 hours a day, 7 days a week.
Toll Free:
(888) 391-5111
help@trialinteractive.com
© 2025 Trial Interactive. All Rights Reserved
