Inviting Contacts and Managing Security
In the world of clinical trials, there are diverse users, each with specific roles and responsibilities—some handle complex procedures, while others may only be responsible for reviewing and signing documents for a site. To ensure that each user can perform their duties efficiently and securely, it's essential to assign the appropriate access levels and privileges to a site.
Trial Interactive (TI) implements a streamlined process that aligns seamlessly with real-world clinical trial scenarios. It addresses key questions to define a user's role, such as:
- What is the size of the organization?
- Does the organization involve users who handle multiple roles or users who are assigned specific roles in a site?
- Does the user need to oversee the complete site activities, or is it enough for the user to only be a contact point on the site?
By addressing these questions, TI ensures that the user roles are well-defined and tailored to the organization’s specific needs, promoting efficient site management and enhancing overall trial execution.
Trial Interactive (TI) implements the following process to assign a combination of rights and privileges to site members to enable them to carry out their responsibilities:
- It allows two security privileges to be assigned to users – Editor and Reader.
- A reader is allowed read-only access, whereas an editor can perform various other advanced functionalities like adding documents and sending documents for review to activating sites.
- An Admin is a privileged role and is assigned to users only in specific cases discussed later in this guide.
To add users at the room level as an admin, follow the steps below.
- Login to Trial Interactive and enter the room.
- Click on the waffle menu and select the Users
Management module.
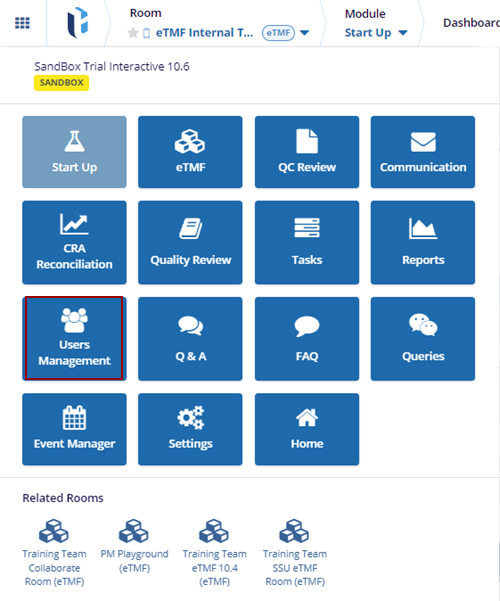
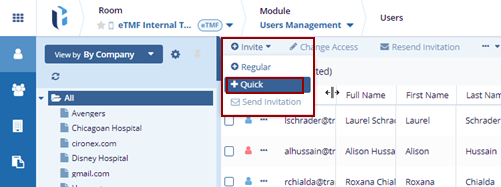
- Click on the +Invite button and select the
+Regular option.

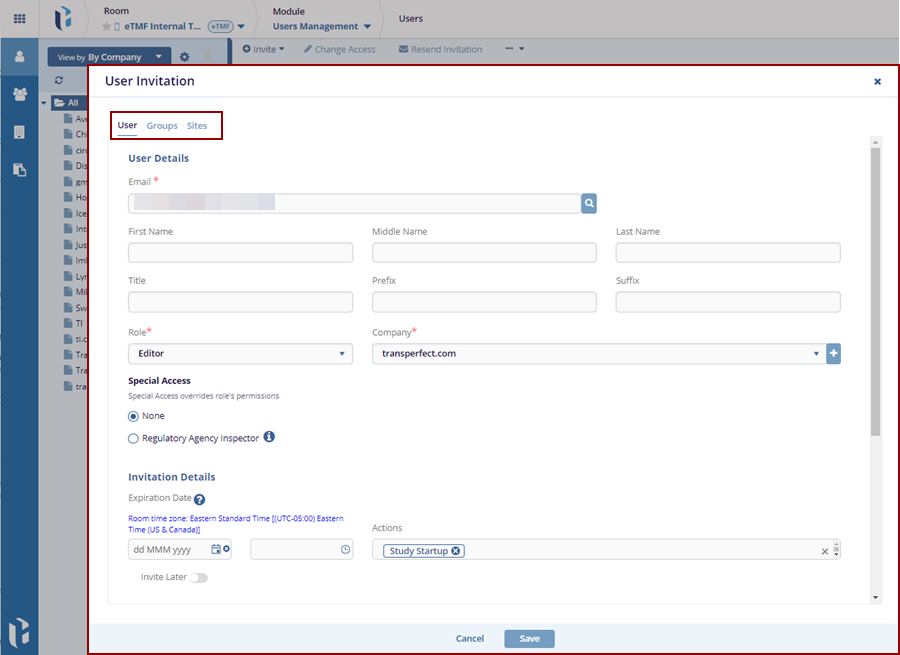
- In the User Invitation form, the user can see three tabs:
- User tab: Displays the user details information page
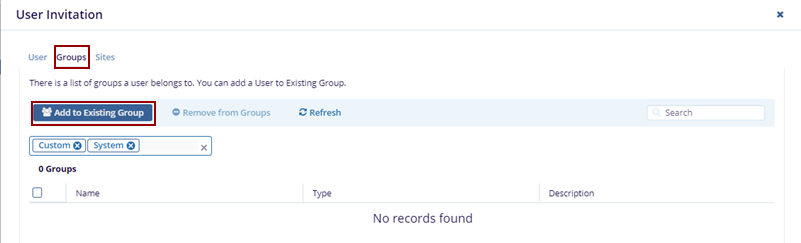
- Groups tab: There is a list of groups a user belongs to. You can add a User to the Existing Group.
-
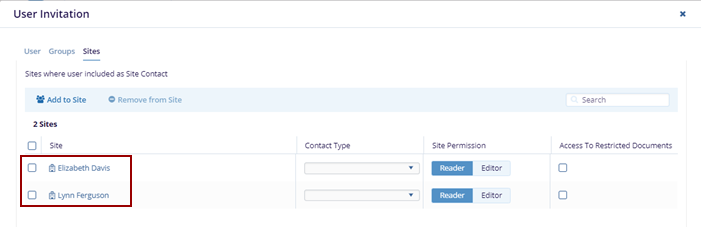
Sites tab: Sites where the user included as a Site Contact
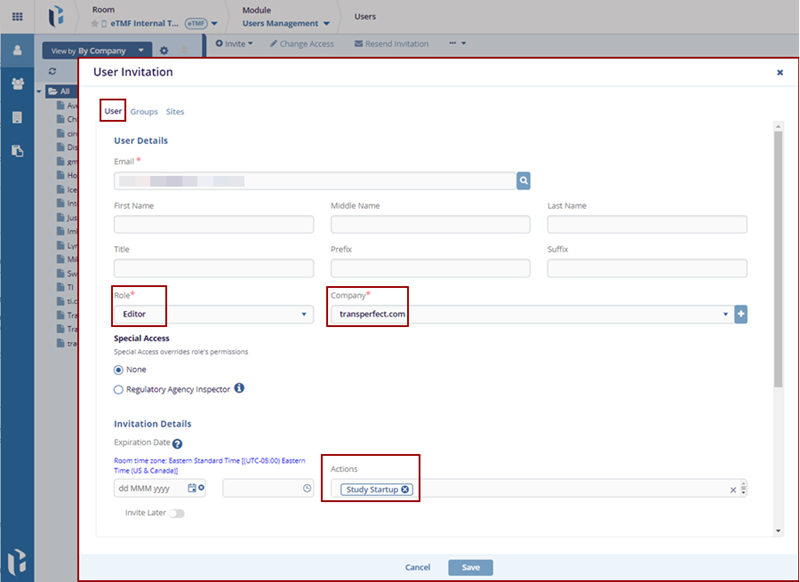
- Fill in the required fields under the User Details section:
- Role
- Company
- After entering the details, select Study
Startup in the Actions field under the Invitation Details
section.
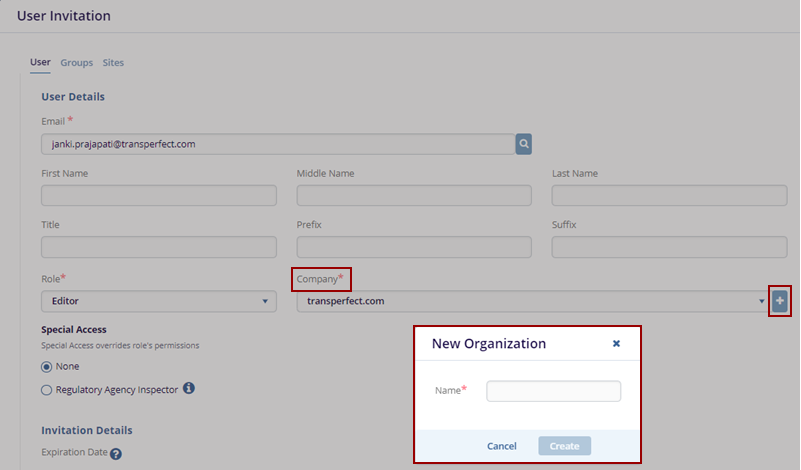
-
Clicking on the + icon available in the Company field allows the user to create a New Organization.
- Click the Groups tab on the User Invitation form.
-
Click the Add to Existing Group option in the menu bar, this page is directed to the list of groups.
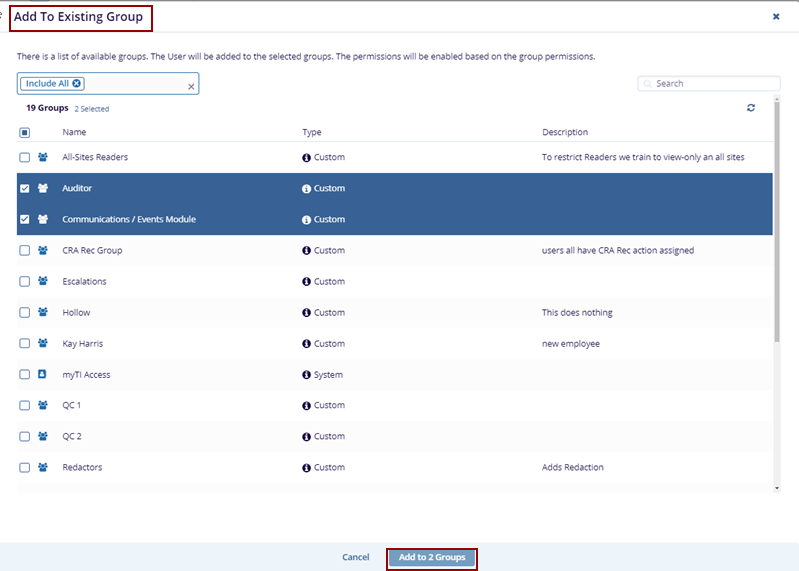
- Select the required groups, click Add to Groups, and view the selected groups on the Groups tab.
-
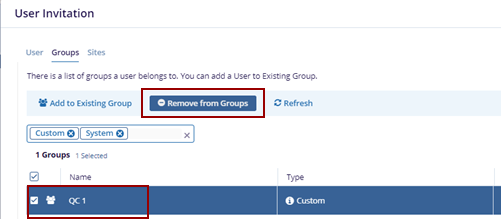
Locate the groups that need to be removed and click the Remove from Groups option in the menu bar. The selected group disappears.
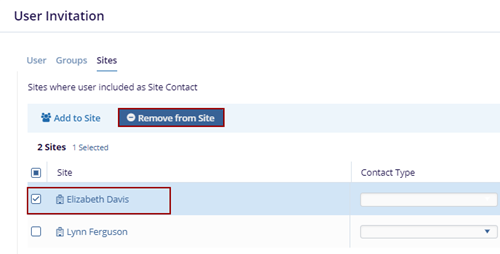
- Click the Sites tab on the User Invitation form.
-
Click the Add to Site option the list of users is displayed on the Add To Site pop-up window.

- Select the users and click the Add to Site option at the bottom of the Add to Site pop-up window.
- The selected users were added to the sites.
- Locate the user that needs to be removed and click the
Remove from Site option in the menu bar. The
selected user disappears.
- Click Save to save changes or Cancel to discard them.
-
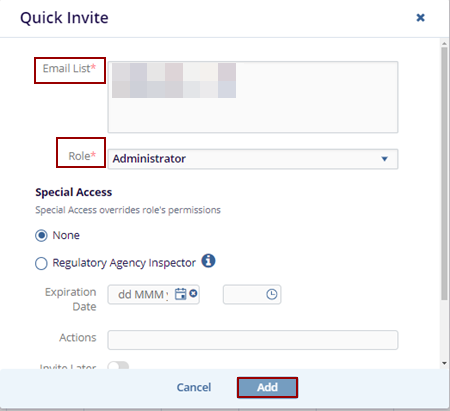
Click on the +Invite button and select the +Quick option.
- Fill in the required fields such as:
- Email List –the list of users can be added at a time
- Role
- Click the Add button, the added users will be displayed in the grid.
 Linkedin
 X
X
