Edit Studies
Explore Job Aids and Videos for more help:
Job Aids
Videos
To edit studies, follow the steps below:
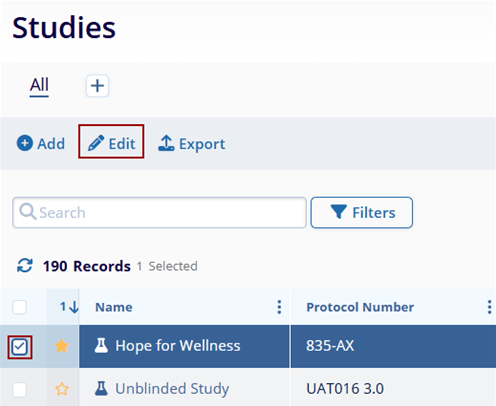
- Click on the check box next to the name of the study.
- Click on the Edit button from the top main bar.
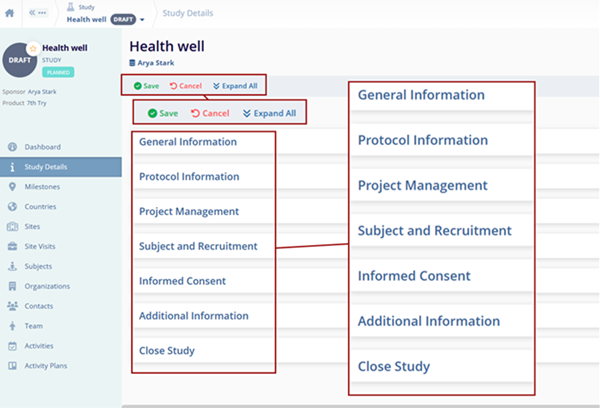
- Make any necessary changes to editable data within the Study Details by expanding the
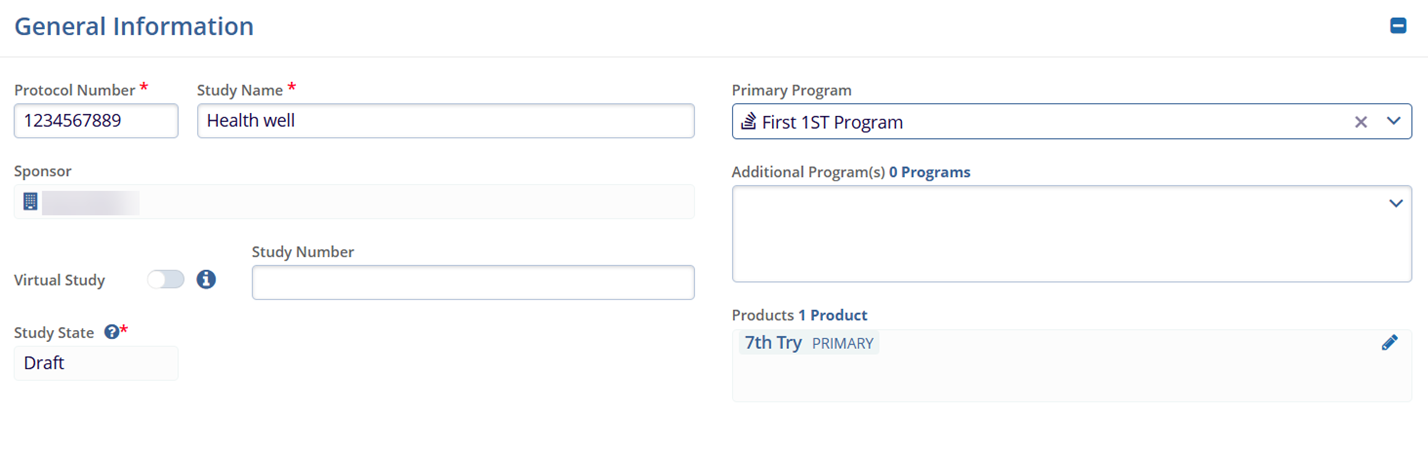
following sections.General Information:
- Study Name*
- Primary Program
- Virtual Study
- Study Number
- Additional Program(s)
- Products
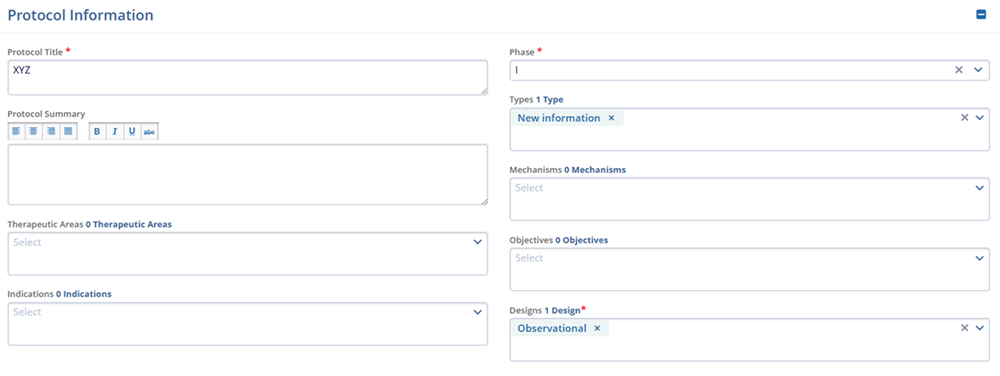
Protocol Information- Protocol Title*
- Protocol Summary
- Therapeutic Areas
- Indications
- Phase*
- Types
- Mechanisms
- Routes
- Objectives
- Designs*
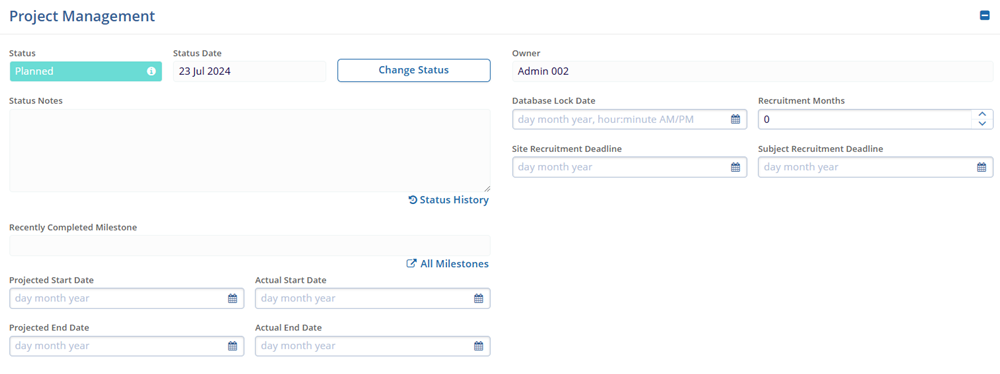
Project Management- Status
- Status Date
- Status Notes
- Projected Start Date
- Actual Start Date
- Projected End Date
- Actual End Date
- Database Lock Date
- Recruitment Months
- Site Recruitment Deadline
- Subject Recruitment Deadline
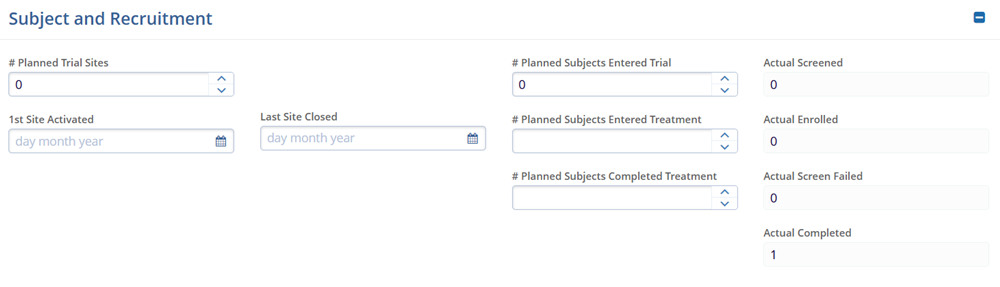
Subject and Recruitment- # Planned Trial Sites
- 1st Site Activated
- Last Site Closed
- # Planned Subjects Entered Trial
- # Planned Subjects Entered Treatment
- # Planned Subjects Completed Treatment
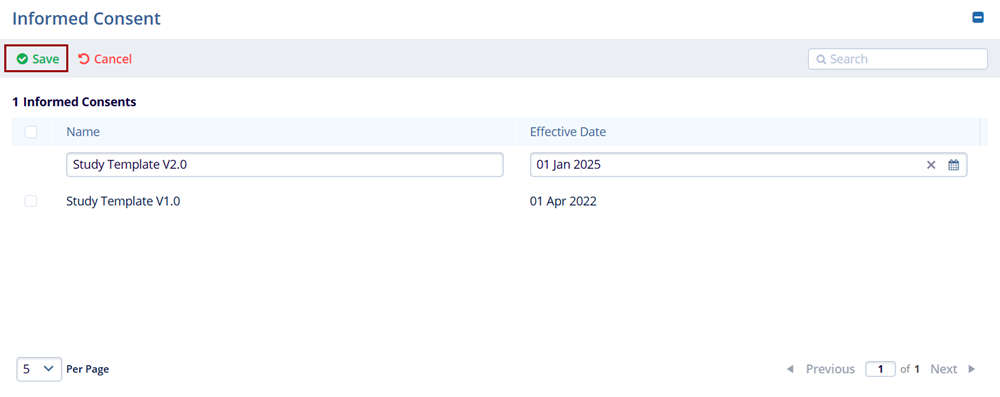
Informed Consent
Add Informed Consent
To add informed consent, follow the steps below:
- Click on the +Add button within the Informed Consent section.
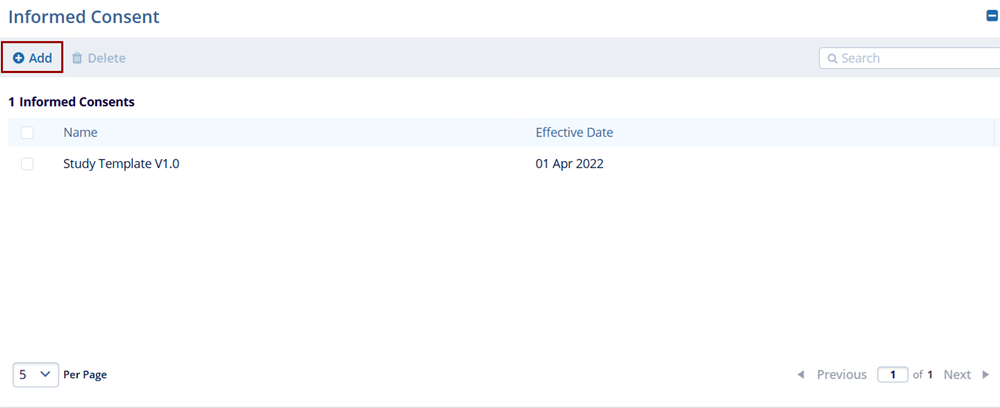
- Enter the Name and Effective Date into the respective fields.
- Click on the Save button.
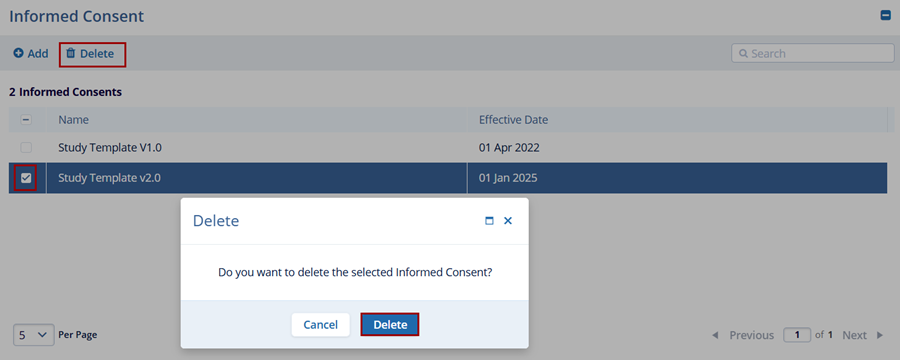
Delete Informed Consent
To delete an informed consent, follow the steps below:
- Select a record from the Informed Consent section to delete
- Click on the Delete button.
- On the confirmation popup, click on the Delete button.Note:
- ICFs can only be deleted when they are not linked to any other entity (e.g., Country, Site, Subject).
- For ICFs already in use, submit a Service Desk ticket for any data corrections.
Additional Information
The Additional Information section displays the custom fields configured via Settings > Fields > Studies. The displayed fields vary based on the configurations set in the Settings section for each customer.
Close Study
The Close Study Section enables users to close a study when it is at the end of the life cycle.
- Click the Save button for the changes to apply.

- The Study Health Summary window is displayed showing items that are reconciled or open.
-
Navigate to the particular record that is open by clicking on the icon before the entity name and close the entity.
- Once all the related items are closed, the Yes, Close & Lock button is activated.
- Click the Yes, Close & Lock button.

- On the Close Study window, select the status date and click Close.

- Click the Save button for the changes to apply.
TransPerfect’s Trial Interactive is an industry leader in practical, global eClinical innovation
PRODUCTS
 Linkedin
 X
X
Didn’t find what you need?
Our dedicated Project Management and Client Services team will be available to meet your needs
24 hours a day, 7 days a week.
Toll Free:
(888) 391-5111
help@trialinteractive.com
© 2025 Trial Interactive. All Rights Reserved
