Approve Action Item
When an Action item enters the approval workflow, the designated authorities are responsible for advancing the record through each stage until it reaches the final stage. At the final stage, a user (typically an Approver) reviews and approves the record, thereby resolving it.
To approve and resolve a record, follow the steps below:
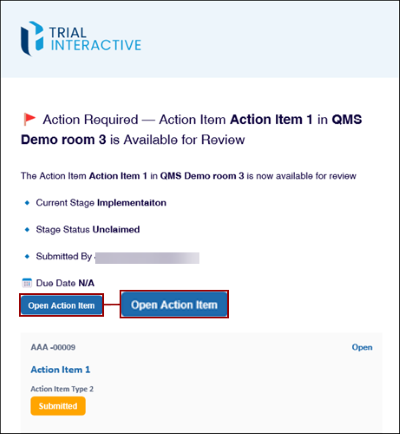
- Login as a user who is assigned as an authority in the first stage of the workflow and
click on the Open Action Item button from the email notification.
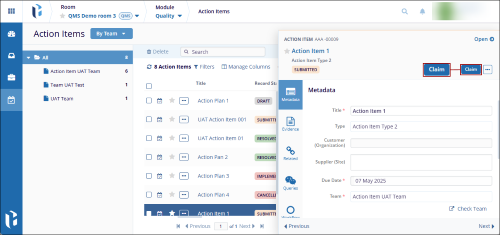
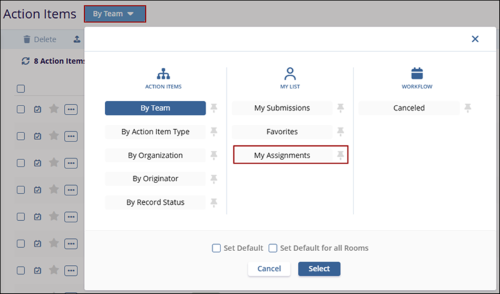
- Additionally, users can access the Action Item assigned to them by setting the My Assignments view from the dropdown at the top.
- On the Action Item records screen, click on the Claim button.
 Note:
Note:- The Claim button appears when there are multiple authority types in the workflow stage, and any one of the authorities should manually claim the record.
- If there is only one user in a stage, the record is auto-claimed if configured in room settings.
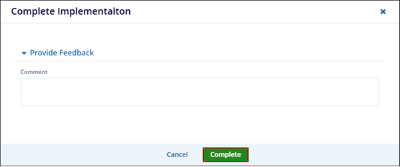
- Once the assigned authority claims the record, the action buttons appear as configured
in the workflow.

- Click on the Complete button, fill in the necessary details in the Complete
Implementation form, and click on the Complete button.
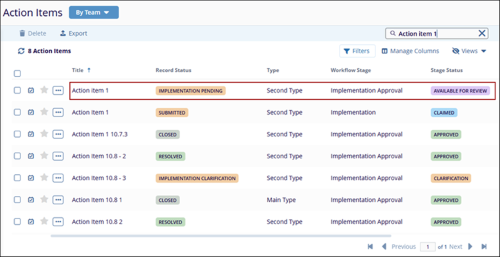
 Note: The display of forms and other sections, upon clicking an action button, depends on the Triggers configured within the workflow.
 - Once the record is completed, it is transitioned into the next
stage, i.e., Implementation Approval, and the record displays the
statuses as configured in the workflow.
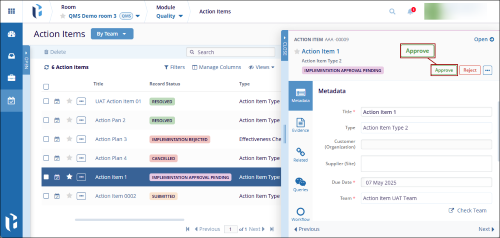
- As the assigned authority in the last stage, access the Action Item through the email
notification or the My Assignments view.
- Open the Action item, claim the record and click on the Approve button above
the Quick View panel.
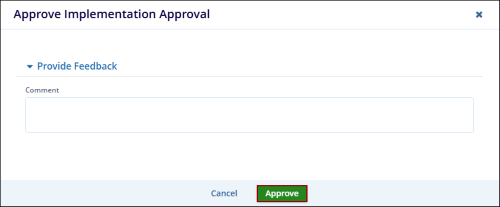
- Enter the required details in the Approval Form and click on the Approve
button.
- Once the Action Item is successfully resolved, all the
authorities for whom the notifications are enabled, receive an
email stating the Action Item is resolved.

- On the Action Item record page, click on the Close Action Item button above the
Quick View panel.
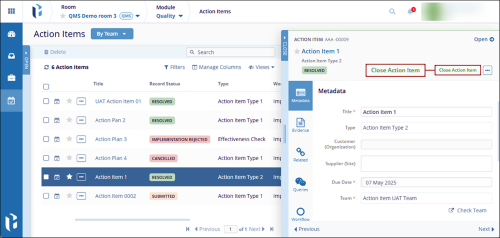
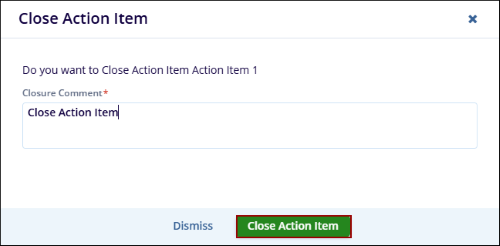
- On the Close Action Item popup, mandatorily add a comment and click on the Close
Action Item button.
Note:
- The record cannot be closed if related items and queries are open, depending upon the Close Conditions configured in the room settings.
- If the Prevent Closure while Queries and Related Records are open is enabled, a tooltip is displayed stating the open items
- If disabled, the record can be closed even if related records and queries are open.
- If the Allow automatic closure is enabled and the Close Period is defined, the record will automatically close when it is approved and resolved.
© 2025 Trial Interactive. All Rights Reserved
