Add Sites
To add new sites, follow the steps below:
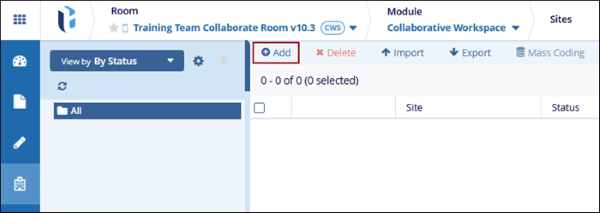
- Click on the Sites modal from the left-hand navigation pane within the Collaborative Workspace module.
- Click the +Add button to create a new site. This opens the New Site form.
-
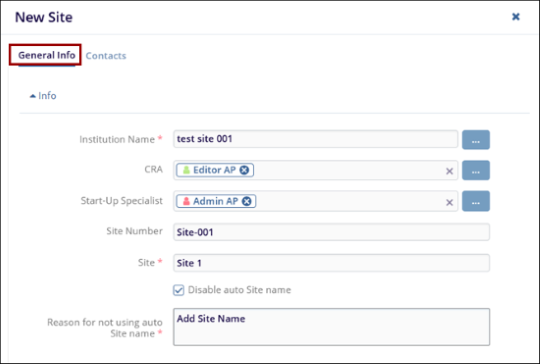
In the General Info tab, expand the following sections and add the necessary information.
-
Info: Add information to the following fields.
- Institution Name*: Mandatorily add the institution name from available options.
- CRA: Select users from the dropdown options as CRAs
- Start-Up Specialist: Select users from the dropdown options as Start-Up Specialists.
- Site Number: Enter the site number.
- Site*: Mandatorily enter the site name if Disable auto Site Name is disabled.
- Disable auto Site Name: Check the checkbox to manually add the site name or vice versa.
- Reason for not using the auto site name: Mandatorily provide a reason for not
using the site if Disable auto Site Name is disabled.
-
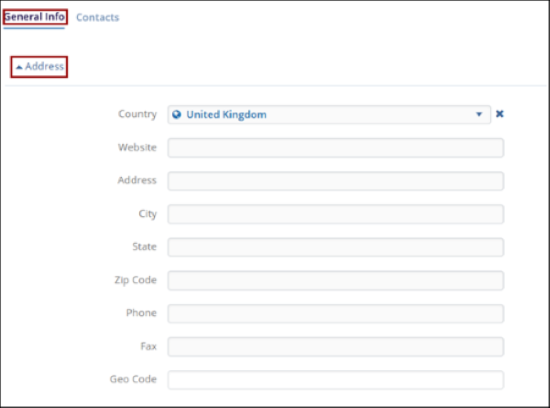
Address: Add information to the following fields.
- Country: Select a country from the dropdown options.
- Website: Add a website
- Address: Add the address to the respective field
- City: Enter a city for the site
- State: Enter a state for the site
- Zip Code: Enter the ZIP Code for the site
- Phone: Enter phone number for the site
- Fax: Enter the fax number for the site
- Geo Code: Enter the geocode for the site.
-
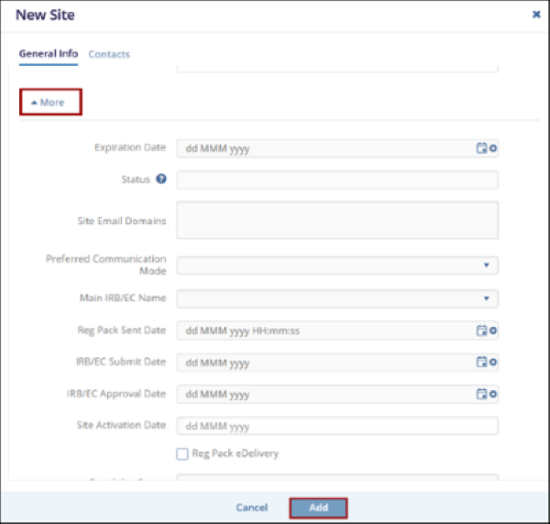
More: Add information to the following fields.
- Site name last updated by
- Expiration Date
- Status
- Site Email Domains
- Preferred Communication Mode
- Main IRB/EC Name
- Reg Pack Sent Date
- Expected Submission Date
- IRB/EC Submit Date
- IRB/EC Approval Date
- Site Activation Date
- Reg Pack edelivery
- eFeasibility Status
- Effective Closure Date
- Address Line 2
- Address Line 3
- Other
- Country Approval Date
- Status Date
- Organization Name
-
- Once the necessary details are specified, click on the Add button.
-
On the Contacts tab, perform the following to configure the list of contacts within the site.

-
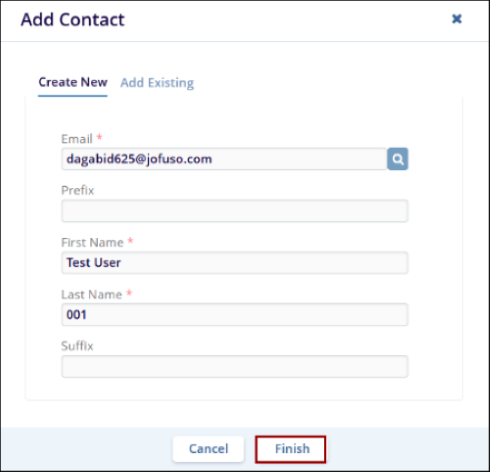
Add Contacts: To add contacts, follow the steps below:
- On the Contacts tab, click on the +Add button.
- On the Add Contact form, add details to the mandatory metadata fields.
- Click on the Finish button.
- To add existing contact, switch to the Add Existing tab.
-
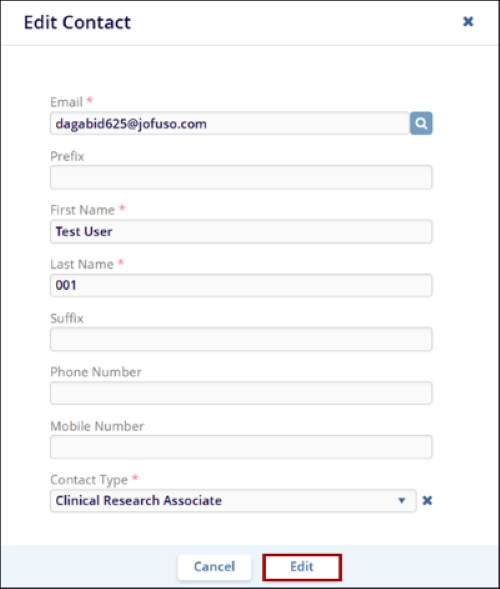
Edit Contact: To edit a contact, follow the steps below:
- Select the contact within the contacts list.
- Click on the Edit button from the top menu bar.
- On the Edit Contacts screen, make the necessary changes.
- Once the details are modified, click on the Edit button at the bottom of
the Edit Contacts screen.
-
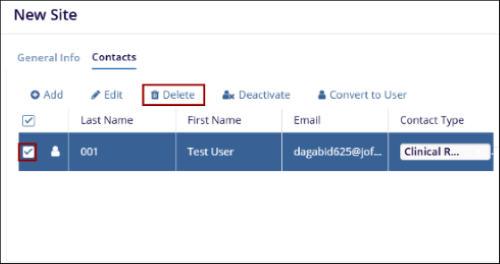
Delete Contact: To a contact, follow the steps below:
- Select the contact within the contacts list.
- Click on the Edit button from the top menu bar.
-
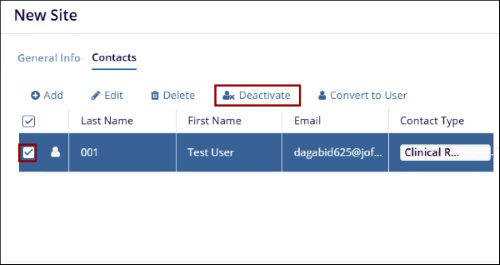
De-activate Contact: To deactivate a contact, follow the steps below:
- Select the contact within the contacts list.
- Click on the De-activate button from the top menu bar.
-
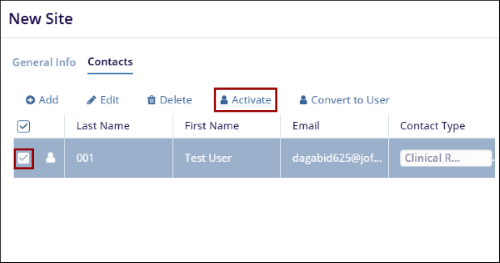
Activate Contact: To activate the contact, follow the steps below:
- Select the contact within the contacts list.
- To activate the contact, click on the Activate button from the top menu
bar.
-
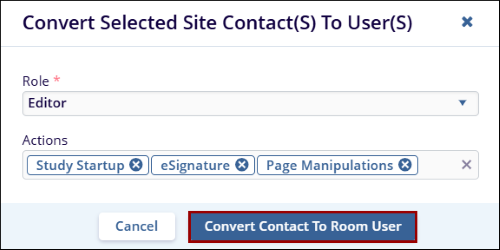
Convert to User: To convert a contact into a user, follow the steps below:
- Select the contact within the contacts list.
- Click on the Convert to User button from the top menu bar.
- On the User tab, prform the following: to convert contacts:
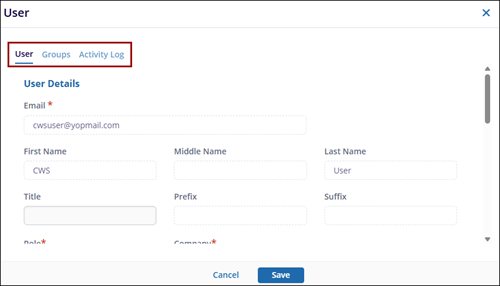
- User: To convert the contacts to user, follow the steps below:
- Select the User tab from the coonvert to User screen.
- On the User tab, once the details are filled, click on the Save
button to convert into user.
- Groups: To convert the contacts to groups, follow the steps below:
- Select the Groups tab from the convert to user.
- On the Groups tab, add the groups from the Add to Existing Group or search from the search bar.
- Click on Save button.
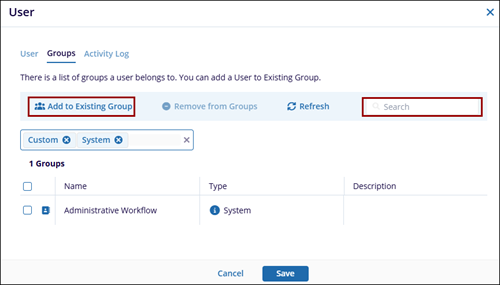
- Click on the Remove from Groups from the Groups tab to remove.
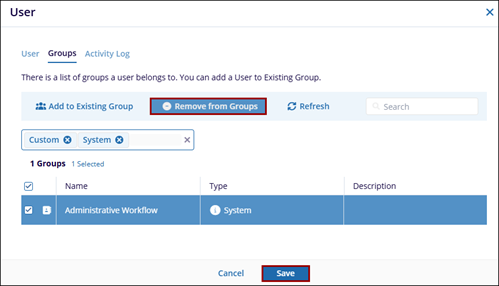
- Click on the Refresh button.
- Activity Log: To convert the contacts to groups, follow the steps below:
- Select the Activity Log tab from the convert to user.
- On the Activity Log tab, select the activity from the "Select particular
activity types to display" dropdown.
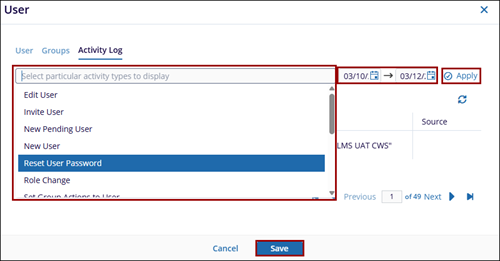
- Select the desired time period for the activity search and click Apply to filter the results.
- The activity list is then displayed based on the selected criteria.
- Click Save to retain the applied filter..
-
© 2025 Trial Interactive. All Rights Reserved
