Create CAPA
This section explains the process of creating a CAPA record from the Quality module. For creating a CAPA record, the originator user must have the ‘Create CAPA’ action added from the User Management module.
To create a CAPA, follow the steps below.
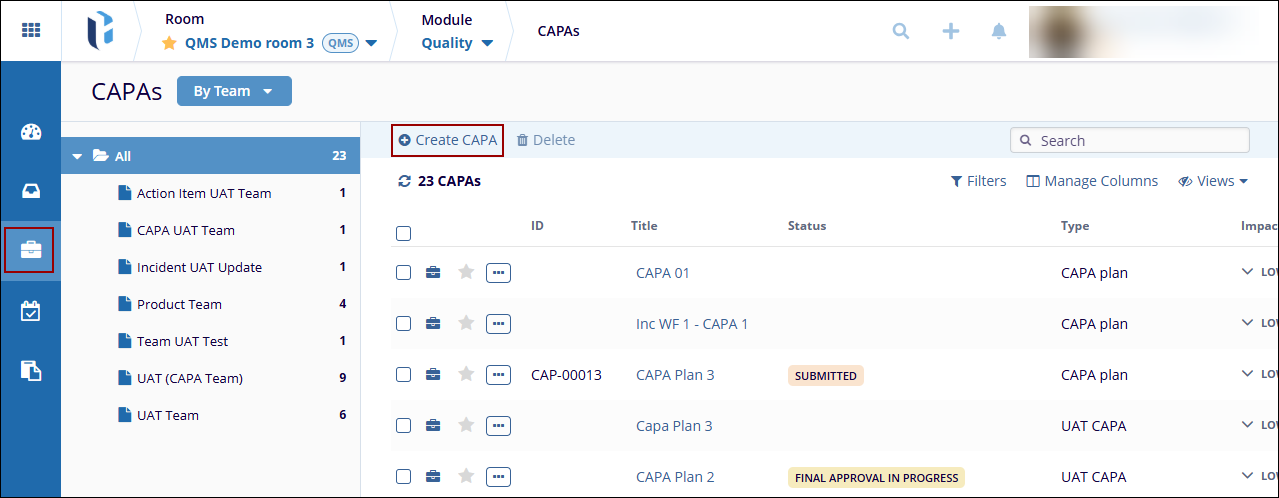
- Within the ‘Quality’ module, click on the CAPAs modal from the left-hand navigation pane.
- Click on the +Create CAPA button from the top menu bar.
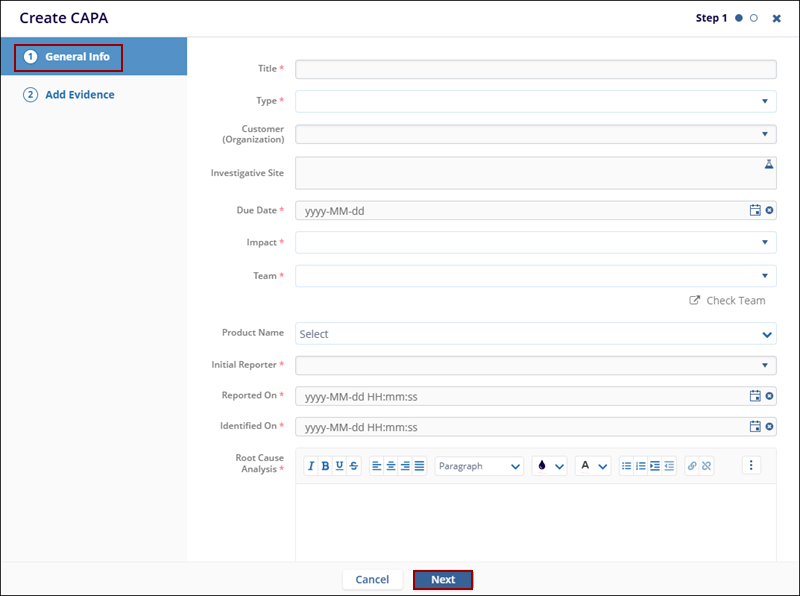
- On the ‘Create CAPA’ form, fill in the mandatory
details within ‘Step 1: General Info’
and click on the ‘Next’ button.
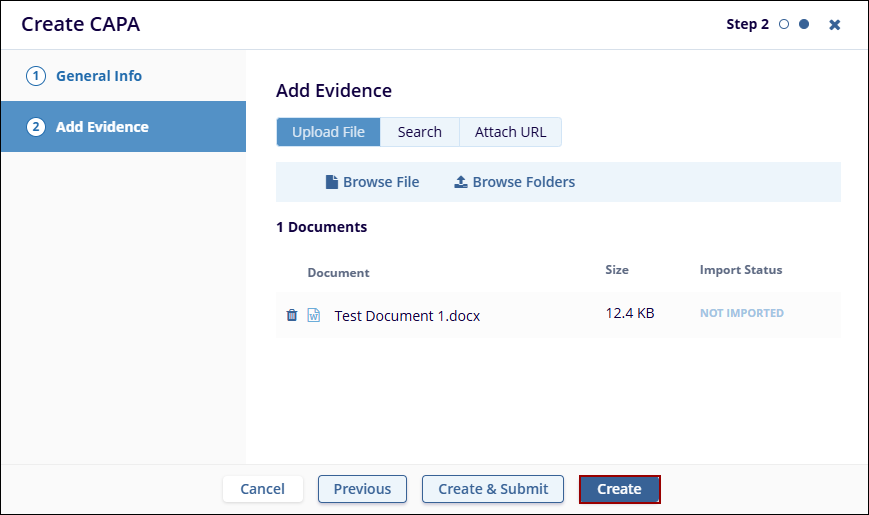
- Upload a file or folder as evidence and click on the
‘Create’ button.
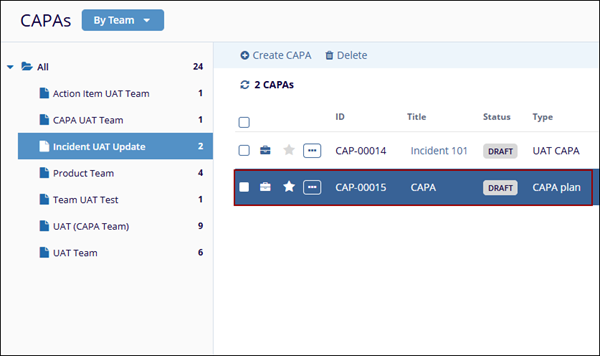
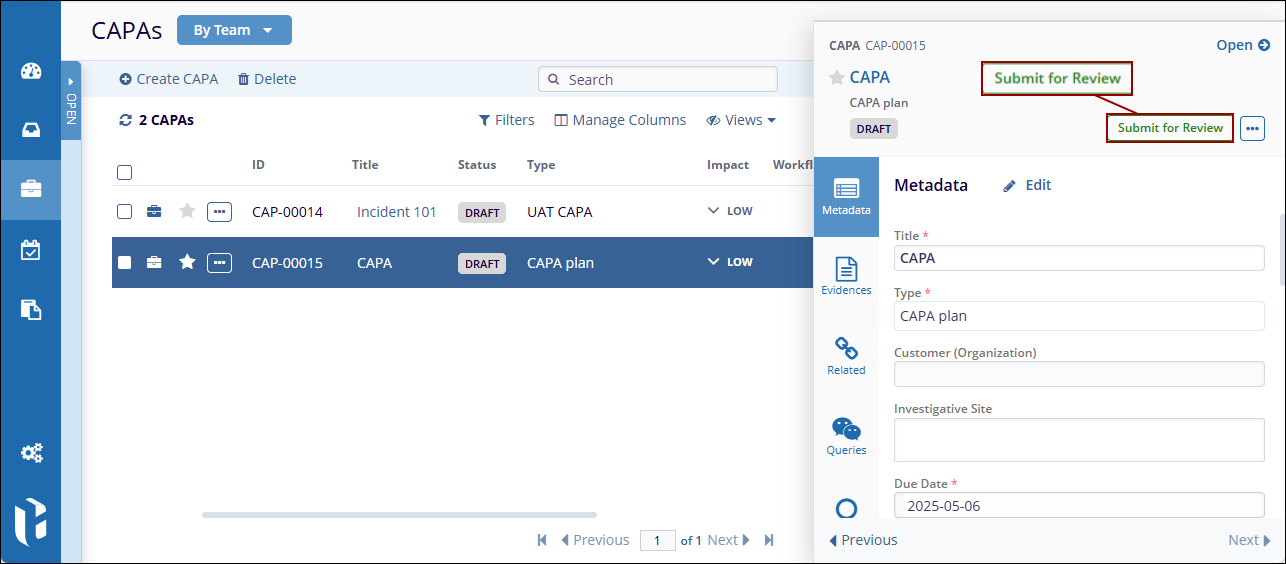
- Once the CAPA is created, it is saved in the
‘Draft’ status.
- Click on the CAPA title and click on the ‘Submit for
Review’ from the metadata panel.
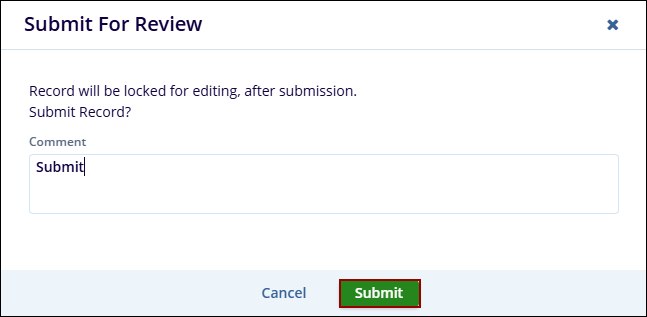
- On the ‘Submit for Review’ popup, enter a comment
and click on the ‘Submit’ button.
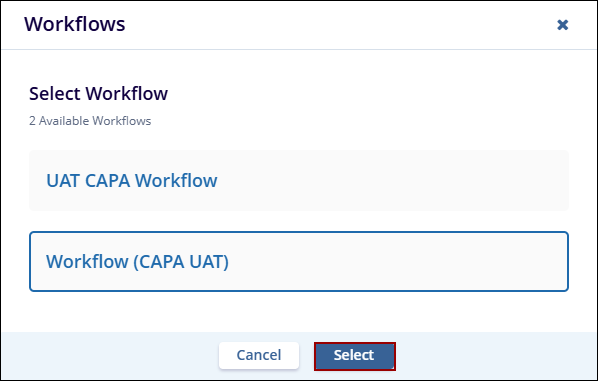
- Choose the appropriate workflow from the
‘Workflows’ wizard and click on the
‘Select’ button.
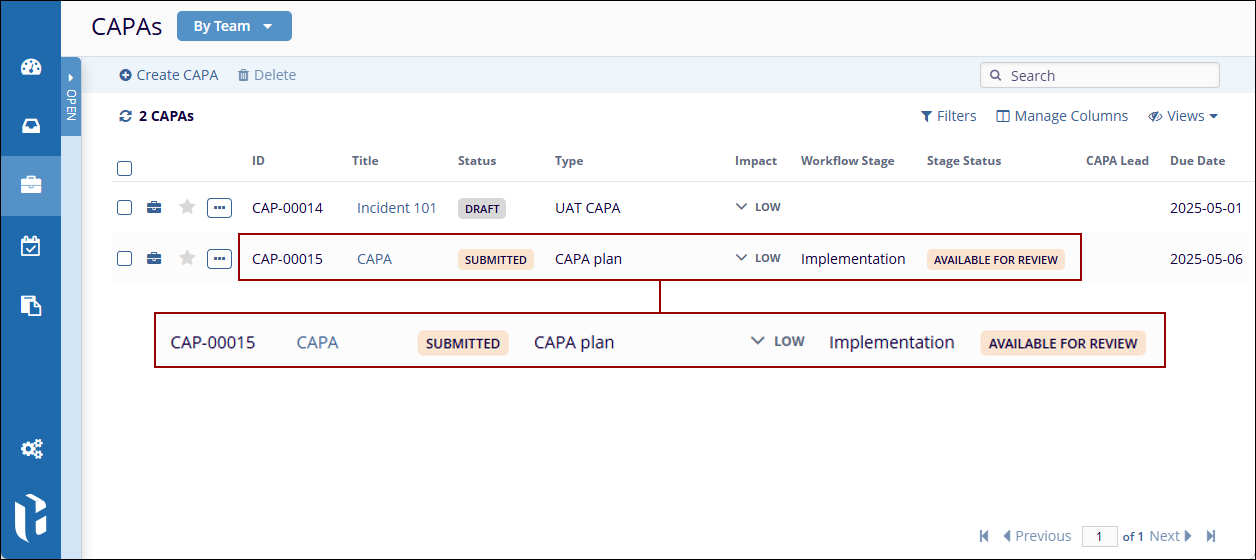
- Once the CAPA record is successfully transitioned to the first
stage of the workflow. The ‘Record Status’,
‘Workflow Stage’, and ‘Stage Status’
display statuses as configured in the workflow.
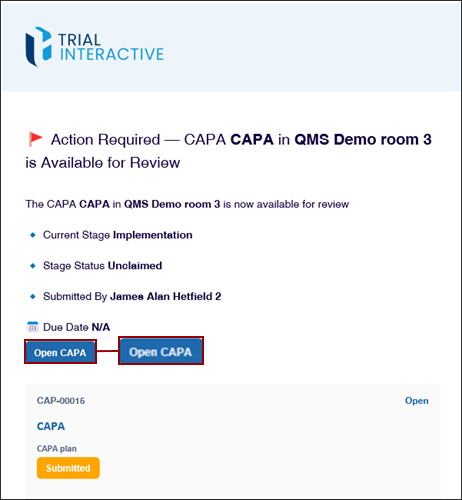
- Once the record enters the first stage of the approval
workflow, the authority receives an email notification about the
CAPA record with CAPA details and a clickable ‘Open
CAPA’ button to open the record.
Note
- Email notifications about record transitions are sent to the relevant authority types based on the Approval Workflow configuration.
- The number of stages a CAPA record progresses through, along with its record and stage statuses, is determined by the configured Approval Workflow.
Create CAPA through an incident
In addition to creating a CAPA record through the CAPA's modal, originator users can create a CAPA through an incident.
Note: Additionally, the originator must be an Admin user. If the CAPA is being created by an editor user, they must belong to the assigned team and hold the necessary authority.
To create a CAPA through an incident, follow the steps below.
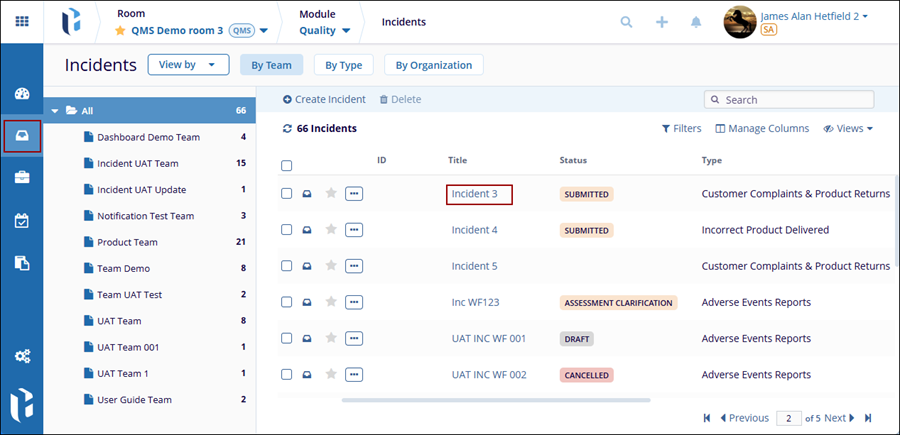
- Navigate to the Quality module >
Incidents tab and click on an incident's title.
- From the incident's quick view panel, click on the
‘Initiate’ button.
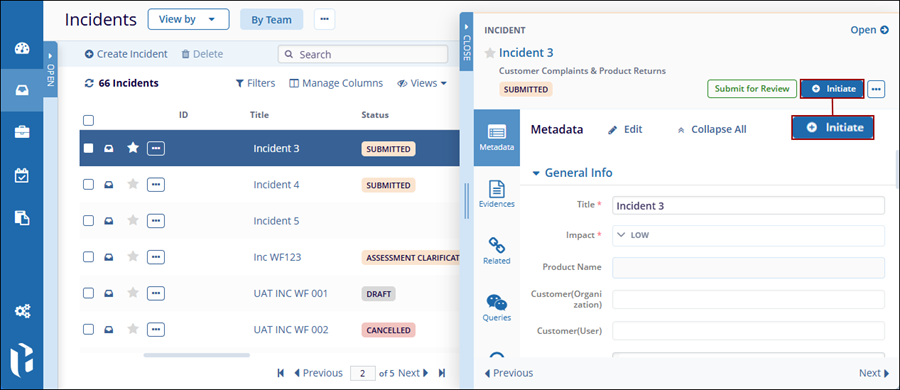
- On the ‘Initiate Record’ dialog box, select the
CAPA option.

- To create a CAPA record and submit for review, follow ‘STEPS 3 to 10’ from the Create CAPA section.
TransPerfect’s Trial Interactive is an industry leader in practical, global eClinical innovation
PRODUCTS
 Linkedin
 X
X
Didn’t find what you need?
Our dedicated Project Management and Client Services team will be available to meet your needs
24 hours a day, 7 days a week.
Toll Free:
(888) 391-5111
help@trialinteractive.com
© 2025 Trial Interactive. All Rights Reserved
