Send Survey
The Manager sends a Survey Form in the form of link in a mail to the submitter. The Submitter fills the survey and submits it to the Manager.
To send a survey, follow these steps:
- Open the Form to send for a Survey.
- Click Send on a Form Statistics page (displayed on the top
right corner) of an opened survey. This navigates you to the Email
page, allowing you to send a survey.
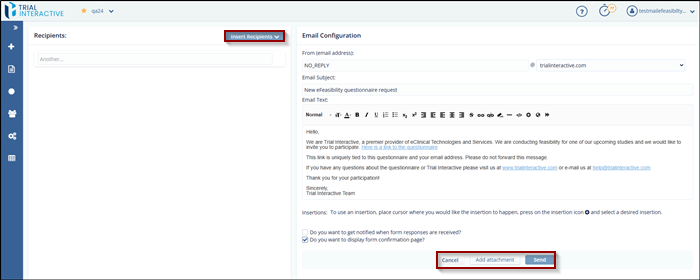
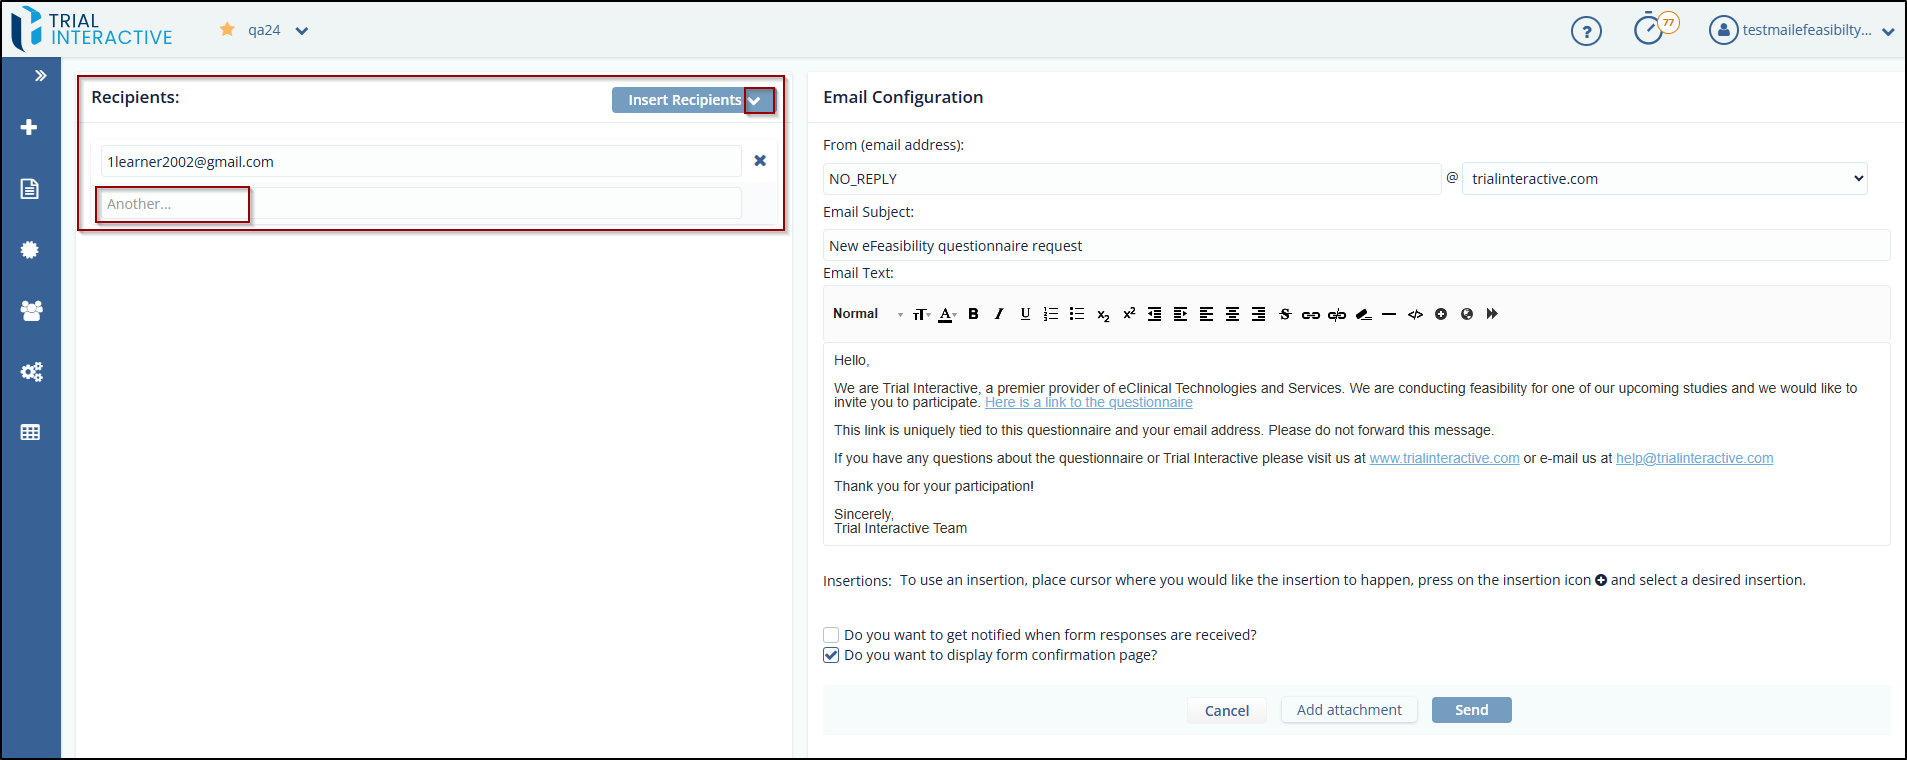
- Recipients: This section allows you to insert recipients in an email.
- Email Configuration: This section contains the body of an email. Refer Email Templates for more details on this.
-
The Cancel, Add Attachment and Send buttons in the Email Configuration section.
Email Recipients
Recipients are Contacts to whom a Survey is sent.
The Recipients section allows you to add the recipients in the following ways:
- Manually: This allows you to add the contacts manually. Type the recipient’s email address manually in the textbox with the title another and hit Enter.
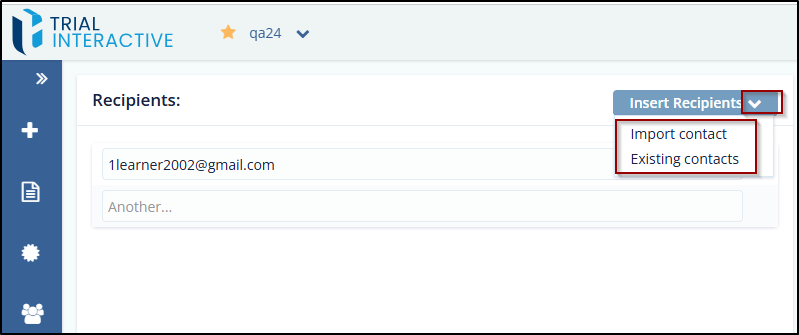
- Insert Recipients: This allows you to add the recipients in two
ways
- Import Contacts: This allows you to import contacts in a bulk.
- Existing Contacts: This allows you to insert contacts from the available list.
To Import contacts, follow these steps:
- Click the Insert Recipients dropdown. A list appears which displays two options: Import Contacts and Existing Contacts.
-
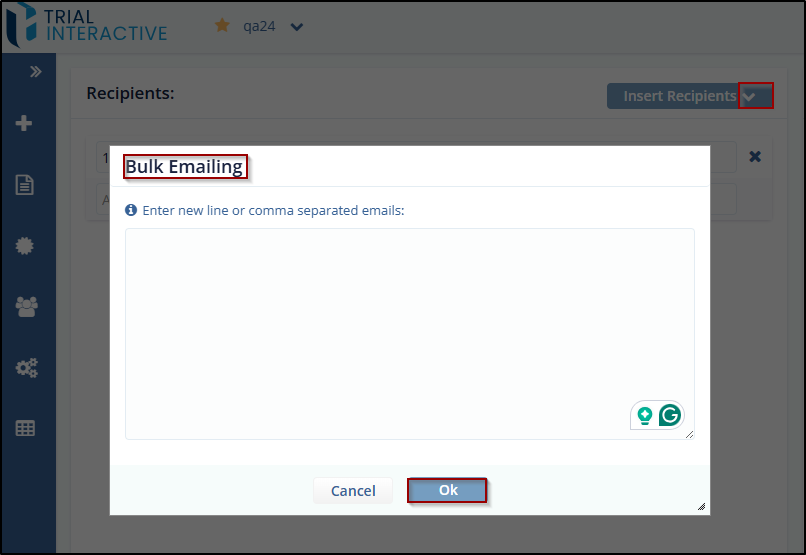
Select Import Contacts. The Bulk Emailing pop up window is displayed which provides a long text area to enter emails of recipients. Follow the instruction mentioned above the textbox to enter emails.
- Click Ok. The list of recipients gets added to the
recipient’s section to whom a survey is to be sent.
To add Existing Contacts, follow these steps:
- Click the Insert Recipients dropdown.
- Select Existing Contacts.
- The Add Existing Contacts pop-up is displayed, which provides the Contacts dropdown with types: Contacts and Groups.
- Select Contacts from the dropdown.
-
Drag-and-drop required contacts from the existing contacts in the left panel to the column on the right panel.
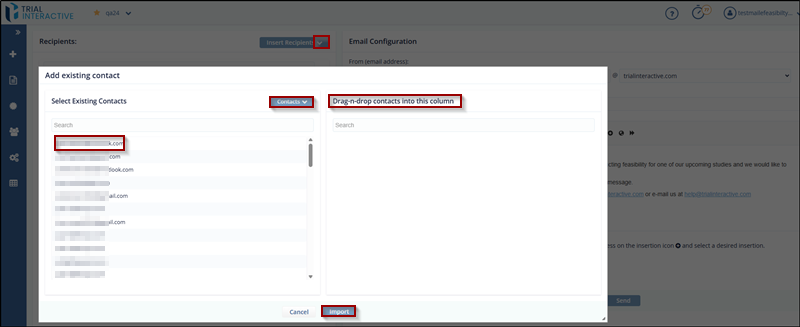
-
Click Import, the user can also search for contacts form the Search textbox above the Contacts list.
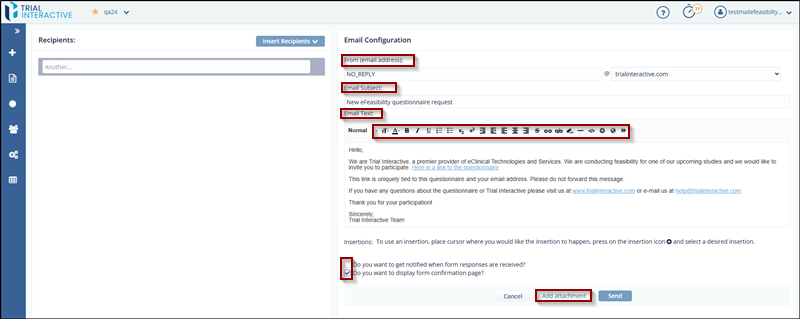
Email Address
This is the Email Address from which a Survey is sent. You can define the sender in a Form (email address) other than NO_REPLY and can set the domain name from the dropdown.
Email Subject
This section allows you to type the Email Subject. The default subject for the Email is defined in Email Templates .
Email Text
This section allows you to enter/modify the Email text in the Email Text area. Proceed to Email Templates for detailed information.
Additional Email Settings
You can define the additional options in an Email by selecting the checkbox from the below:
Checkboxes
Get notified when form response is received: Enabling option allows you to receive notification messages by email when a survey response is submitted.
Display form confirmation page: Enabling this option displays a confirmation message when the submitter submits a survey. This option is selected by default in the email page.
Attachments
You can add single or multiple attachments to an Email by clicking add attachment button below the Text area.
TransPerfect’s Trial Interactive is an industry leader in practical, global eClinical innovation
PRODUCTS
 Linkedin
 X
X
Didn’t find what you need?
Our dedicated Project Management and Client Services team will be available to meet your needs
24 hours a day, 7 days a week.
Toll Free:
(888) 391-5111
help@trialinteractive.com
© 2025 Trial Interactive. All Rights Reserved
