Configure Dashlets
The Configure Dashlets allows administrators to manage the availability and visibility of dashlets on the dashboard for different user roles. Dashlets are individual components that display specific data or functionality, such as documents, users, or key metrics, making the dashboard customizable and role-specific.
Steps to Configure the Dashlets.
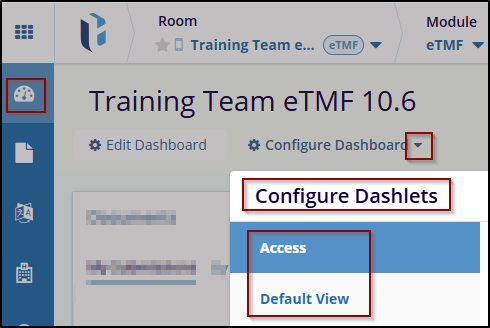
- Click the Configure Dashboard button next to the Edit Dashboard button. The user can see the dropdown menu, Configure Dashlets, and Configure KPIs.
- Click on the Configure Dashlets, and the Configure Dashlets window will pop up.
- The Configure Dashlets window will display two tabs on the
left:
- Access: To select a Set of Dashlets available for each Role
- Default View: To select the Default list of Dashlets for each Role.
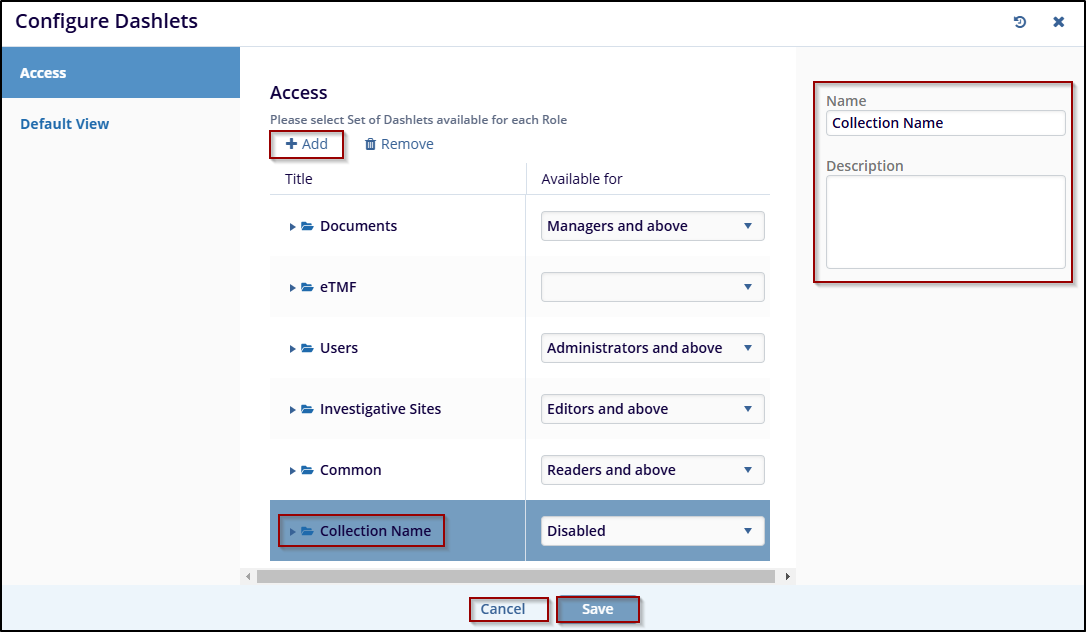
- In the Access tab, the user can select the
roles from the dropdown menu under the available
column to assign dashlets to specific roles.

- Click the Remove button to initiate the
removal process. A confirmation window will appear with the
message: ‘Are you sure that you want to
remove the collection?’ Also, the user can
only remove the newly added fields and not the pre-defined
fields
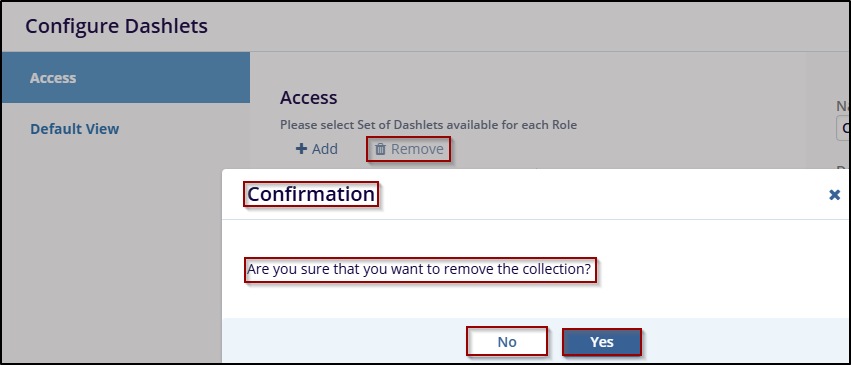
- Click the Yes button to confirm and remove the collection, or click the No button to cancel the action and keep the collection.
- Click on the Add button, and a new entry will
appear under the list of available dashlet as (collection Name).
While adding a new dashlet, the user has to mention the Name and
Description in the right-side fields.
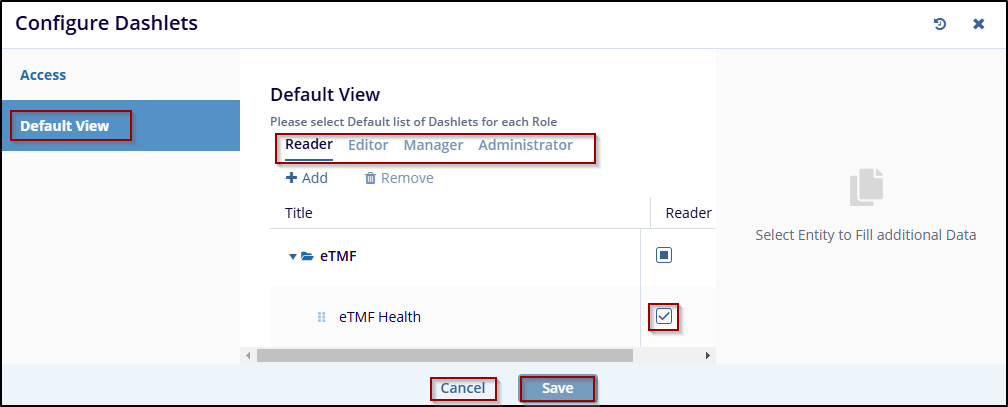
- Switch to the Default View tab, and select the required and appropriate checkboxes for the roles mentioned – Reader, Editor, Manager, Administrator, and Disabled.
- Click on the Save button at the bottom of the pop-up window to save the changes, or click Cancel to discard your changes.
 Linkedin
 X
X
