Create Organizations
Explore Job Aids for more help:
Job Aids
To create an organization, follow the steps below:
-
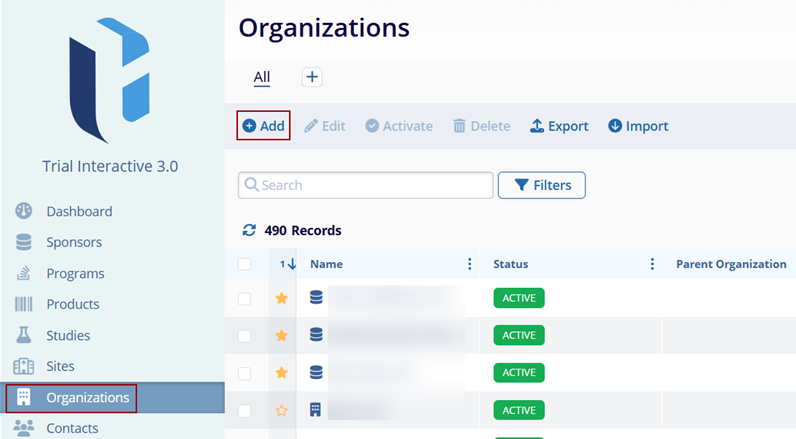
Click on the Organizations link from the left-hand navigation pane. This opens the Organizations screen where all organizations at the Global level are displayed.
- Click on the +Add button from the top menu bar.
- On the Create Organization screen, fill in the mandatory details, highlighted with a red
(*) asterisk mark, in the respective sections.
General Information
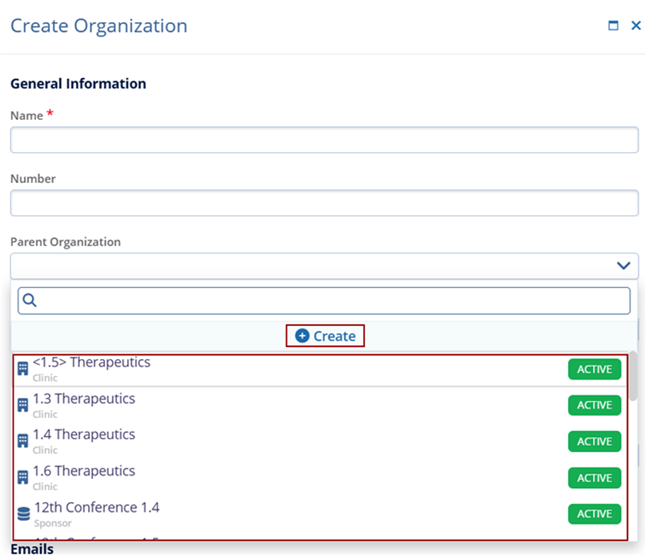
- Name*: Enter a name for the organization.
- Number: Enter the unique number for the organization.
- Parent Organization: To add a parent organization to this child organization, click
on the drop-down arrow and select the appropriate parent organization from the list. To
create a new parent organization, click on the +Create button.
Note:- To create a Parent Organization, it is mandatory fields Name, Type, and Status which are marked with an asterisk (*) next to the field title. Other fields are optional.
- The parent organization will now be automatically populated in the parent field of the child organization.
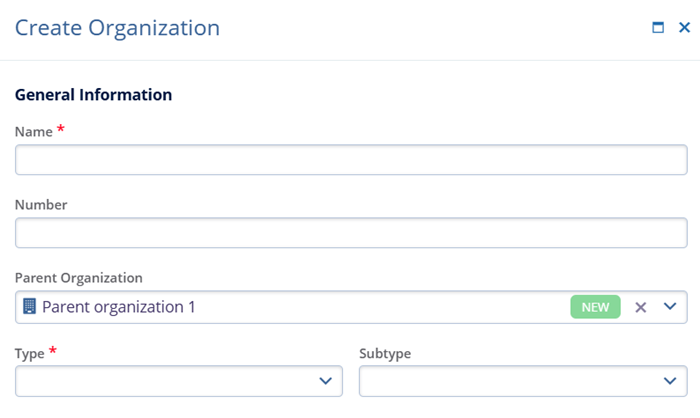
- Type*: Select the type of organization from the dropdown menu.
- Subtype: Select the subtype that best describes the Organization.
- Status*: Choose the status as per requirement.
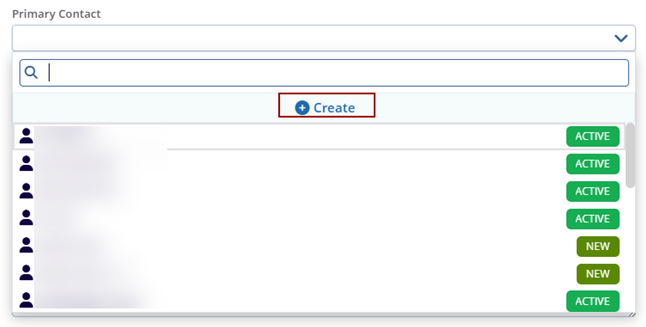
- Primary Contact: To add a contact to the organization, click on the drop-down arrow
and select the appropriate Contact from the list. To create a new contact, click on the
+Create button. Users can access this link to understand Creating a Contact.
Phone Numbers
- Click on the +Add button to add phone numbers. Enter the phone number in the provided field.
- Specify the phone number type i.e., Work, Mobile, Office, or Fax.
- Select Country Code
- Optionally click on the Set as Primary checkbox.
.png)
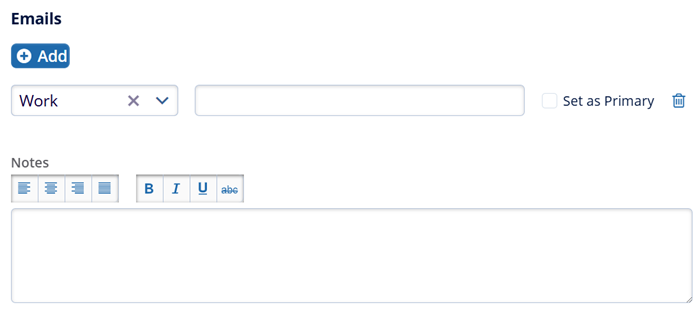
Emails
- In the Emails section, click on the +Add and enter the email address in the provided field.
- Notes Message Box: Enter any additional notes regarding the Sponsor in the Notes
field.
Include Address:
- Enable the Include Address toggle switch to include an address and enter the
mandatory details into the respective fields to create an address.
- Address Type*
- Primary Address
- Country
- Postal Code
- Add other optional fields as required.
- Click on the search icon to search for a specific address
- After filling in all required fields, click on the Create button.
.png)
- When the user clicks on the Create button, it creates a sponsor and it will display
a successfully created pop-up.
.png)
TransPerfect’s Trial Interactive is an industry leader in practical, global eClinical innovation
PRODUCTS
 Linkedin
 X
X
Didn’t find what you need?
Our dedicated Project Management and Client Services team will be available to meet your needs
24 hours a day, 7 days a week.
Toll Free:
(888) 391-5111
help@trialinteractive.com
© 2025 Trial Interactive. All Rights Reserved
