Track and Auto Apply Milestones
Explore Videos for more help:
Videos
Track Milestones
To track milestones, follow the steps below:
- From the left-hand navigation links click on the Studies.
- On the Studies window, click on the name of the study.
- On the selected studies window, navigate to the left-hand navigation links and click on the Study Details.
- On the Study Details screen, click on the Settings button in the top-right of the screen.
- Click on Start Tracking in the top-left of the screen. This opens the Start Tracking confirmation window.
- Click on the Yes, start tracking button which
will result in all milestones to be applied and start tracking, not
just the selected milestone.

Note:
- The milestone will not be displayed for tracking at any level until Start Tracking is clicked for the desired milestone.
- CTMS Milestones that are retired at the Global level are retired in all levels of the data hierarchy. If users want to continue to track a milestone after retiring it at the Global level, it is imperative to make a copy of the milestone at the Sponsor level or lower before retiring the milestone at the Global level.
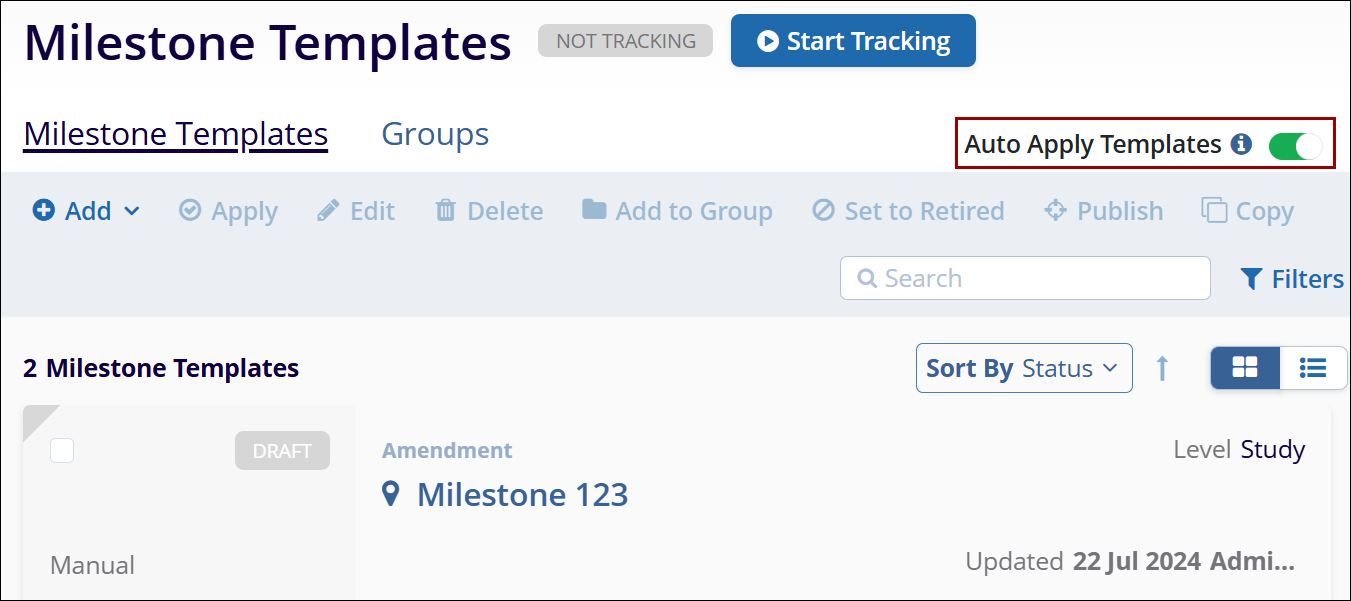
Auto Apply
It can be difficult, at times, to remember to apply a newly added or created milestone to a study. Users can enable the Auto Apply Templates toggle switch at the top-right corner of the Milestone Templates screen at the study level. This way, Study Managers can indicate whether or not milestones should be applied manually, as needed, or automatically once they are published and added to a study.
Note: This would not apply the template to sites created after this
switch is activated. For future sites, it is recommended to use the scheduler for activity
plans.
TransPerfect’s Trial Interactive is an industry leader in practical, global eClinical innovation
PRODUCTS
 Linkedin
 X
X
Didn’t find what you need?
Our dedicated Project Management and Client Services team will be available to meet your needs
24 hours a day, 7 days a week.
Toll Free:
(888) 391-5111
help@trialinteractive.com
© 2025 Trial Interactive. All Rights Reserved
