Requesting Clarification
- From the Incident tab, select the View by drop-down.
- Click on My Assignments view from the list view, select the Incident that needs clarification.
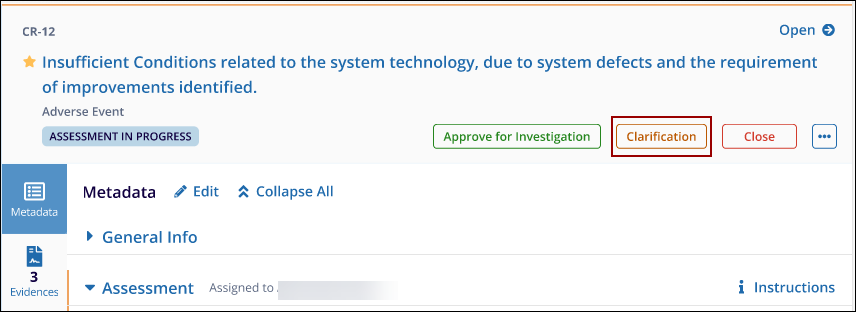
- The Metadata panel will display.
- On the metadata panel, click the Clarification
button.
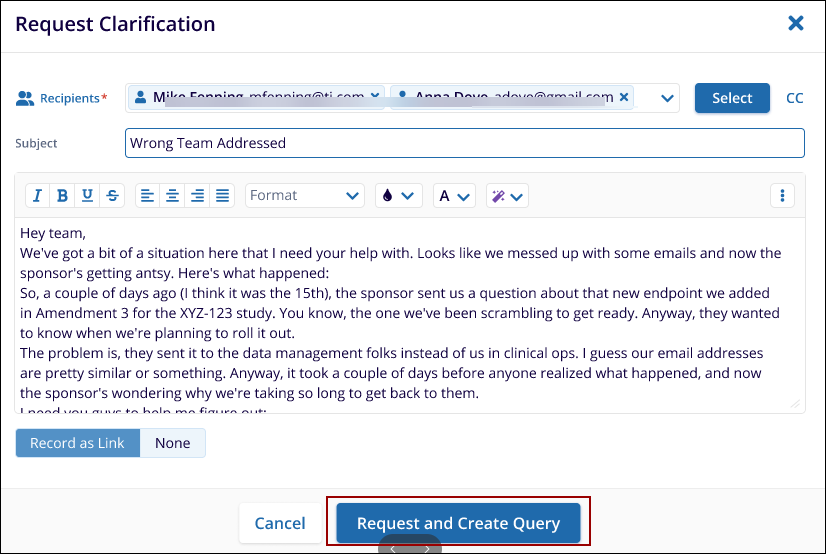
- The Request Clarification pop-up window appears.
- Enter the required information:
- Recipients: Select one or multiple recipients.
- Subject: Provide a concise subject line.
- Message: Type a detailed message describing what clarification is needed.
- Click Request
and
Create Query.
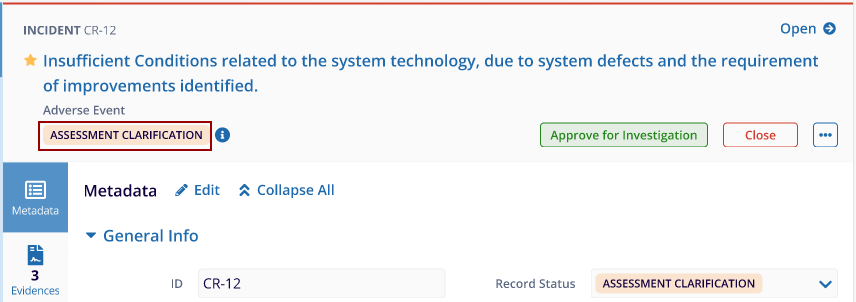
- After sending the clarification, the Incident status changes to
Assessment Clarification. Please note that the
user can still edit the incident if necessary.
Note: In this example, the Process Owner will raise a query seeking clarification on the incident, and the Originator will provide a response to that query.
Originator’s Response
- The Originator receives an email notification prompting them to address the clarification request.
- The Originator:
- Reviews the query.
- Updates the missing information or evidence as needed.
- Clicks Respond in the query window.
- After the Originator responds, the Supervisor will receive an email notification about the response. Completing the Clarification process
- The Supervisor reviews the updated Incident metadata and the response.
- After verification, the Incident moves back to Assessment in Progress status.
- To continue, the Supervisor clicks Approve for Investigation.
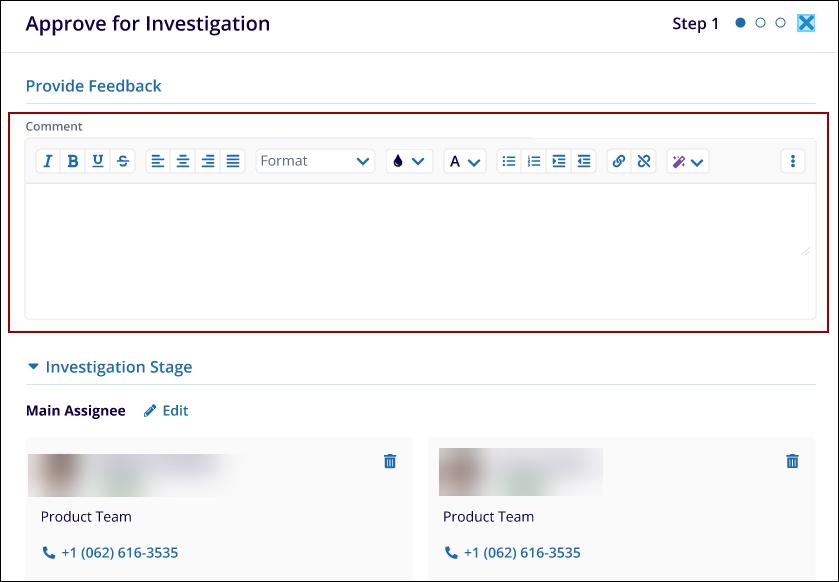
- The Approve for Investigation window appears. Supervisor can provide comments (feedback is optional but recommended).
- Review or update the Investigation Stage assignees if needed.
- Click Submit to approve the incident for investigation.
- The Incident progresses to the Investigation Pending
stage.
Note: If the Originator does not provide sufficient clarification, the Supervisor has the option to Cancel the incident.
TransPerfect’s Trial Interactive is an industry leader in practical, global eClinical innovation
PRODUCTS
 Linkedin
 X
X
Didn’t find what you need?
Our dedicated Project Management and Client Services team will be available to meet your needs
24 hours a day, 7 days a week.
Toll Free:
(888) 391-5111
help@trialinteractive.com
© 2025 Trial Interactive. All Rights Reserved
