Add Block
The Add Block feature allows a quick access widget on the left-hand navigation pane for specific courses when needed. It displays a compact box with relevant course details for easy reference.
To add a block, follow the steps below.
- Select a course from the Course Catalog and click on Turn editing on button.
.png)
- Click on the Add a block dropdown in the left-hand navigation pane and select
any one of the options.

- Click on the Settings icon to access and configure the blocks settings.
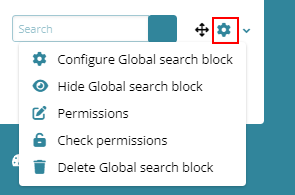
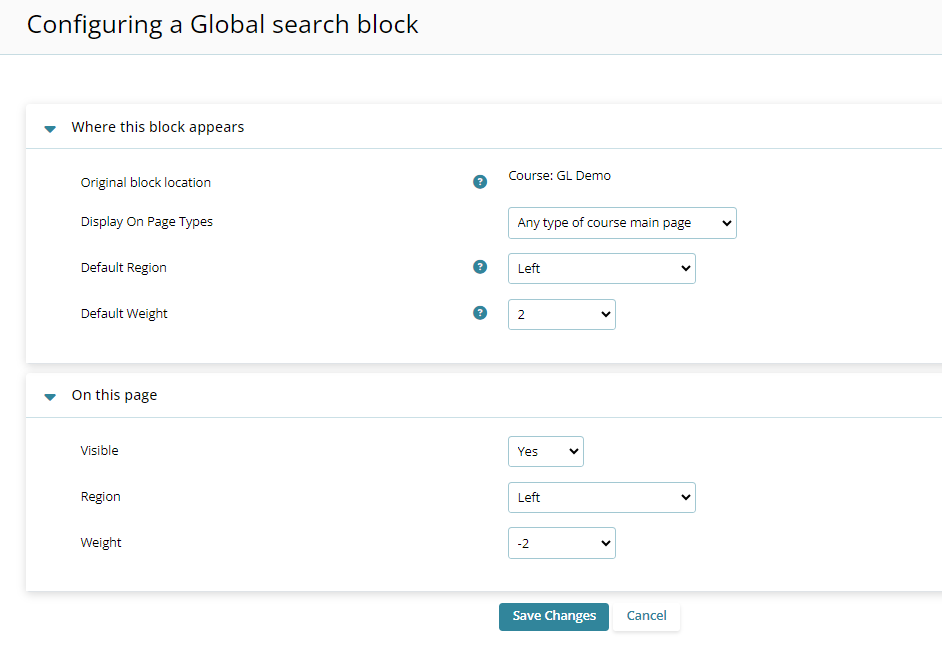
Note: Each block has different settings to configure. - On the search block settings page, configure the required settings and click on the
Save button.
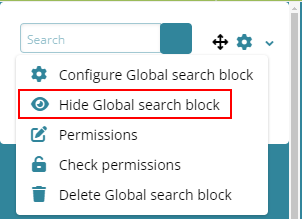
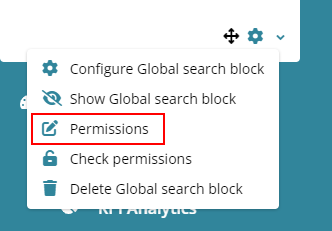
- To hide a block, click on the Actions menu dropdown, and select the Hide
<block name> block option.
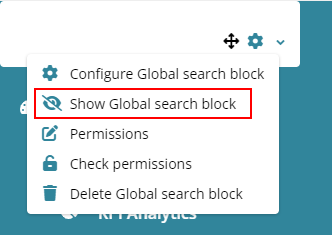
- To unhide the block, click on the Actions menu dropdown and select the Show
<Block Name> block.
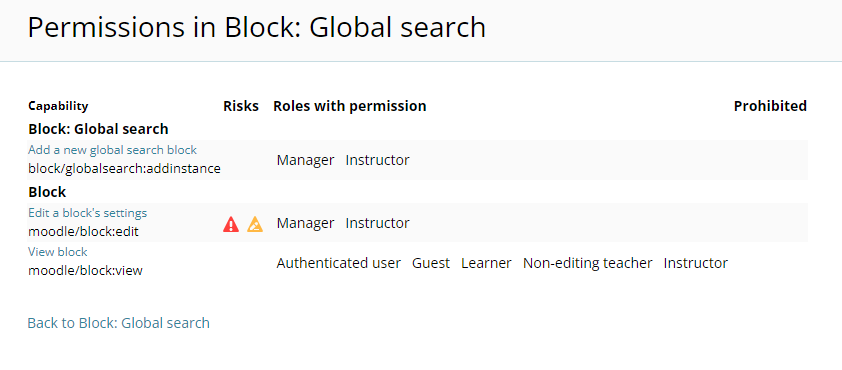
- Click on the Permissions option to view the block's configuration permissions.
- The Permissions in Block displays the capability, risks, roles with permissions, and
prohibited columns with the respective details.
- Click on the Check Permissions option from the Actions menu dropdown.

- On the Check permissions in Block screen select a user or enter the user name
in the search box and click on the Show this user’s permissions.
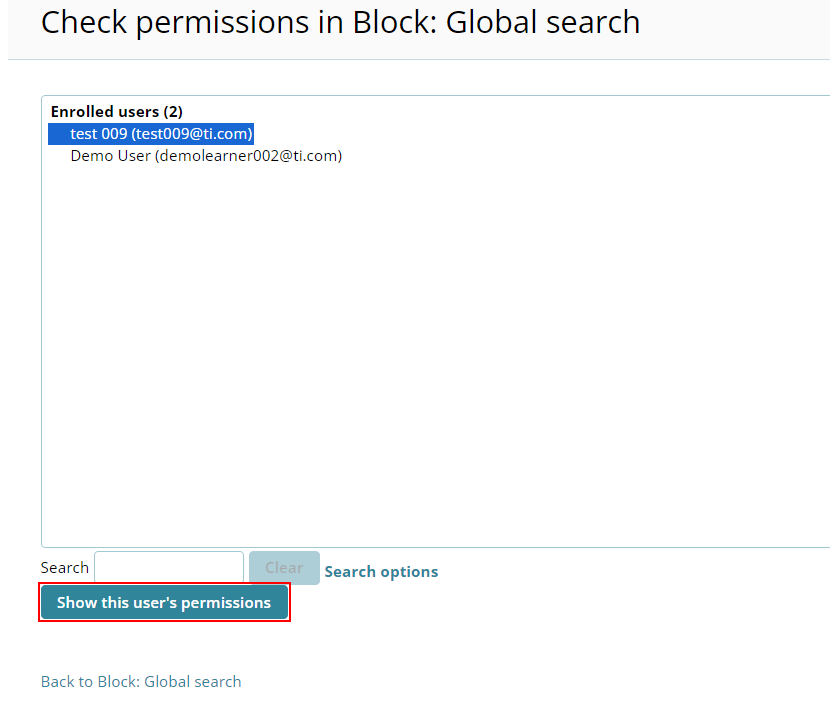
- The Check permissions in Block screen displays all the permissions assigned to
the user.

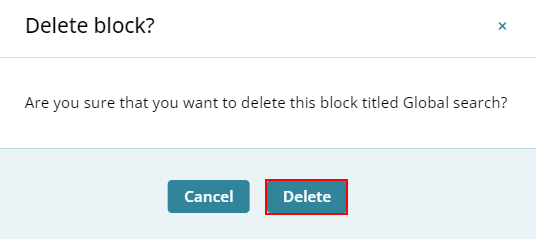
- To delete a block, select the Delete <block name> block option from the Actions
Menu dropdown.
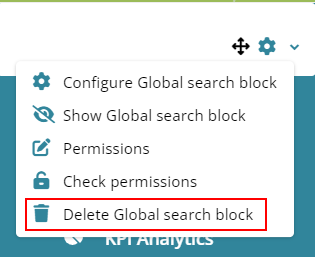
- On the Delete block? confirmation popup, click on the Delete button.
TransPerfect’s Trial Interactive is an industry leader in practical, global eClinical innovation
PRODUCTS
 Linkedin
 X
X
Didn’t find what you need?
Our dedicated Project Management and Client Services team will be available to meet your needs
24 hours a day, 7 days a week.
Toll Free:
(888) 391-5111
help@trialinteractive.com
© 2025 Trial Interactive. All Rights Reserved
