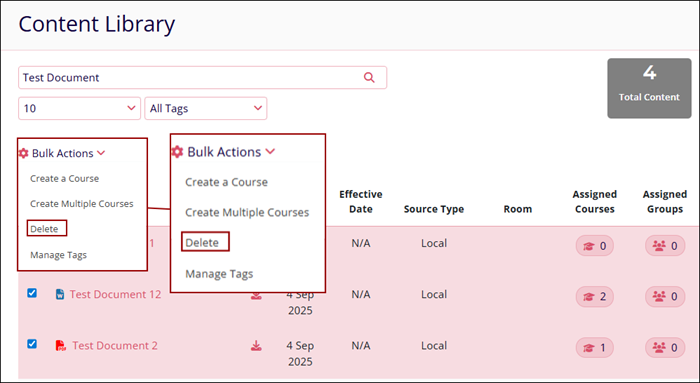
Bulk Actions
Using the following Bulk Actions feature in GlobalLearn, users can perform a single action on multiple content files.
Create a Course
The Create a Course feature allows course creation directly through the content library and with the selected documents as training material.
To create a course directly from the content library, follow the steps below:
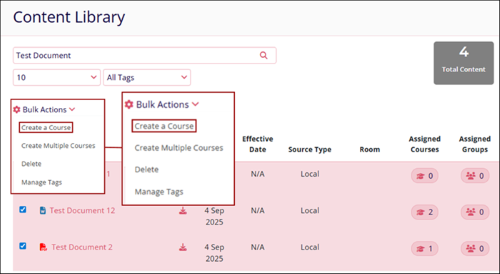
- Select multiple records by clicking the respective checkboxes, and click on the Bulk Actions dropdown.
- Select the Create a Course option.
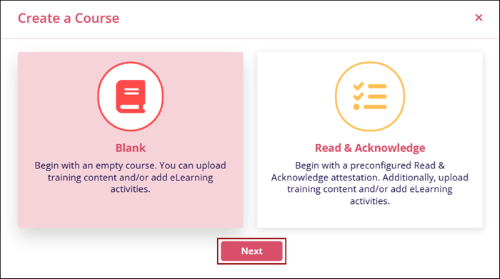
- Select the Blank or Read & Acknowledge course options and click on the
Next button.
- Follow the further standard course creation steps entailed in the Course Management section.
Create Multiple Courses
To create multiple courses, follow the steps below:
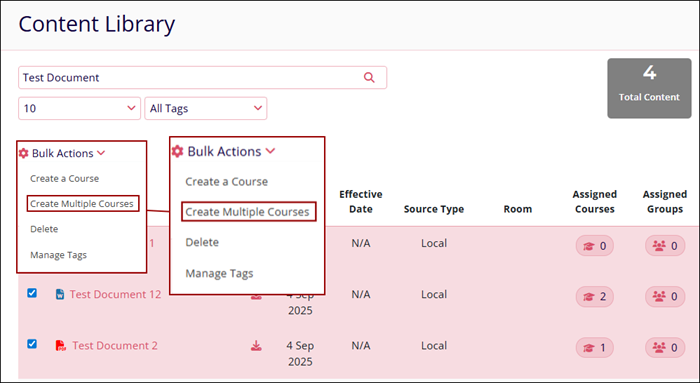
- Select multiple records by clicking the respective checkboxes. The Bulk Action dropdown becomes accessible.
- Click on the Bulk Actions dropdown and select the Create Multiple Courses
option.
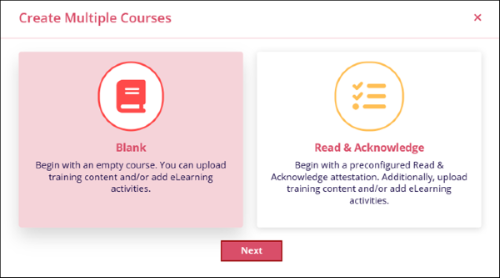
- On the Create Multiple Courses screen, select either Blank or Read & Acknowledge and
click on the Next button.
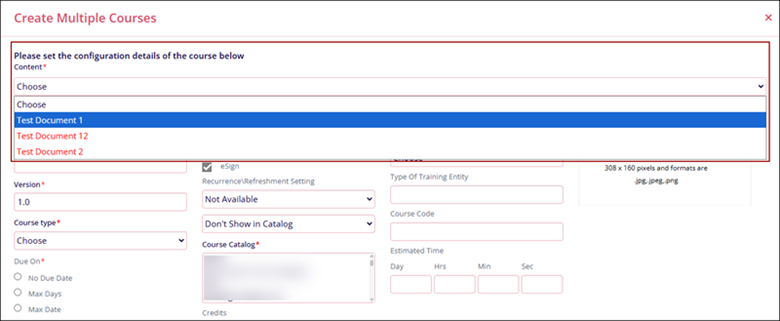
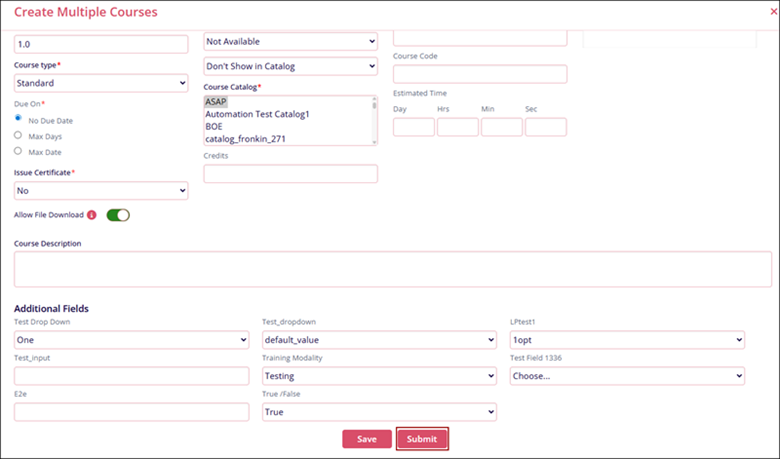
- On the Create Multiple Courses screen, select training content from the Content* dropdown,
fill in the other details, and click on the Save button.
- Repeat the same procedure for all other training contents.
- Once all courses are created, click on the Submit button.
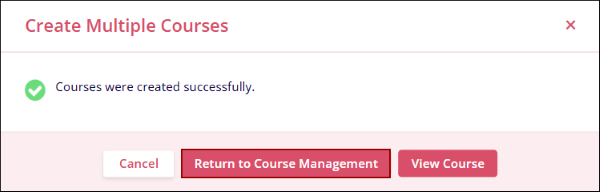
- The Create Multiple Courses popup displays the success message. Click on the Return to
Course Management button.
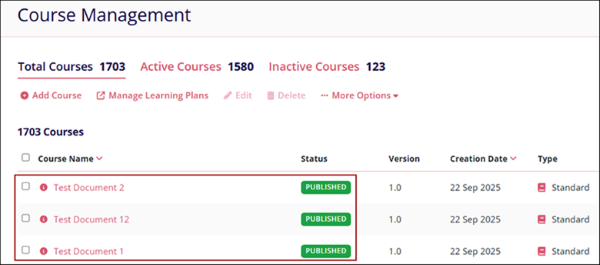
- The courses are displayed on the course management screen.
Delete
To delete multiple records, follow the steps below:
- Select multiple records by clicking the respective checkboxes, and click on the Bulk Actions dropdown.
- Select the Delete option.
- Refer to the further steps detailed in the Delete section.
Manage Tags
To allocate tags to multiple files simultaneously, follow the steps below:
- Select multiple records by clicking the respective checkboxes, and click on the Bulk Actions dropdown.
- Select the Manage Tags option.

- Refer to the further steps about adding tags detailed in the Edit a content name section.
TransPerfect’s Trial Interactive is an industry leader in practical, global eClinical innovation
PRODUCTS
 Linkedin
 X
X
Didn’t find what you need?
Our dedicated Project Management and Client Services team will be available to meet your needs
24 hours a day, 7 days a week.
Toll Free:
(888) 391-5111
help@trialinteractive.com
© 2025 Trial Interactive. All Rights Reserved
