eSign
Explore Job Aids for more help:
Job Aids
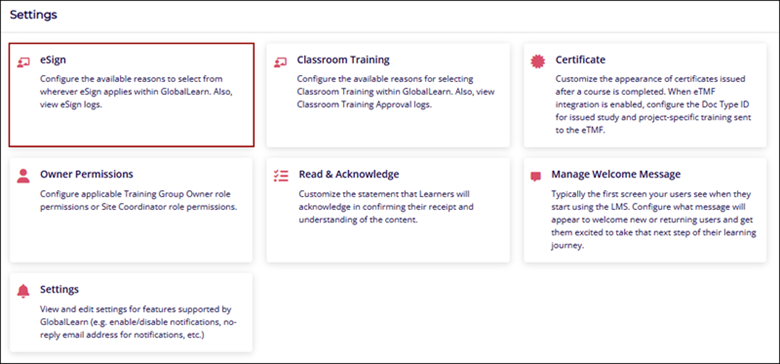
The eSign setting allows users to configure selectable reasons for use wherever eSignatures are required within GlobalLearn. Users can also view the corresponding eSignature logs.
Create Reason
To create an eSignature reason, follow the steps below:
- Navigate to the Company Dashboard page and select eSign.
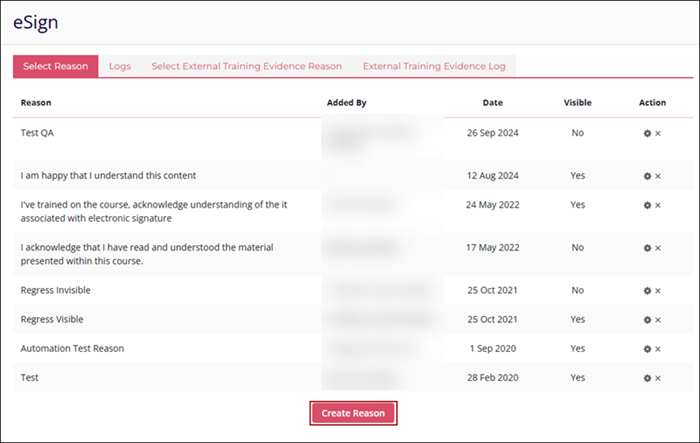
- Click on the Create Reason button on the eSign screen.
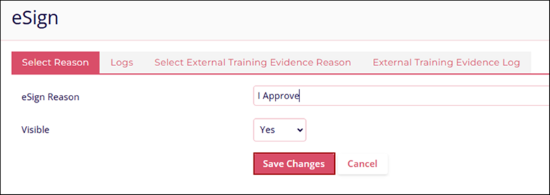
- Enter the following details to successfully create a reason and click on the Save
Changes button.
- eSign Reason
- Visible
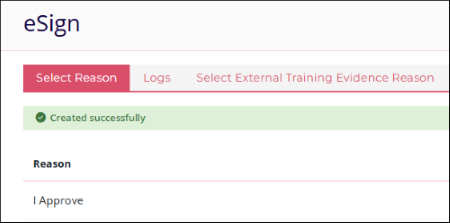
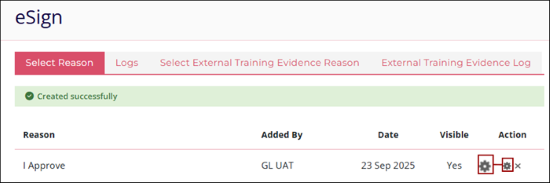
- The Select Reason tab displays the success message along with the newly created reason.
Edit Reason
To edit a reason, follow the steps below:
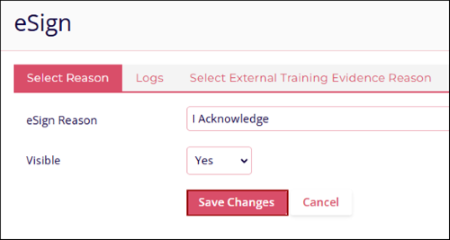
- Click on the Edit icon to edit a particular reason.
- Make the required changes and click on the Save Changes button.
Delete Reason
To delete a reason, follow the steps below:
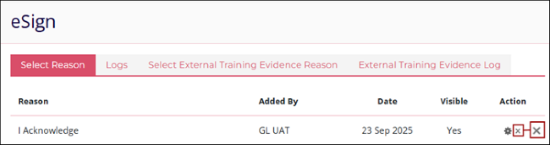
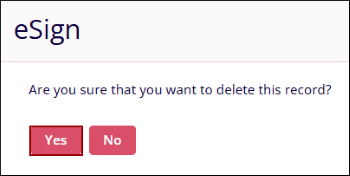
- Click on the Delete icon to delete a particular reason.
- Click on the Yes button on the confirmation popup.
Logs (eSign)
To retrieve the eSignature logs, follow the steps below:
- Click on the Logs tab on the eSign screen.
- Enter a search term in the Search box.
- Click on the Users, Courses, Reasons, and Pagination filters dropdown to apply filters based on these criteria.
- Enter the From and To dates to retrieve logs for a specific time.
.png)
Create External Training Reason
To create an external training evidence reason, follow the steps below.
- Select the Select External Training Evidence Reason tab and click on the Create
Reason button.
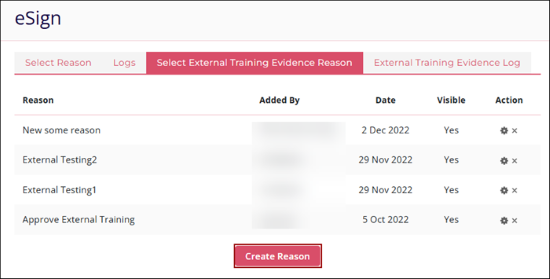
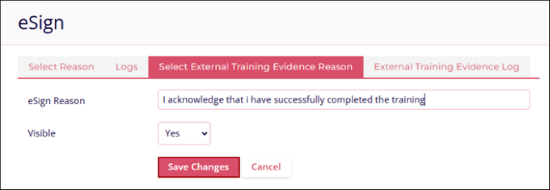
- Enter the following details to successfully create a reason and click on the Save
Changes button.
- eSign Reason
- Visible
- To Edit and Delete an external training reason click on the Select External Training Evidence Reason tab and follow the standard steps detailed in Edit a Reason and Delete a Reason sections respectively.
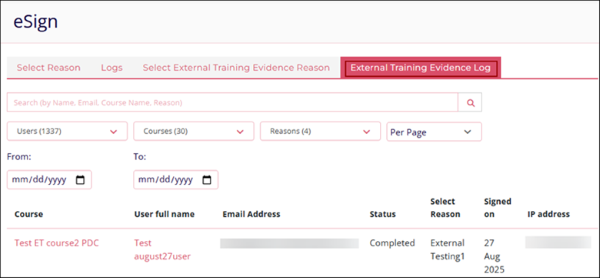
External Training Evidence Log
To retrieve the external training eSignature logs, click on the External Training Evidence Log tab and follow the standard steps detailed in the Logs section.
TransPerfect’s Trial Interactive is an industry leader in practical, global eClinical innovation
PRODUCTS
 Linkedin
 X
X
Didn’t find what you need?
Our dedicated Project Management and Client Services team will be available to meet your needs
24 hours a day, 7 days a week.
Toll Free:
(888) 391-5111
help@trialinteractive.com
© 2025 Trial Interactive. All Rights Reserved
