S3 Video
The S3 Video feature allows large video files to be uploaded to an S3 bucket and added to a course from a dropdown list. Learners can stream the video directly in the browser through an embedded player.
Important:
- Currently, the application does not support direct uploads of video files larger than 250MB, as it is designed for document viewers best performance with files under 250MB.
- For videos exceeding 250MB, the S3 bucket feature should be used when adding the file as a course resource.
- To enable uploads of videos larger than 250MB, contact the Trial Interactive Service Desk to configure the S3 bucket.
Process to Request S3 Bucket Access
- Submit a Service Desk (SD) ticket to the Trial Interactive Service Desk requesting S3 video upload access.
- The SD team configures the company’s S3 bucket (AWS settings).
- Once AWS settings are enabled, submit a follow-up SD ticket, or reply to the existing ticket, to request the S3 video upload link.
- The SD team provides SFTP access credentials (URL, username, and password).
- Upload the large video files to the provided SFTP location.
- The SD team adds the files to the configured S3 bucket.
- The video becomes available for selection from the S3 bucket as a course resource.
To add an S3 Video, follow the steps below.
- Click on the Resources tab and select S3 Video.
- On the Editing S3 Video screen, configure the following settings.
General Name Description. Name* Enter a suitable name for the S3 Video Description Enter a brief description of the video Display description on course page Enable this setting to view the video description on the Course Page and vice versa. 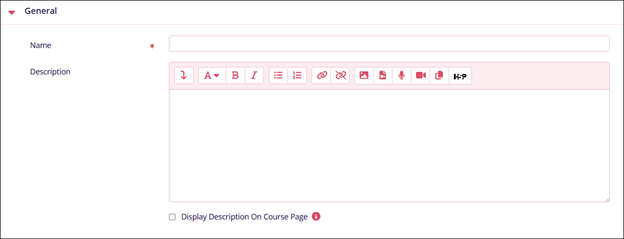
Content Name Description. External URL* Enter the URL link into the designated area. Choose Video from S3 bucket Click on the button and select a video from the S3 bucket. 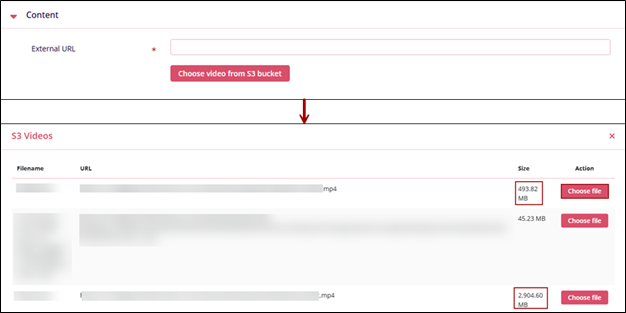
Common Module Settings Name Description. Availability Select either of the following
- Show on Course Page
- Hide on Course Page
ID Number Enter an ID number as a unique identifier for an activity for grade calculation purposes. 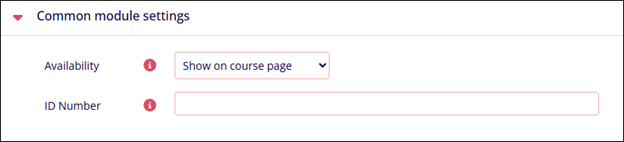
Restrict Access Name Description. Add Restrictions Refer to the Restrict Access section. 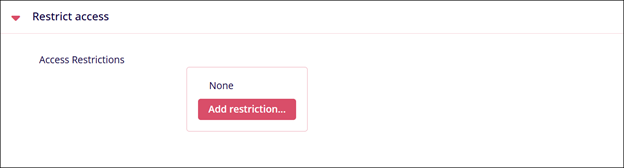
Activity Completion Name Description. Completion Tracking Select either of the following
- Do not indicate activity completion
- Students can manually mark the activity as completed
- Show activity as complete when conditions are met
Require View
Enable or disable the following
Student must view this activity to complete it
Note: Visible only if Show activity as complete when conditions are met is enabled in Completion Tracking.Expect completed on
Click the Enable checkbox and enter the date, month, and time. A specific timeline to complete an activity can be set by enabling this setting.
Note: Visible only if Students can manually mark the activity as completed is selected in Completion Tracking.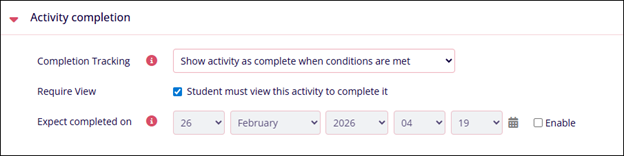
TransPerfect’s Trial Interactive is an industry leader in practical, global eClinical innovation
PRODUCTS
 Linkedin
 X
X
Didn’t find what you need?
Our dedicated Project Management and Client Services team will be available to meet your needs
24 hours a day, 7 days a week.
Toll Free:
(888) 391-5111
help@trialinteractive.com
© 2025 Trial Interactive. All Rights Reserved
