Configure Views
Users can customize their views by adjusting which columns are displayed, applying filters, and exporting records as needed.
Views
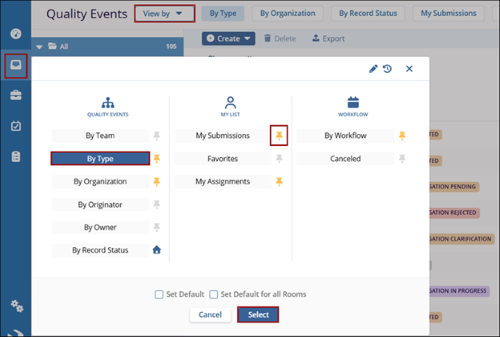
The Views functionality enables users to customize the left-hand navigation pane and select records based on specific categories.
To configure different views, follow the steps below:
- Select the Quality Events tab from the left-hand navigation pane and click the View By dropdown.
- Choose a view from the available categories.
- Click the pin icon to pin a view if needed.
- Select the Set Default and Set Default for All Rooms checkboxes.
- Click on the Select button.
Manage Columns
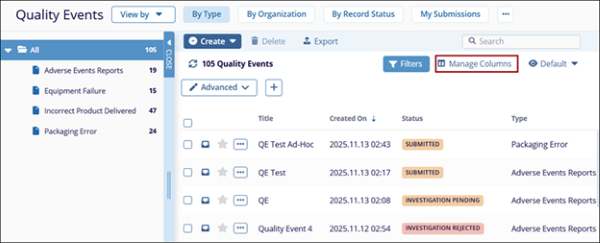
Users can configure which columns are displayed in the Records grid.
- Click the Manage Columns button in the top-right corner.
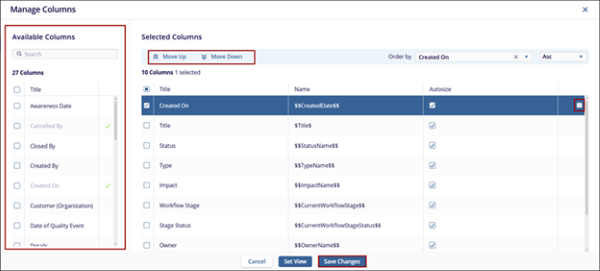
- To add a column to the Selected Columns pane from the Available Columns pane, drag & drop a column within the Selected Columns section.
- Alternatively, double-click on the columns in the Available Columns to add to the Selected Columns.
- To remove the columns, click on the x icon of a particular column within the Selected Columns section.
- Rearrange the column sequence by dragging and dropping the columns into the desired order, or click Move Up and Move Down buttons.
- Click on the Order by dropdown and select the criterion from the available dropdown options.
- Sort the columns in ascending and descending order by selecting the necessary option.
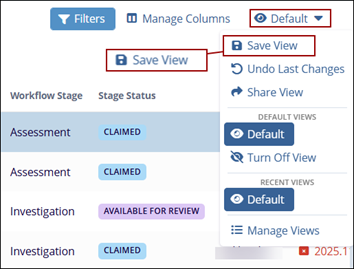
- Click on the Save Changes button.
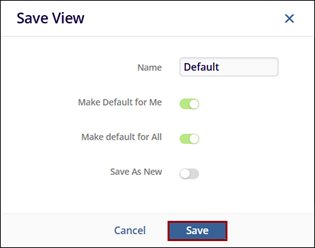
- On the Save View popup window, perform the following and click
Save.
- Name: If the view is new, provide a unique name. For an existing view, leave the name unchanged if required.
- Make Default for Me: Choose whether this view shall be set as default by enabling the toggle switch.
- Make Default for All: (Admins Only) Select whether this view should be the default for all users in the room. Users can change their default view later, but this will initially set the view for all users.
- Save As New: Save this as a new view by enabling the toggle switch.
- If the Set View is selected, click on the dropdown at the top left and
select Save.
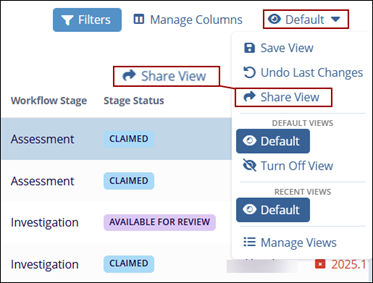
Share View
- Open the View menu at the top-right of the Grid and select the Share View
option.
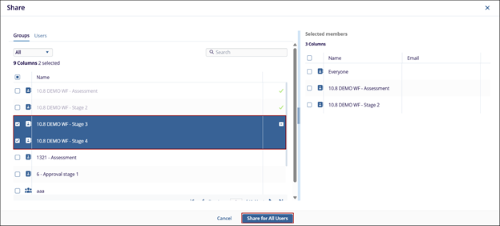
- Choose users or groups of users from the list at the left.
- Move these users to the right-hand panel by clicking and dragging or by hovering over the listing and using the + symbol at the right side of the line.
- Click on the Share for All Users button.
Export Records
To export records follow the steps below:
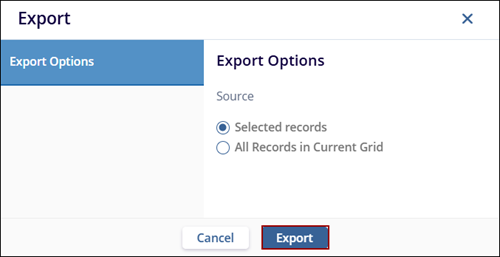
- Click on the Export button from the top menu bar.
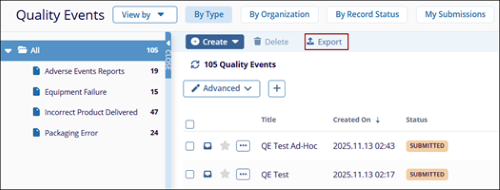
- On the Export window, select the desired option and click Export.
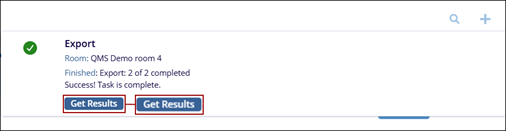
- Click on the Get Results button.
Note: If records are selected the Selected Records option is
activated.
© 2025 Trial Interactive. All Rights Reserved
