Create CAPA
Explore Job Aids for more help:
Job Aids
This section explains the process of creating a CAPA record from the Quality module. For creating a CAPA record, the originator user must have the Create CAPA action added from the User Management module.
To create a CAPA, follow the steps below:
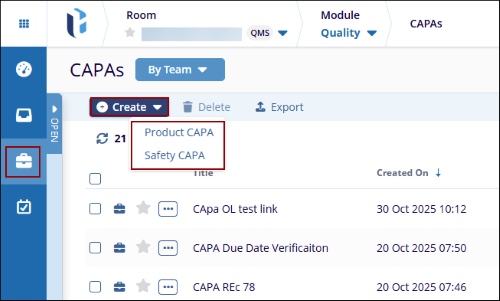
- Within the Quality module, click on the CAPAs modal from the left-hand navigation pane.
- Click on the +Create button from the top menu bar and select a record type.
- On the Create CAPA form, fill in the mandatory details within Step 1: General Info and
click on the Next button.
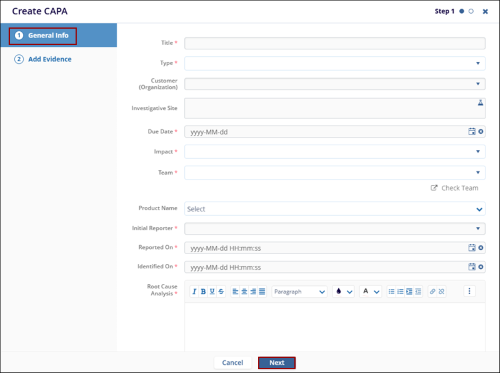
- Upload a file or folder as evidence and click on the Create Draft button.

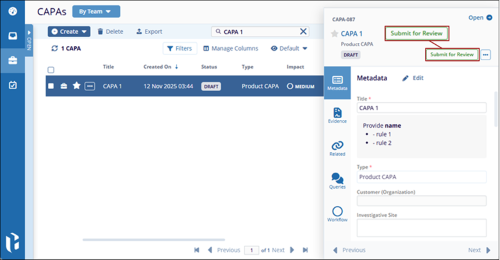
- Once the CAPA is created, it is saved in the Draft status.
- Click on the CAPA title and click on the Submit for Review from the metadata
panel.
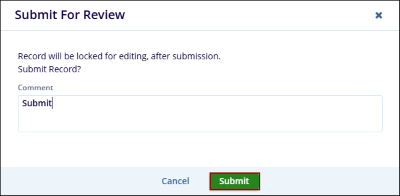
- On the Submit for Review popup, enter a comment and click on the Submit button.
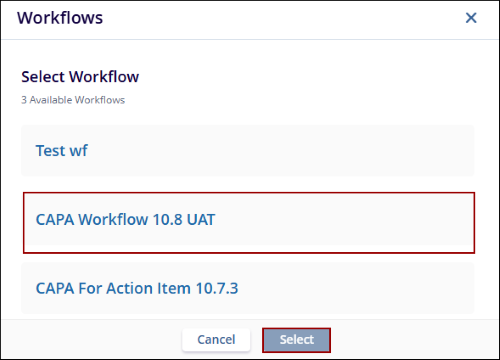
- Choose the appropriate workflow from the Workflows wizard and click on the
Select button.
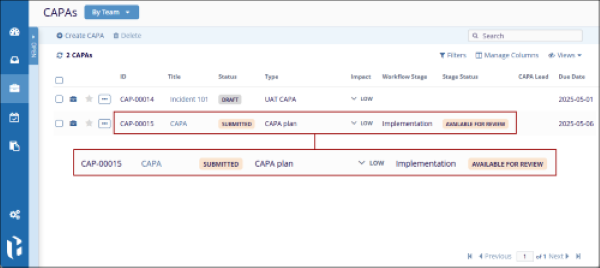
- Once the CAPA record is successfully transitioned to the first stage of the workflow.
The Record Status, Workflow Stage, and Stage Status display statuses as configured in the
workflow.
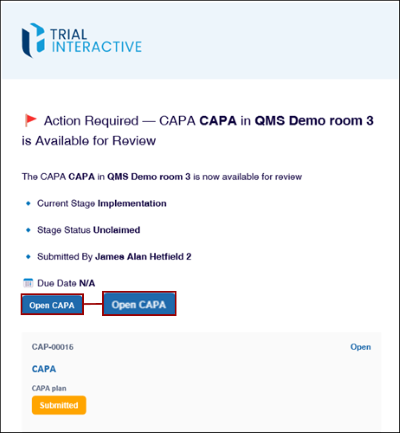
- Once the record enters the first stage of the approval workflow, the authority
receives an email notification about the CAPA record with CAPA details and a clickable Open
CAPA button to open the record.
Note:
- Email notifications about record transitions are sent to the relevant authority types based on the Approval Workflow configuration.
- The number of stages a CAPA record progresses through, along with its record and stage statuses, is determined by the configured Approval Workflow.
Create Related Records
In addition to creating a CAPA record using the CAPA modal, users can also create a related record linked to that CAPA.
Assignees During the Active Stage, Record Owner, Reporter, and Assigned Team Authority can add related records to a record, provided the Related Record settings have been configured for that record within the room settings.
For more information on configuring the related record settings, click here.
To create a related record, follow the steps below:
- Navigate to the Quality module > CAPAs tab and click on the CAPA title.
- From the Quality Events' quick view panel, click on the + Add Related button.
- Select the required option and create the record.
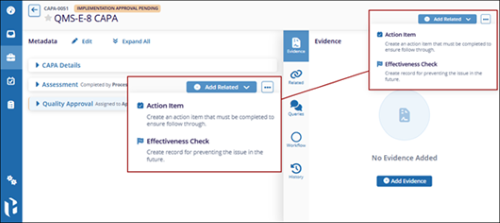
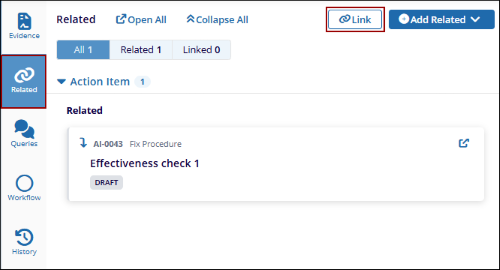
- The related record appears in the Related tab of the records metadata.
- To link any record, click the Link button.
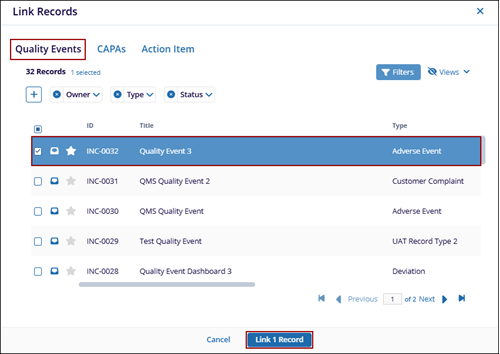
- In the Link Records window, select the Quality Events, CAPAs, or Action Items tab.
- Select one or more records and click the Link (number) Records button to
proceed.
Note:
- A related record can be created for a parent record according to the defined hierarchy:
Quality Events
>CAPA>Action Items>Effectiveness Checks. - When a new related record is created or removed for a parent record, Record Owner, Current Stage Assignee, and Assignees of Completed Workflow Stages receive an email notification.
© 2025 Trial Interactive. All Rights Reserved
