Record Type Profile
To configure the record type profile, follow the steps below.
- Select a record category, i.e., Quality Event, CAPA, and Action Item, etc., from the Record Types dropdown.
- Expand the parent and sub-folders, and select the desired record type.
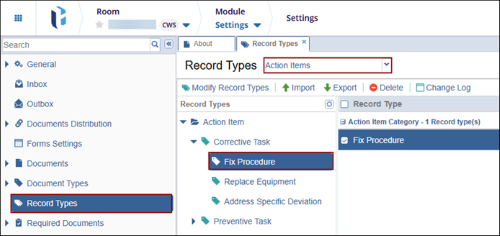
- Navigate to the Profile tab of the record.
- Configure the settings and click Save.
Note:
- When the Inherit From checkbox is enabled, the record type inherits configurations from its parent record type.
- Click the (?) icon, where available, to view the description of the setting.
Record Profile Configuration Details
To configure the record type configuration, perform the following:
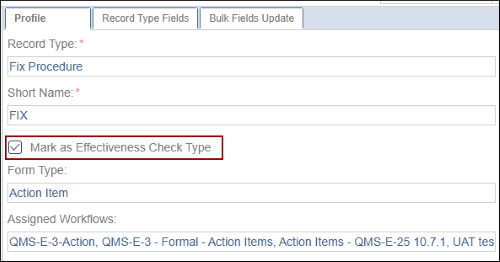
- Enter a Short Name* for the record type.
- For Action Item records, check or uncheck the Mark as Effectiveness Check Type
checkbox to indicate whether the action item record type is considered as an effectiveness
check type or not.

Note:
- The Form Type field displays the record type (for example, Quality Event, CAPA, or Action Item) and is non-editable.
- The Assigned Workflows field displays all workflows in the system associated with the record and is non-editable.
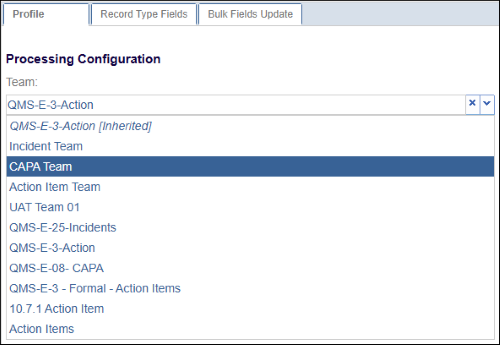
Processing Configuration
Navigate to the Process Configuration section, and select a team from the available dropdown options.
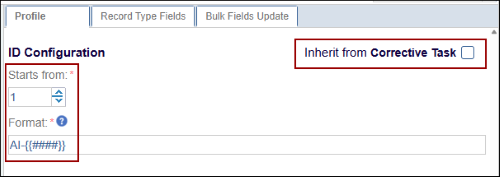
ID Configuration
Users can ensure flexible record nomenclature where naming and numbering, depending on the parent record, with numbering sequences restarting per parent.
To configure the record ID, perform the following:
- In the Starts from field, enter the required starting number for the record ID.
- In the Format field, place the cursor at the desired position, and click the Insert
Parent Reference button.
Related Records
The Related Records setting defines who can add related records to a record that is currently in progress.
To configure who can add related records, follow these steps:
- Select the checkboxes for the applicable roles to grant permission to add related
records:
- Assignee During Active Stage
- Record Owner
- Reporter
- Assigned Team Authority
- If Assigned Team Authority is selected, choose the appropriate role from the dropdown
(Process Owners, Contributors, or Approvers).
Important:
- When any of the above options are selected, the +Add Related dropdown button is displayed in the record’s metadata panel.
- Related records follow a defined hierarchy: Quality Events > CAPA > Action Items > Effectiveness Check.
- For example, when adding related records to a Quality Event, users can create CAPA, Action Items, or Effectiveness Checks, and continue accordingly based on the hierarchy.
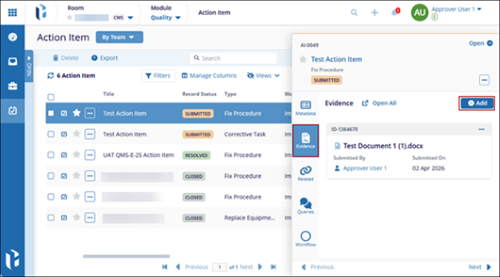
Evidences
The Evidence settings define who can add evidence to a record that is currently in progress.
To configure who can add evidence, follow these steps:
- Select the checkboxes for the applicable roles to grant permission to add related
records:
- Assignee During Active Stage
- Record Owner
- Reporter
- Assigned Team Authority
- If Assigned Team Authority is selected, choose the appropriate role from the dropdown
(Process Owners, Contributors, or Approvers).
Important:
- When any of the above options are selected, the +Add button is displayed in the
Evidences section of the records metadata panel.
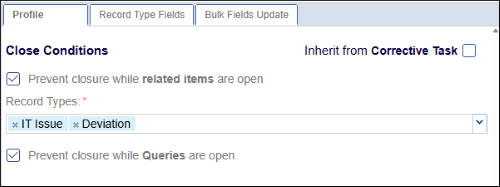
Close Conditions
To configure the close conditions, follow the steps below:
- Uncheck the parent record type checkbox and configure the following Close Conditions.
-
Prevent closure while related items are open: Select the checkbox to restrict record closure when any related items are open and specify which record types this rule applies to. Clear the checkbox to allow the record to be closed even if related items remain open.
-
Prevent Closure while Queries are open: Select this checkbox to prevent records from being closed when associated queries are unresolved. Clear the checkbox to allow record closure regardless of the query status.
- Allow Automatic Closure: Select the checkbox to automatically close the record
upon resolution. Enter the number of days in the Close Period field after which the
record will be auto-closed.
-
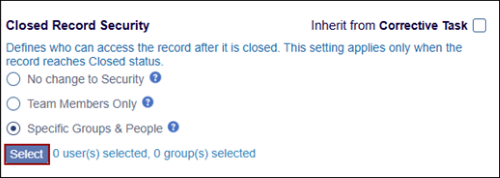
Closed Record Security
The Closed Record Security settings define who can access a record after it is closed. This setting applies only when the record reaches Closed status.
To configure the closed record security settings, follow the steps below:
- Choose any one of the closed record security conditions by selecting their respective
radio buttons.
- No change to Security
- Team Members Only
- Specific Groups & People
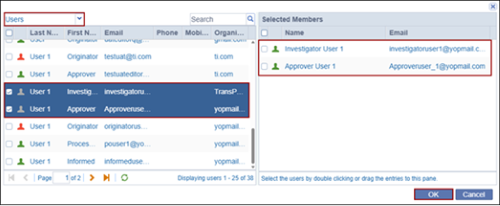
- If Specific Groups & People is selected, click the Select button.
- Click the dropdown at the top and select either Users or Groups.
- Drag & drop the users or groups within the Selected Members section.
- Click OK.
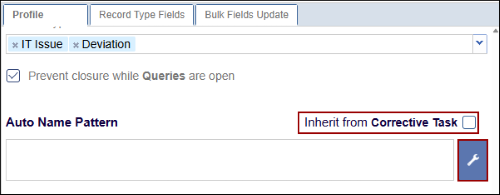
Auto Name Pattern
To configure the auto-name pattern, follow the steps below:
- Uncheck the parent record type checkbox to configure the Auto Name Pattern and click on
the wrench icon.
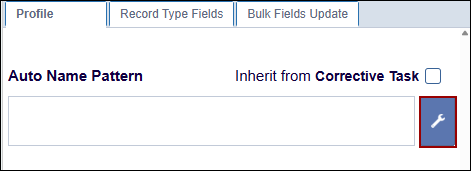
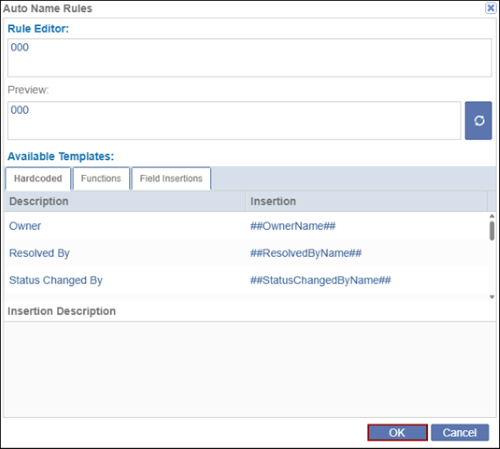
- On the Auto Name Rules window, add the necessary details in Rule Editor and select the required options from the Hardcoded, Functions, and Field Insertions from the Available Templates section.
- Click on the OK button once the necessary configurations are done.

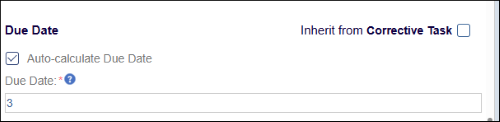
Due Date
The due date settings allow users to determine whether the Due Date field is automatically calculated or manually entered.
To configure the due date settings, follow the steps below:
- Select the Auto-Calculate Due Date checkbox.
- Enter the number of days in the Due Date field.
- Clear the checkbox to enable manual entry of the due date.

Other Details
Enter other details such as Universal ID, Description and Instructions.
© 2025 Trial Interactive. All Rights Reserved
