Generate Confirmation Letter
Users can create a confirmation letter for the site visit conducted.
To generate a Confirmation Letter, follow the steps below.
- Select the site for which the confirmation letter needs to be generated.
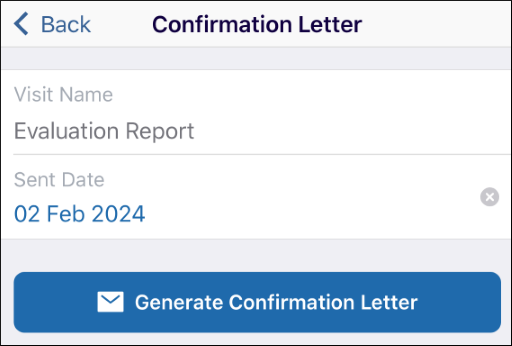
- Click the Confirmation Letter option displayed in the list. This opens the ‘Confirmation Letter’ page.
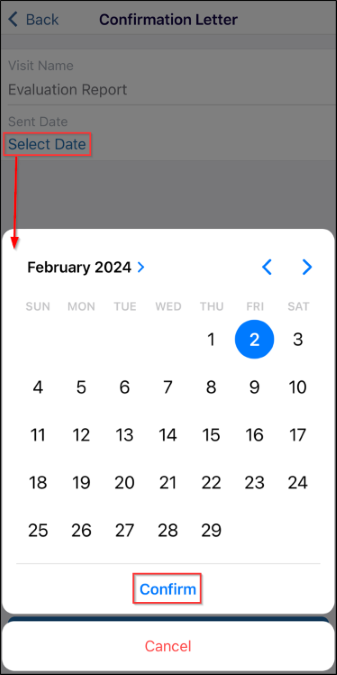
- Click the Select Date link to display the calendar and choose the required date.
- Click the Confirm button displayed at the bottom of the screen.
- Click on the Generate Confirmation Letter button.
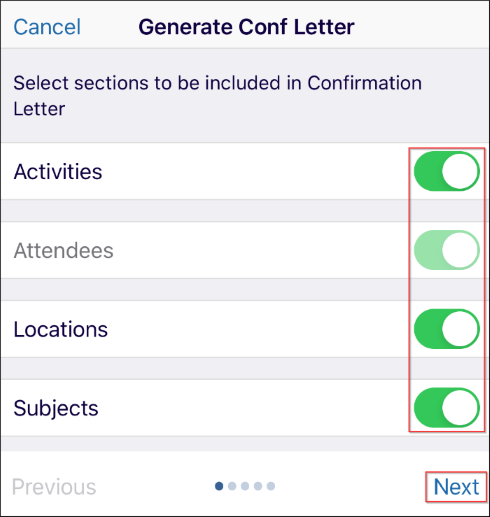
- Select the Toggle buttons for the sections that need to be included in the
confirmation letter – Activities, Locations, and Subjects. The Attendees toggle button is
disabled by default. After selecting, click the Next button displayed at the bottom
of the screen.
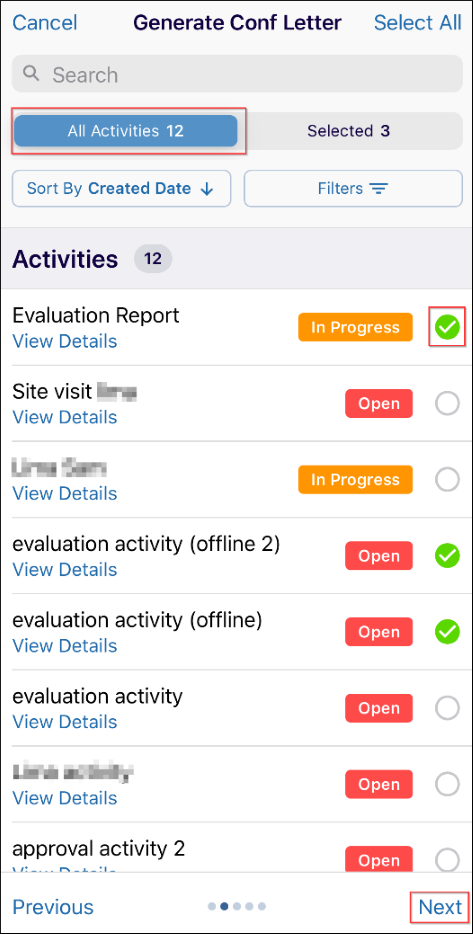
- Select the required Activities by clicking on the circle displayed on the right
side for each activity. Click the Next button displayed at the bottom of the
screen.
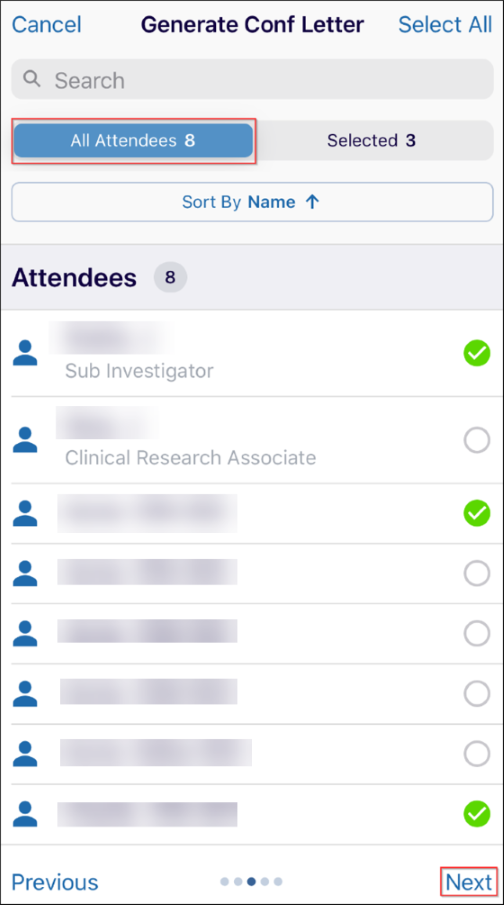
- Select the required Attendee(s) by clicking on the circle displayed on the right
side for each attendee. Click the Next button displayed at the bottom of the
screen.
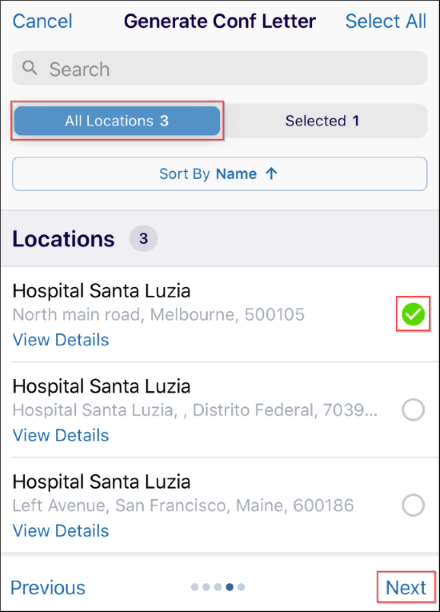
- Select the required Location(s) by clicking on the circle displayed on the right
side for each location.
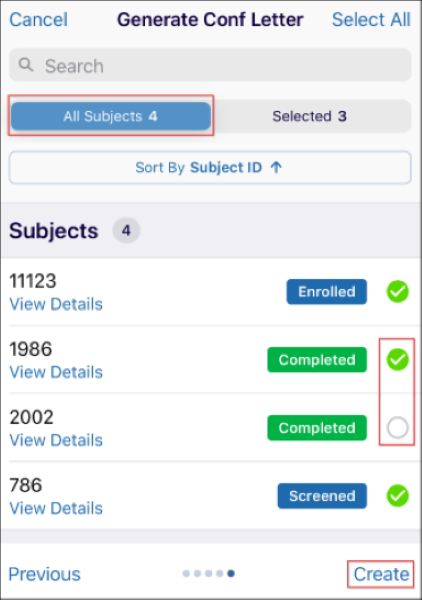
- Select the required Subject(s) by clicking on the circle displayed on the right
side for each subject. Click the Create button displayed at the bottom of the screen
after making the required selections for all the fields.
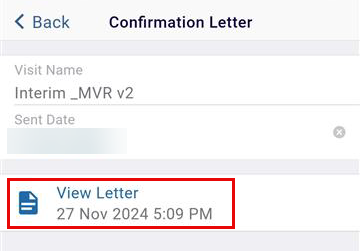
- Once the letter is successfully generated, click on the View Letter hyperlink.
TransPerfect’s Trial Interactive is an industry leader in practical, global eClinical innovation
PRODUCTS
 Linkedin
 X
X
Didn’t find what you need?
Our dedicated Project Management and Client Services team will be available to meet your needs
24 hours a day, 7 days a week.
Toll Free:
(888) 391-5111
help@trialinteractive.com
© 2025 Trial Interactive. All Rights Reserved
