Visit Activities
Users can add, edit, and remove new as well as existing activities.
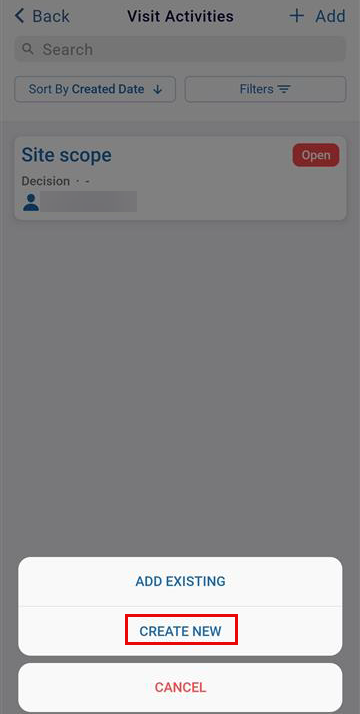
Create New Activity
- Select the Visit Activities tab from the Site Information screen.
- Click on the +Add button and select the CREATE NEW option.
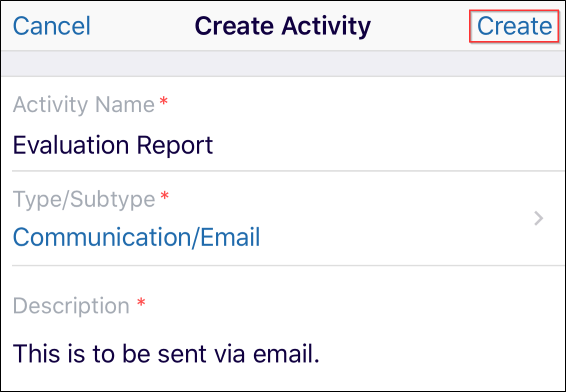
- On the Create Activity screen, enter the following details and click on the Create button.
Edit a Visit Activity
To edit a visit activity, follow the steps below.
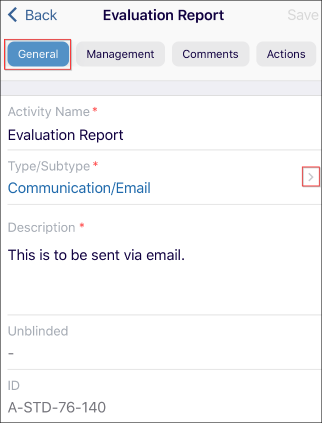
- Click on a visit activity to edit. This opens the ‘General’ tab of the visit activity.
- Make edits to the fields on the General tab.
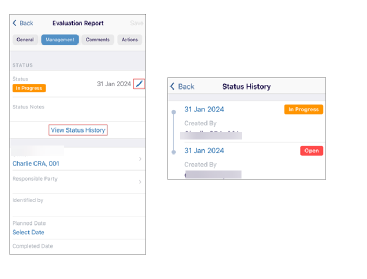
- Click the Management tab to edit the Status, Owner, and other details
displayed.
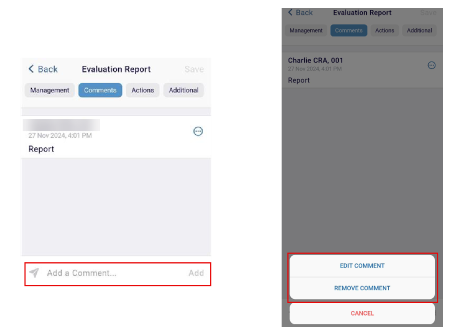
- Click the Comments tab to add a comment. Click the three-dot menu to edit or remove
an existing comment.
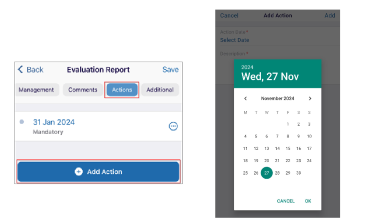
- Click the Actions tab to add a new action. Click the Select Date link to add
a date, and description and click the OK button.
- Click the Additional tab to add the ‘Received Date’ and ‘Sent Date’ by clicking on
the corresponding fields.
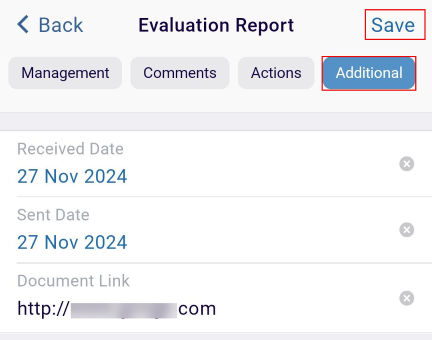
| Note: The Additional tab is dynamic and is displayed as per the configuration of the application for each client |
.
Add Existing Activity
To add an existing activity, follow the steps below.
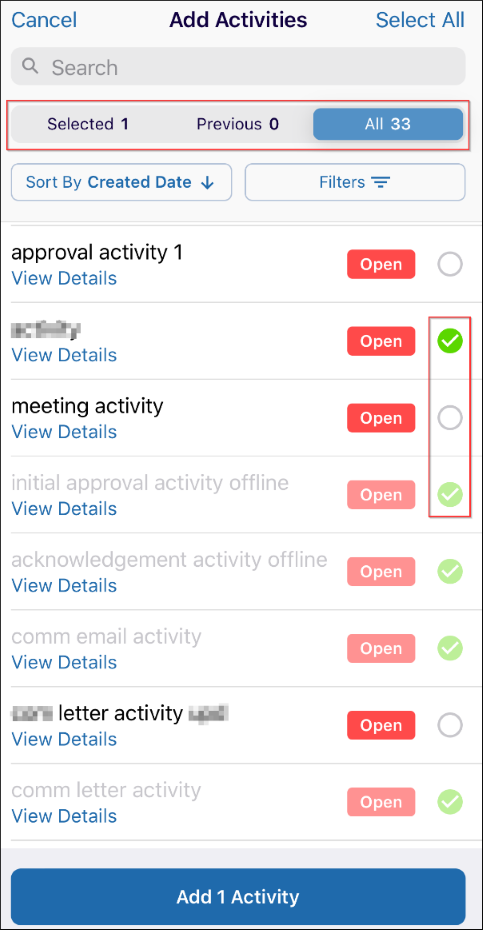
- Click on the +Add button and select the ADD EXISTING option.
- Toggle between the tabs displayed below the Search field and select the required attendees.
- Click the Add (number of activities) Activity button displayed at the bottom of the
screen.
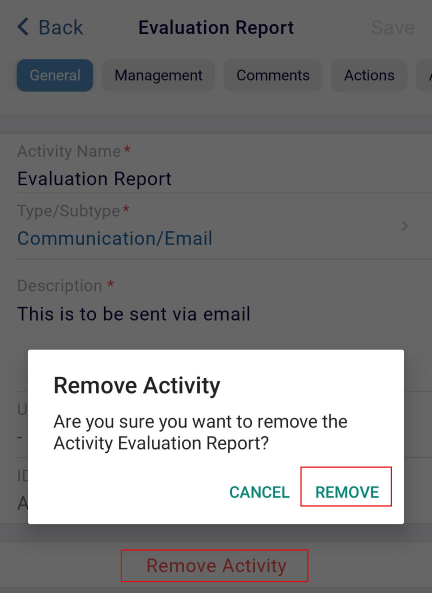
Remove an Activity
To remove an activity, follow the steps below.
- Select an activity and click on the Remove button.
- Confirm the deletion by clicking on the Remove button on the Remove Activity confirmation
popup.
Sort and Filter
To sort and filter the Visit Activities screen, follow the standard steps detailed in the Customize Site Visit screen section.
TransPerfect’s Trial Interactive is an industry leader in practical, global eClinical innovation
PRODUCTS
 Linkedin
 X
X
Didn’t find what you need?
Our dedicated Project Management and Client Services team will be available to meet your needs
24 hours a day, 7 days a week.
Toll Free:
(888) 391-5111
help@trialinteractive.com
© 2025 Trial Interactive. All Rights Reserved
