Workflows
To create a Workflow, follow the steps below:
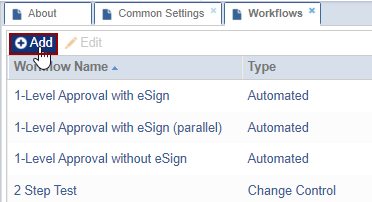
- Click the Add button from the grid. The Workflow Editor window will open.
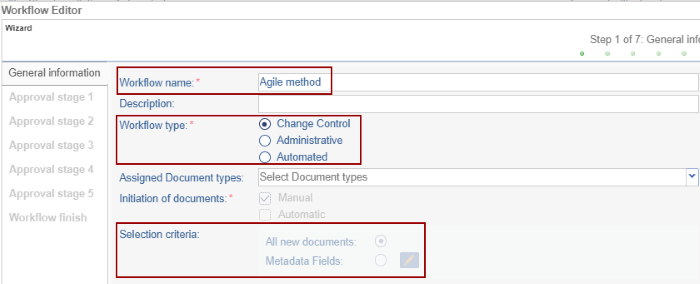
- Enter the Workflow name, select the Workflow type, and Initiation of documents.
- Add the Selection Criteria as either All new documents or Metadata fields that need
to be reviewed.
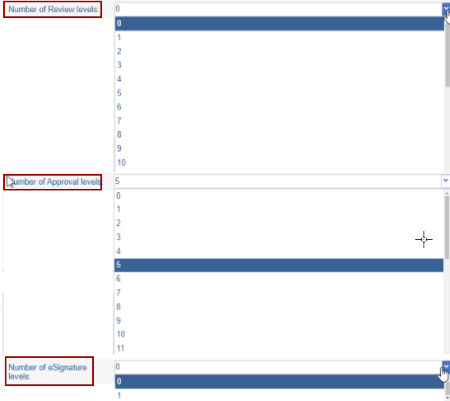
- Select the number of Review Levels, Approval Levels, and
eSignature levels.
- Click on the +Add button on the Initial Stage
section.

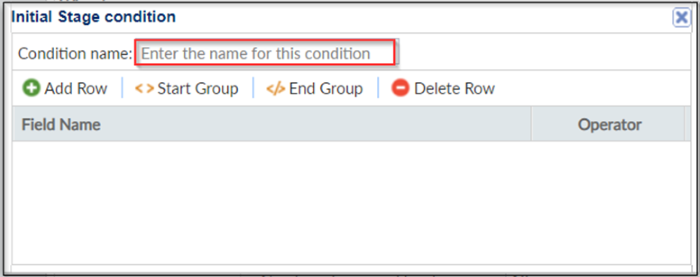
- The Initial Stage condition pop-up window is displayed. The
user can apply a condition to select documents for review as per a
particular condition.
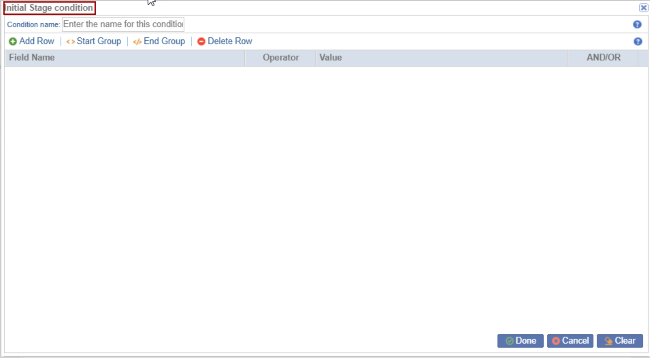
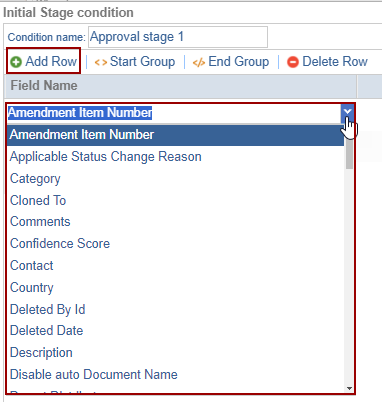
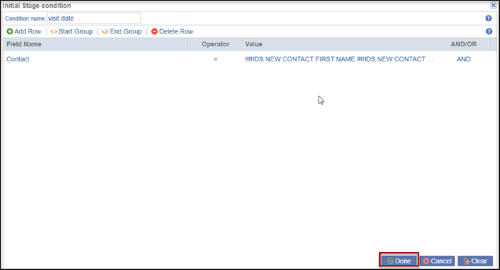
- Enter the Condition name in the blank field.
- Add multiple conditions by clicking the Add button the field gets added below
the Field Name.
- To decide their sequence filter documents with the green arrow keys. Use And / Or
operators to have all / either of the conditions to execute.
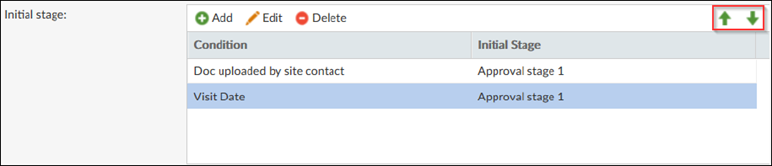
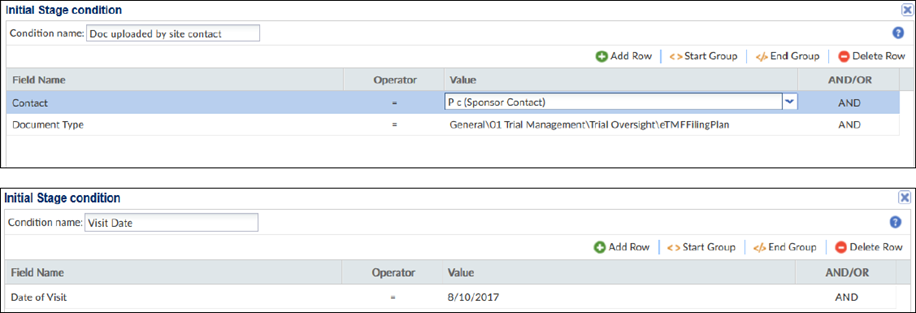
- Documents uploaded by the site contact on a particular site visit date would be
added to the workflow. The details of each condition are as below:
- Click Start Group button to start the group by
adding the category. Clicking on the End Group
button the started group gets over.
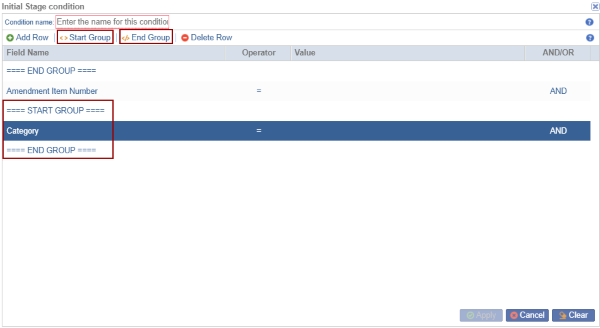
- To delete an added row, select the row and click Delete Row button.
- Click on the Done button to apply the condition.
- Click on the Next button. This opens the configuration wizard of the first
stage of the workflow.
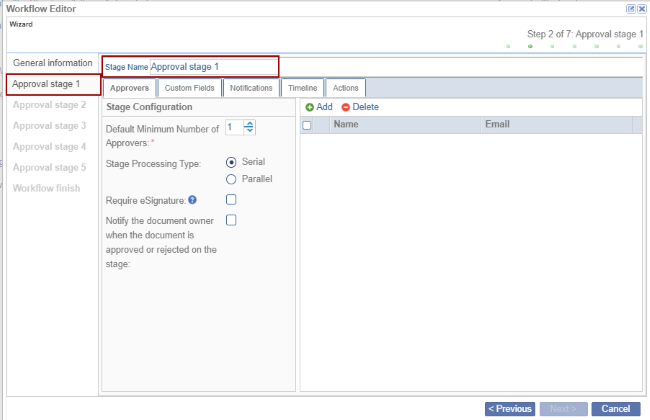
The Workflow screen displays the following tabs:
- Appvers
- Custom Fields
- Notifications
- Timeline
- Actions
© 2025 Trial Interactive. All Rights Reserved
