Create CDA
To create CDA, follow these steps:
- Select a published form, the Form Statistics page opens.
- Click the General tab from the top toolbar of the Form Statistics page.
- Click on the Enable CDA, the Confidentiality Agreement Settings dialog box opens.
-
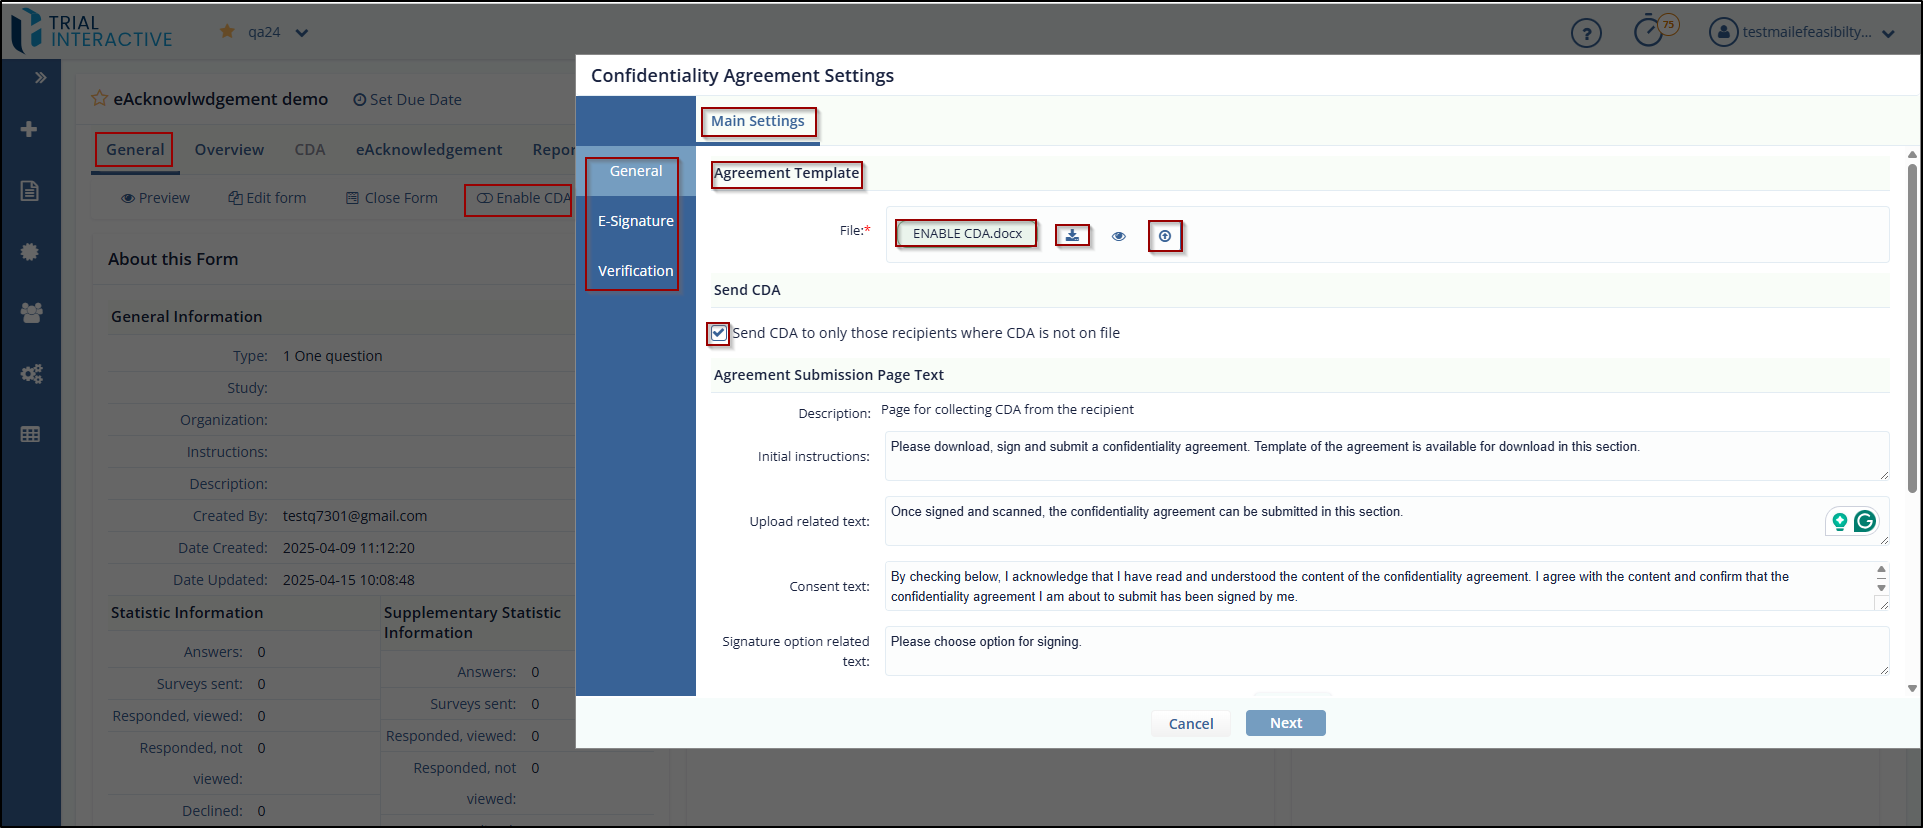
Review the layout of the Confidentiality Agreement Settings dialog.
The layout includes, a Main Settings tab on the top, General, E-Signature, and Verification tabs on the left.
- Sections for Agreement Template, Send CDA, Agreement Submission Page Text, and Verification in Progress Page Content.
- In the Agreement Template section, click Upload File to upload
a CDA document.
- Once uploaded, the file name appears.
- A blue up-arrow is displayed to allow file replacement.
Note: Only .doc or .docx file formats are supported.
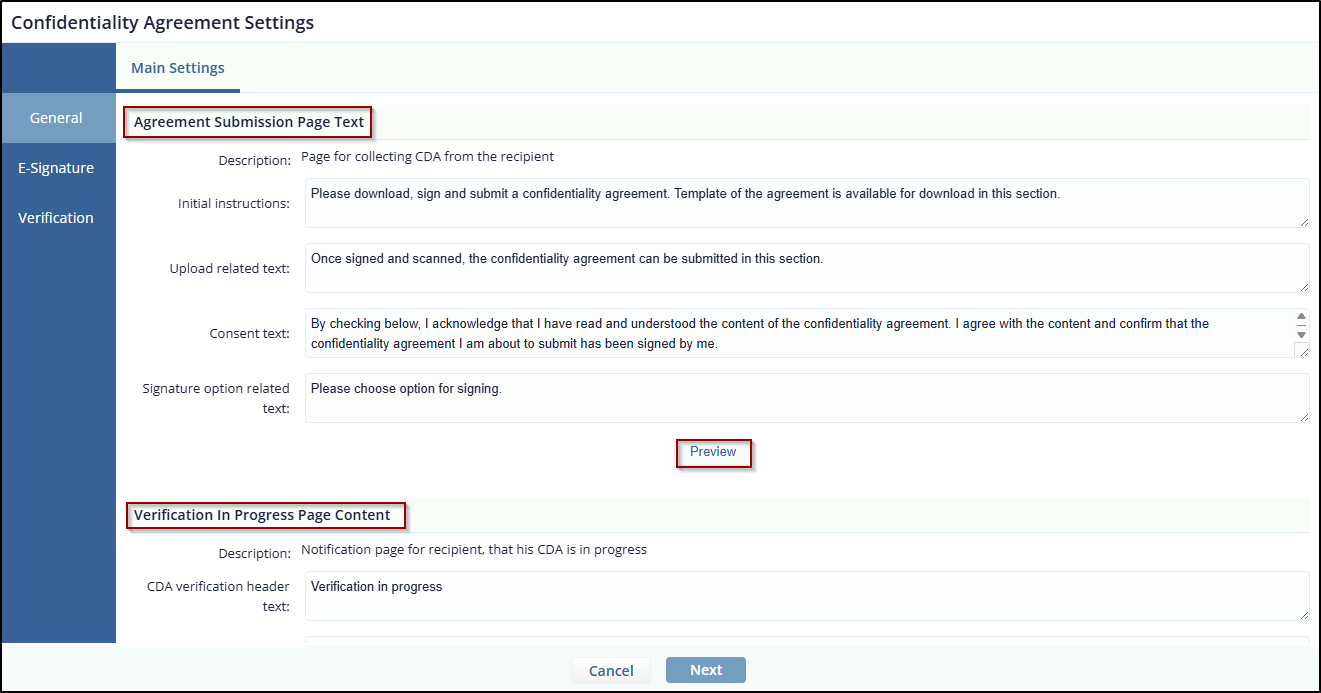
- Scroll to the Agreement Submission Page Text section
and fill in the following fields:
- Initial Instruction.
- Upload Related Text.
- Consent Text.
- Signature Option Related Text.
- Configure the Verification in Progress Page
Content section:
- Enter the Description, Verification Header Text, and Verification Message Text.
- Click Preview to view how this section appears to submitters while CDA is under review.
- Under the e-Signature tab, choose one of the
following signature methods:
- Digital Signature – Enabled by default.
- DocuSign – Available only if configured under Settings > E-Signature.
- Click Next to continue to E-Signature
settings. The next screen displays:
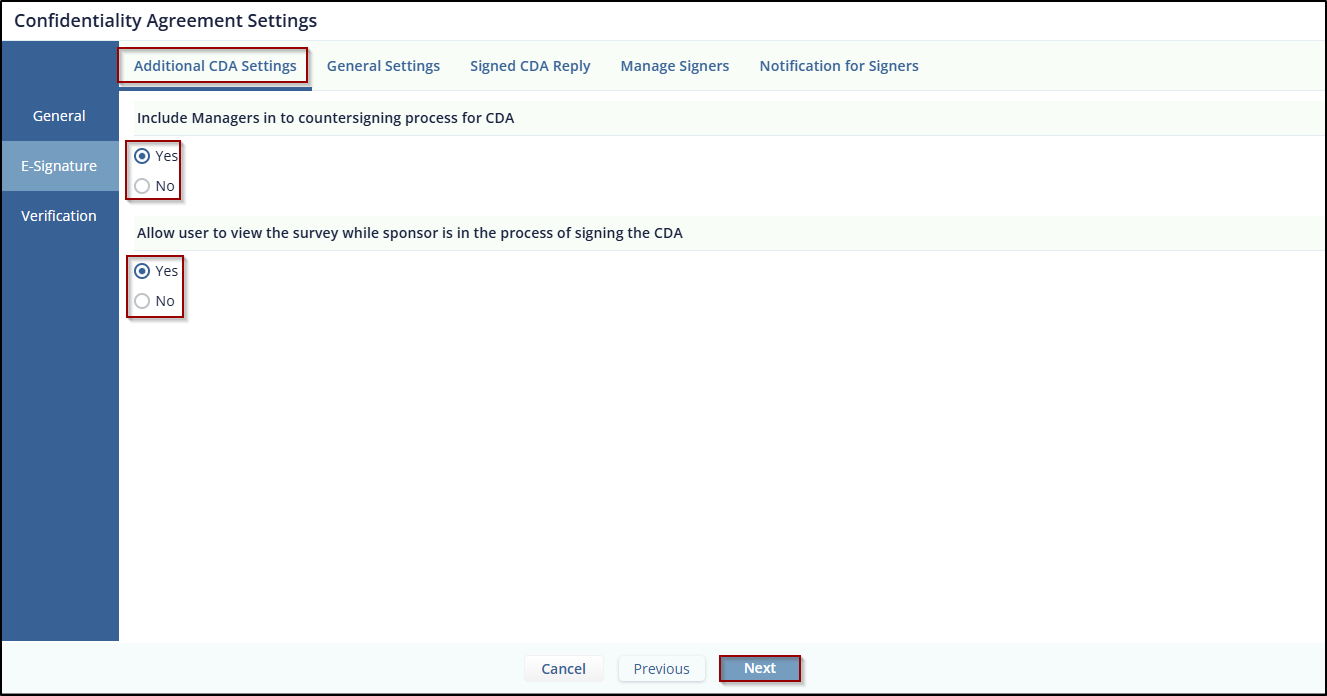
- Top tabs: Main Settings, Additional CDA Settings, General Settings, Verification Email, Signed CDA Reply, Manage Signers, and Notification for Signers.
- Additional CDA Settings, allows user to Include Managers in to
countersigning process for CDA and Allow user to view the survey
while sponsor is in the process of signing the CDA.
-
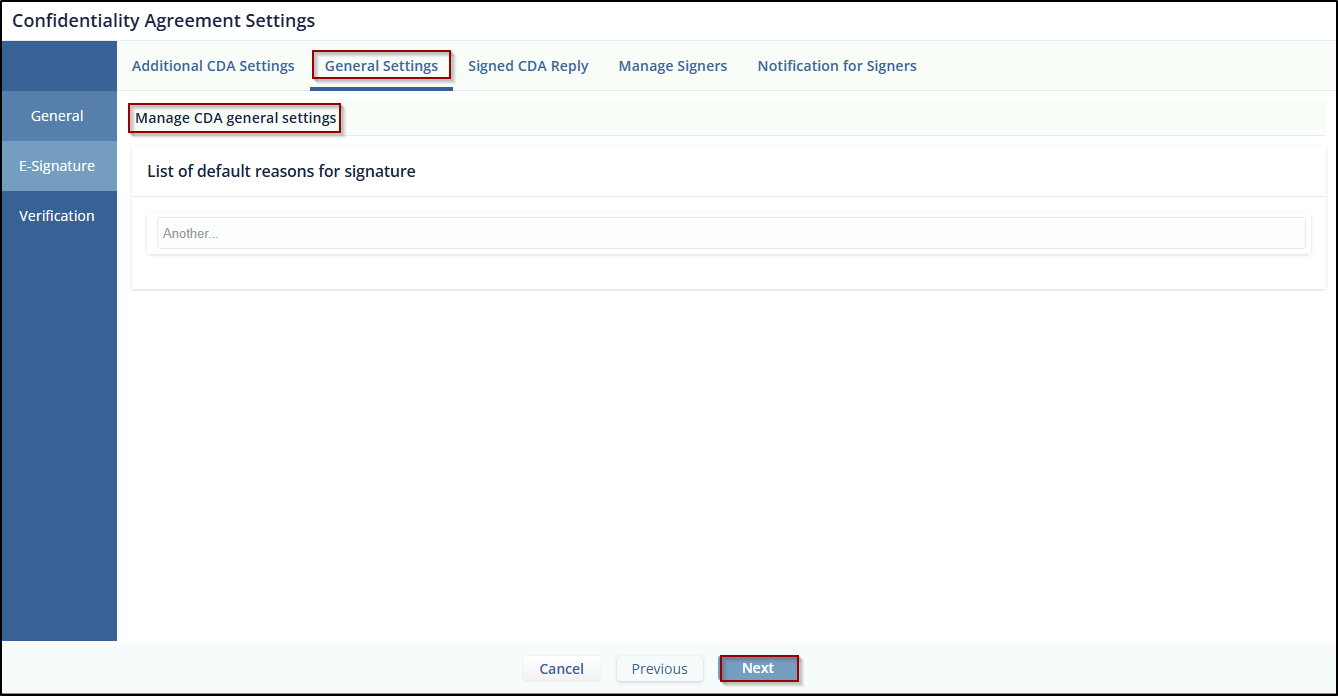
Click on the Next button, display the General setting screen, allows the user to manage CDA general settings.
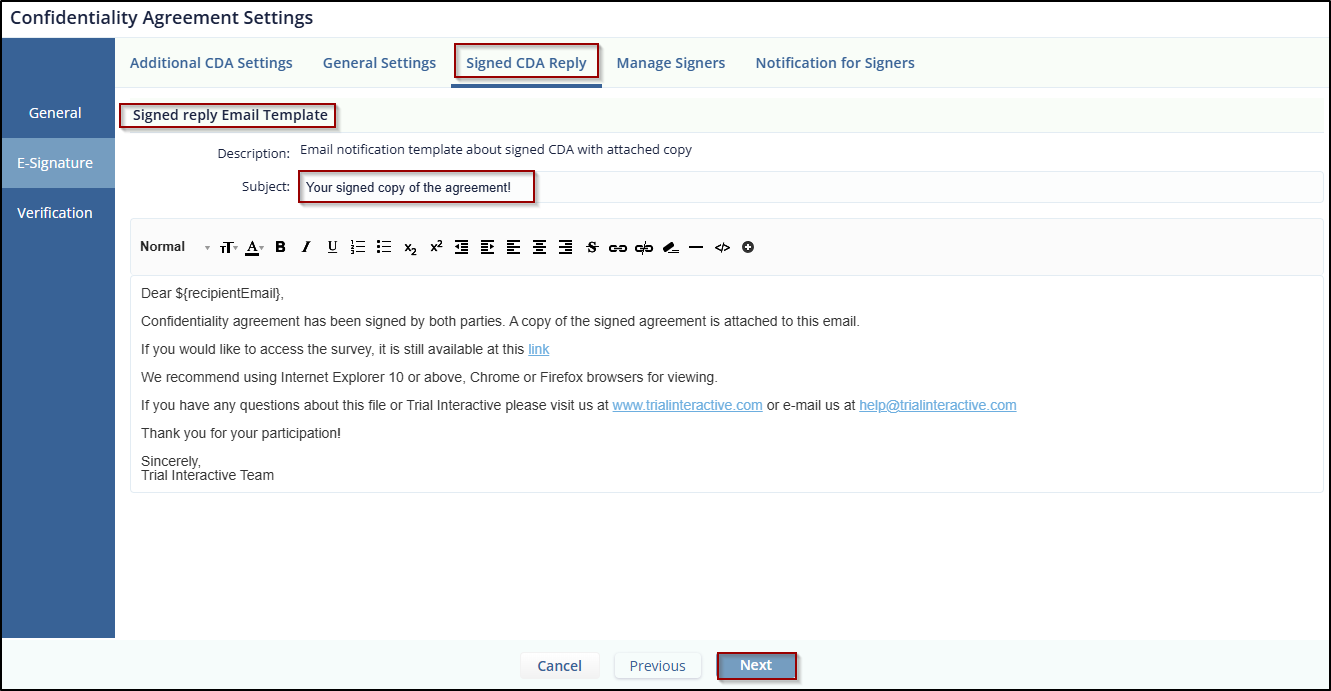
- Click on the Next button, display the Signed
CDA Reply screen, allows the user to send a signed reply email.
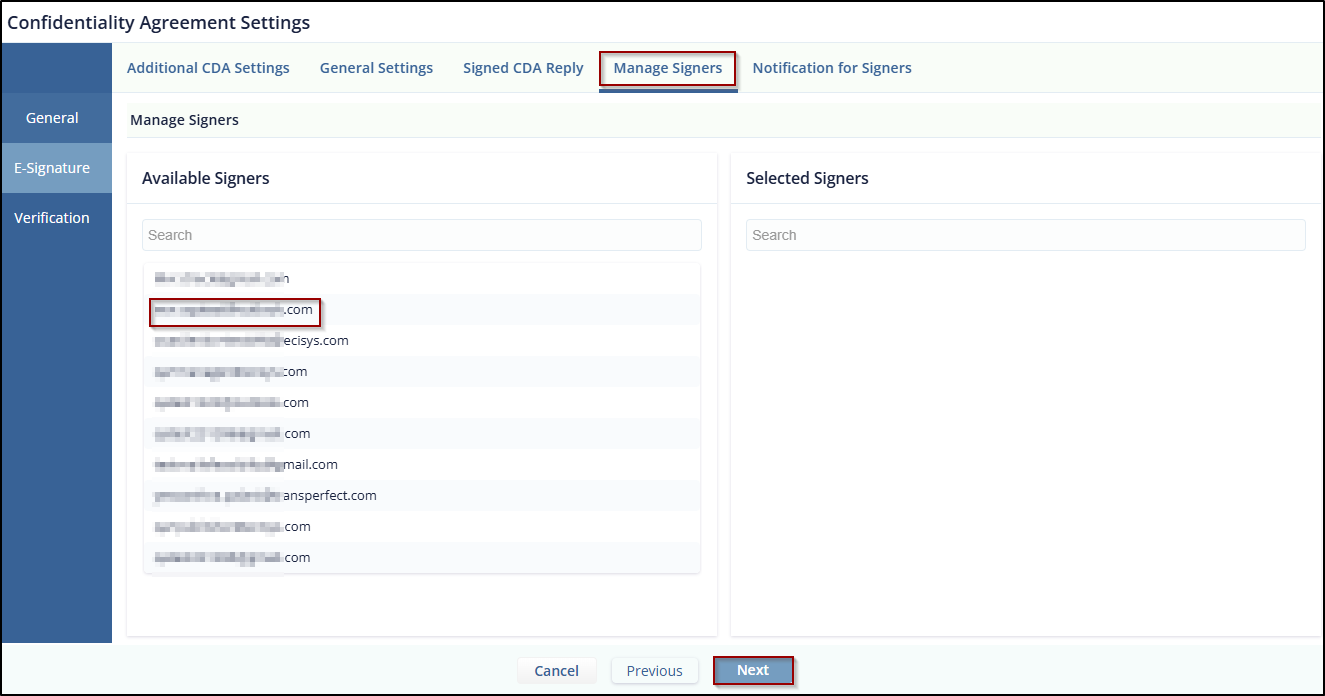
- Click on the Next button, display the Manage Signers screen,
where the user can select signers from the available Signers.
-
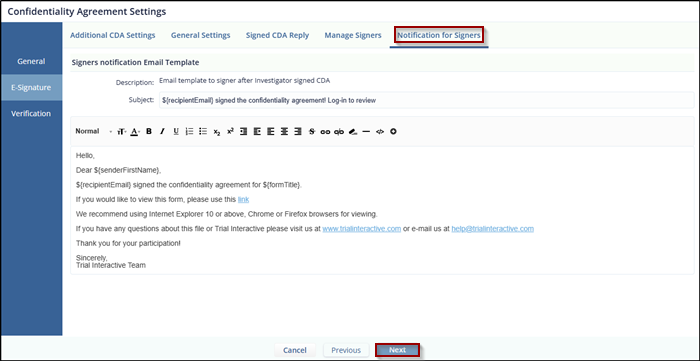
Click Next to proceed, and it displays a Notification for the signer’s screen.
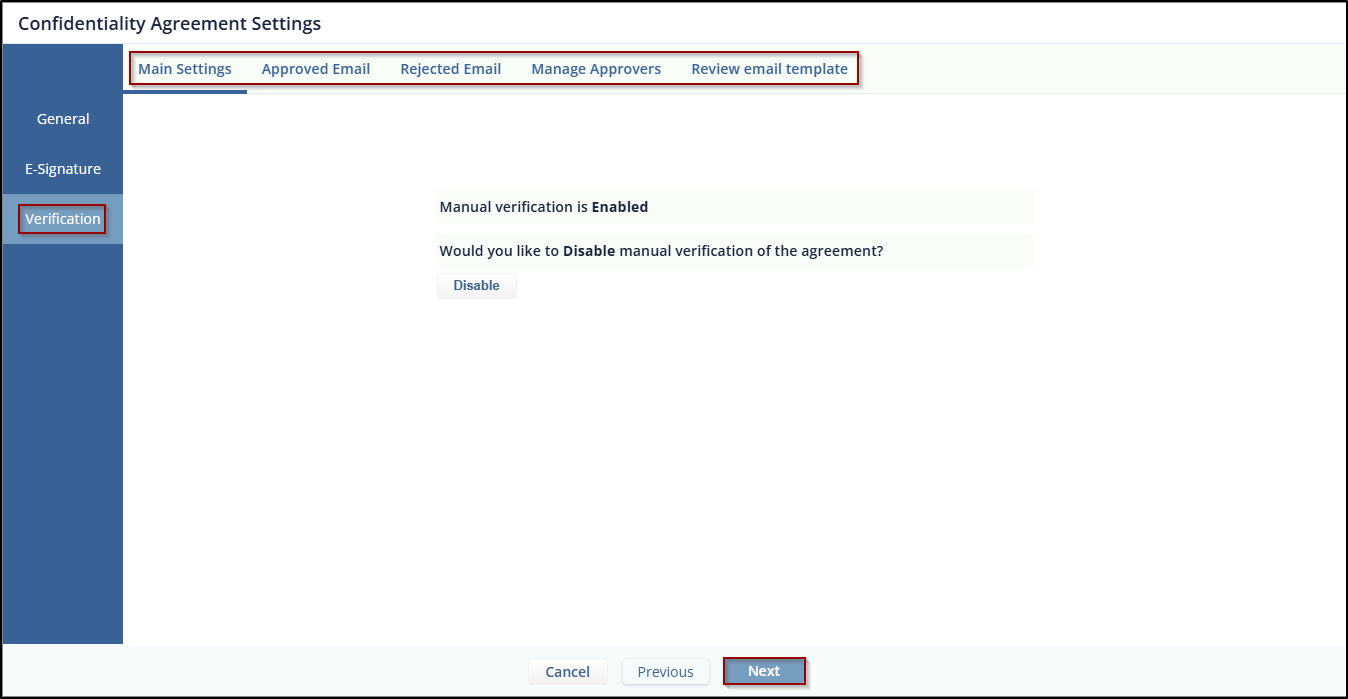
- Click Next to Proceed and continue through the remaining
Verification setting as needed.
- Click on Finish, once all setting is done.
TransPerfect’s Trial Interactive is an industry leader in practical, global eClinical innovation
PRODUCTS
 Linkedin
 X
X
Didn’t find what you need?
Our dedicated Project Management and Client Services team will be available to meet your needs
24 hours a day, 7 days a week.
Toll Free:
(888) 391-5111
help@trialinteractive.com
© 2025 Trial Interactive. All Rights Reserved
