Expired Documents
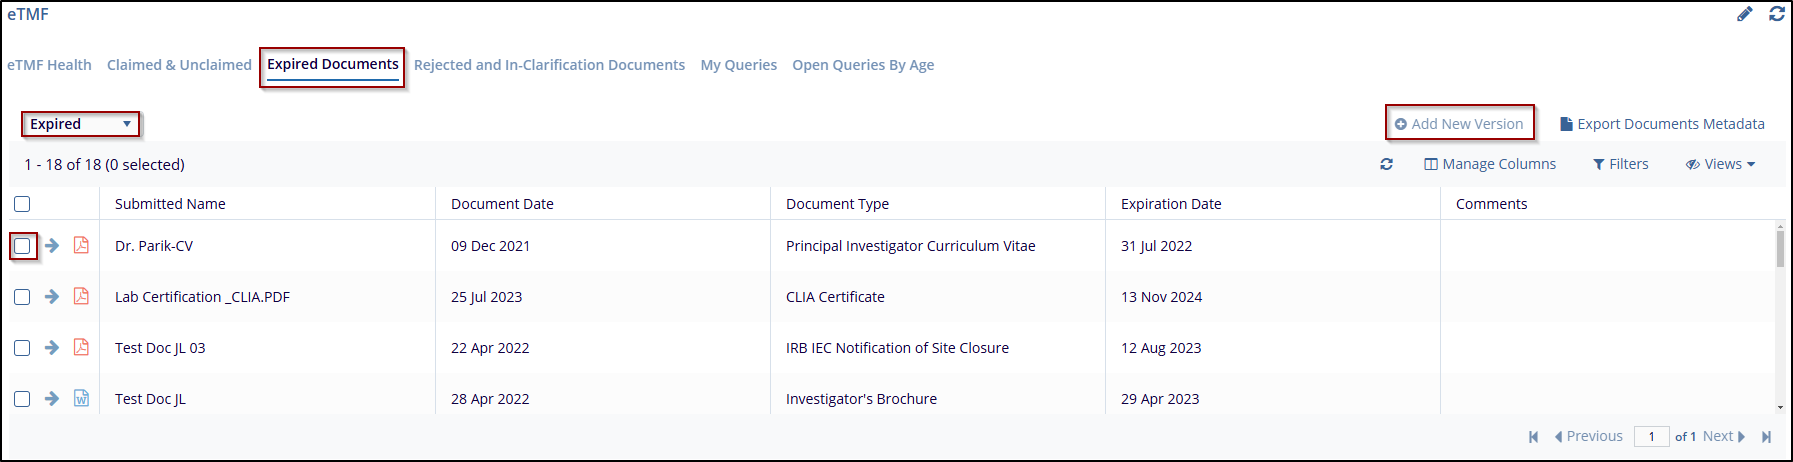
The Expired Documents tab, lists documents that are either expiring or already expired, based on the specified expiration period. The Expired Document tab allows users to track these documents, monitor their expiration, and take action.
Steps to manage Expired documents by replacing them with updated versions:
- Navigate to the eTMF dashboard, and select the Expired Document tab.
- The user can apply the filter to view Expired or Expiring documents. Select the option to focus on documents that are already expired or those approaching expiration.
- Check the checkboxx next to the blue arrow and click the ‘+Add New
Version’ button at the top-right of the dashboard.
- This will open the new ‘Add New Version’ window and select the appropriate
option.
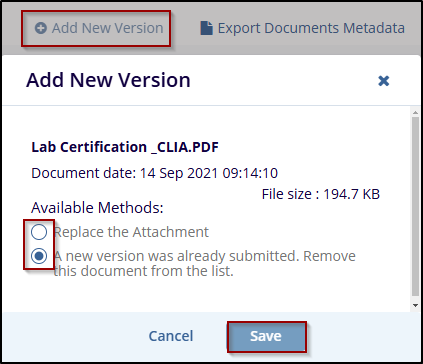
- The options available are configurable by the room administrator in the Settings area.
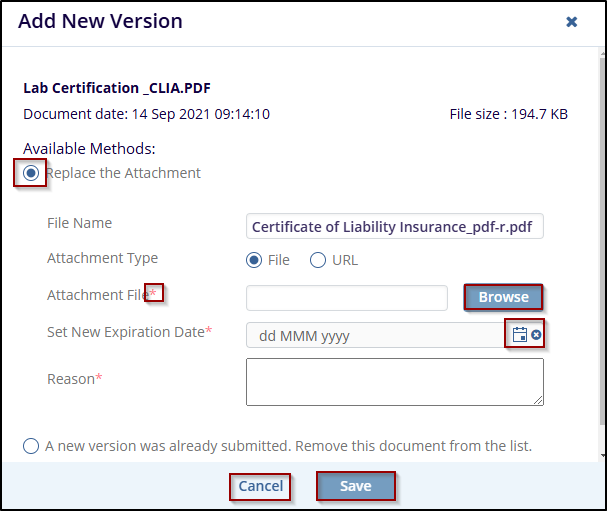
- If ‘Replace the Attachment’ is chosen, click the ‘Browse’ button and locate the new version of the file.
- Set the new ‘expiration date’, and give the ‘reason’ for the replacement in the comment box.
- If the ‘A new version was already submitted. Remove this document from the list. Nothing else needs to be done. The document will be removed from the list of expiring documents.
- Press ‘Save’ to save the changes or click ‘Cancel’ to discard the
changes.
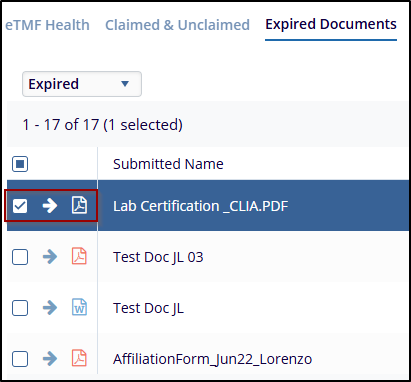
- Select the required and appropriate checkboxes from the Submitted name option to select the document, next to the checkboxes, the user can click on the blue arrow (Go to the document), which will navigate to the document index.
- Click on the PDF icon will open a new window, The PDF opens in the window,
allowing the user to navigate through the pages using the controls at the top (e.g.,
Print, download, page navigation arrows, zoom options, full page, turn page,
search Icon, image processing menu, show and hide).
- click on the Export Documents Metadata button, and a new window will pop up
with 2 options:
- Export option and Select Metadata fields.
- Select the Export option will give 2 sources:
- Selected records: Choose this option to export metadata only for specific selected documents.
- All documents in the current grid: Choose this option to export metadata for
all documents currently displayed in the grid.
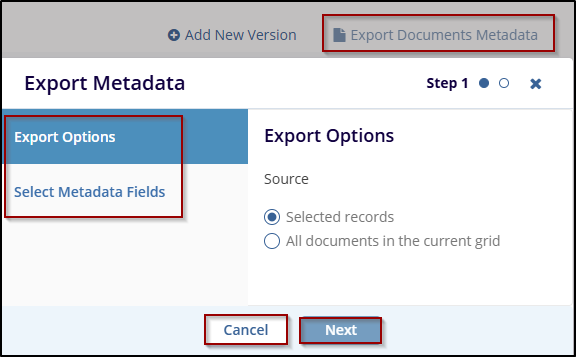
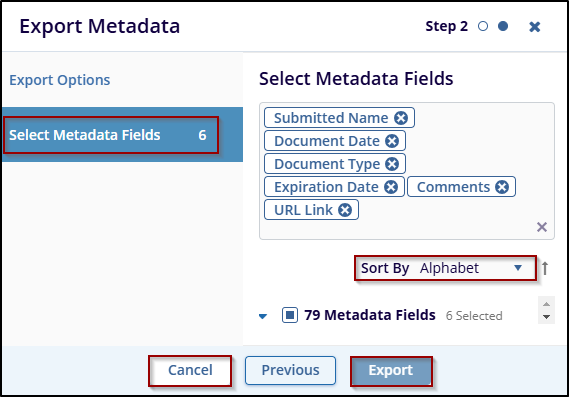
- Click Next to proceed to Select Metadata Fields, where the user can choose the metadata fields to include in the export.
- The user can use the Sort By dropdown to sort the available metadata fields alphabetically or logically.
-
Click Export to download the document metadata file in the preferred format, if the user wishes to go back click on the Previous button or click Cancel to discard the changes
 Linkedin
 X
X
