Contacts Management
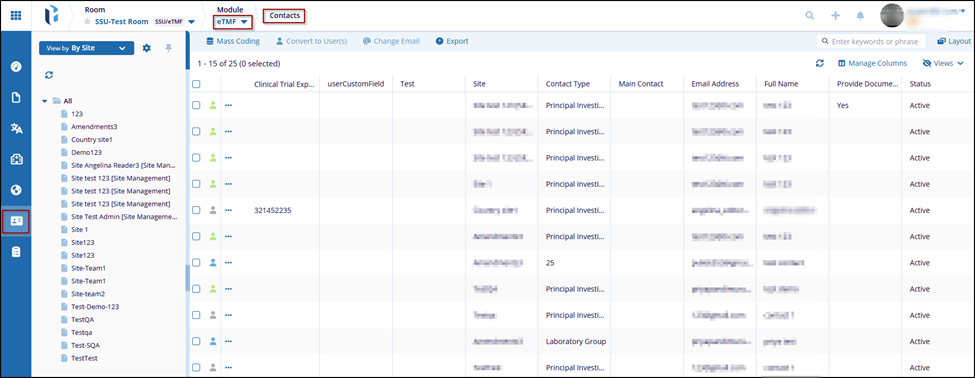
The contacts assigned to a site are shown in the Contacts modal within the eTMF module. Users with the necessary access permissions can edit contacts, apply mass coding, convert contacts into users, and export contact details and metadata.
To access the contacts modal within the eTMF module, follow the steps below.
- Click on the modules dropdown and select the eTMF module.
- From the left-hand navigation menu, select the Contacts modal.
The Contacts screen displays the contacts configured within the site and its associated
data into the following columns.
- Room Name
- Site
- Contact Type
- Main Contact
- Email Address
- Full Name
- Provide Document
- Status
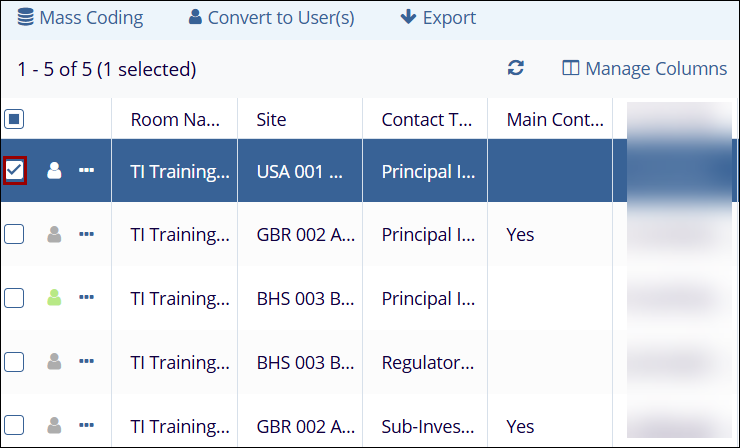
To edit contacts, follow the steps below.
- Click on the checkbox next to the contact.
-
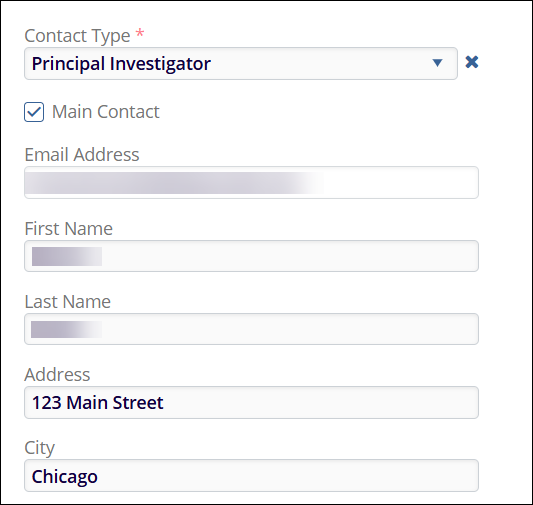
Within the metadata panel on the right-hand side, make changes to the following metadata fields.
- Contact Type*: Select a contact type from the dropdown list. Contact types are configured in Settings > Contact Types.
- Note: Refer to the Contact Types section in Room Settings for more details.
- Main Contact: Check or uncheck the Main Contact checkbox to designate the contact as a main contact. If selected, the Main Contact column in the contacts screen will display Yes and vice versa.
- Email Address: This field is non-editable.
- First Name: Enter or update the contacts first name.
- Last Name: Enter or update the contact’s last name.
- Address: Enter or update the contact’s address.
- City: Enter or update the contacts city.
- State: Enter or update the contact’s state.
- Zip Code: Enter or update the contacts zip code.
- Country: Select a country from the dropdown list.
- Phone No: Enter or update the contacts phone number.
- Mobile No: Enter or update the contacts mobile number.

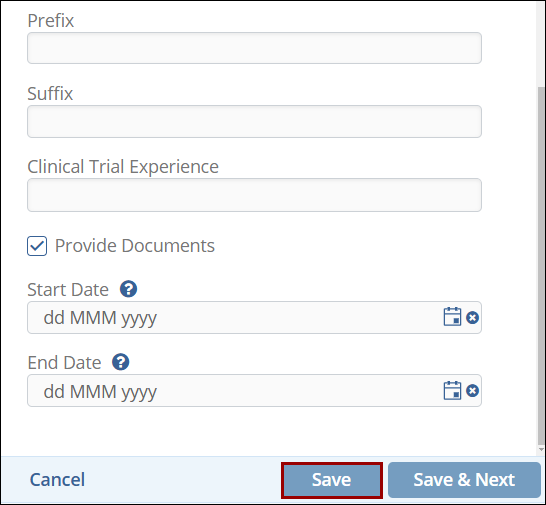
- Prefix: Enter or update the contacts prefix.
- Suffix: Enter or update the contacts suffix.
- Clinical Trial Experience: Enter or update the contacts clinical trial experience.
- Provide Documents: Check or uncheck the Provide Documents checkbox to enable or disable this setting. If selected, the Provide Document column in the contacts screen will display Yes and vice versa.
- Start Date: Select or update the start date using the calendar icon. This indicates when the contact started working at the site.
- End Date: Select or update the end date using the calendar icon. This indicates when the contact stopped working at the site.
- Once all the changes are made, click on the Save button.
To access and configure the contact views, follow the steps below.
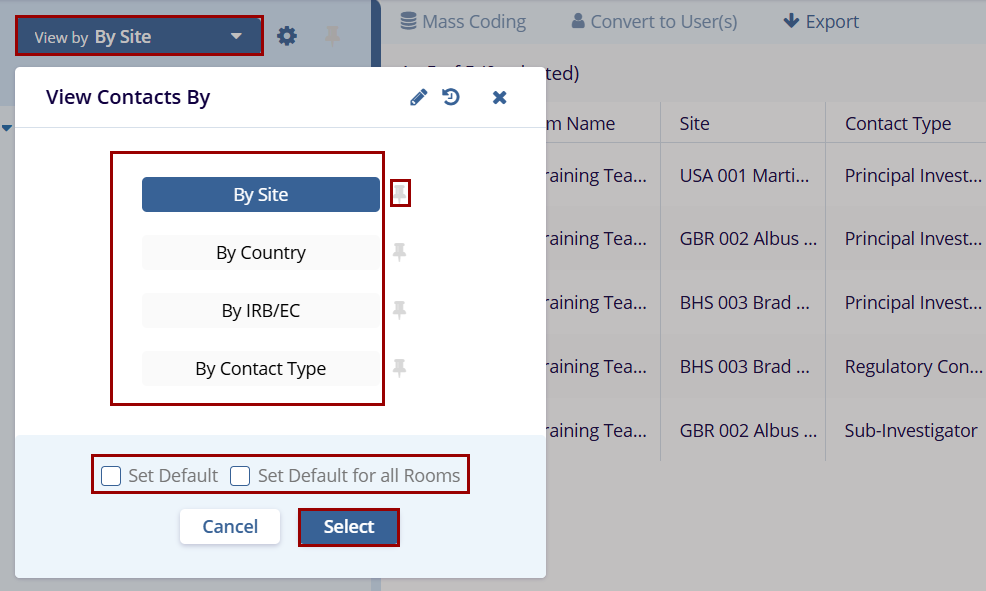
- On the Contacts screen, click on the View by dropdown.
- On the View Contacts By window, select a view by clicking on the view
name.
- By Site: Displays the contacts grouped by the site.
- By Country: Displays contacts grouped by their country association.
- By IRB/EC: Displays contacts grouped by the IRB/EC.
- Click on the pin icon to pin a view and this view is selected once user access the Contacts modal.
- Check the Set Default checkbox to set the view as a default and Set Default for all Rooms to apply the view to all rooms.
- Click on the Select button once the desired view is selected.
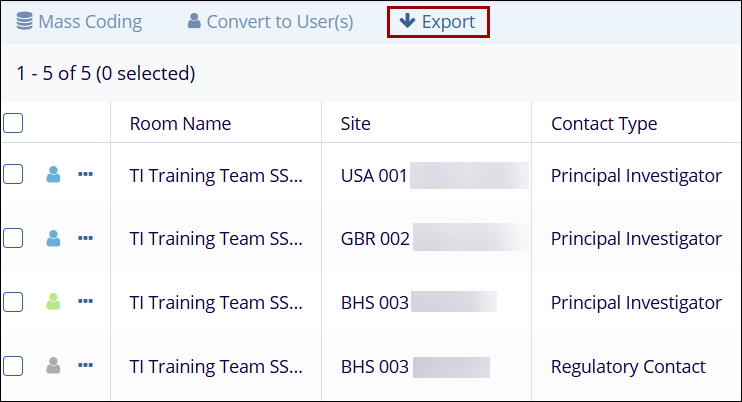
To export contacts, follow the steps below.
- On the Contacts screen, select users or click the Export button in the top
menu bar.
- On the Export Contacts screen, select any one of the export options and click on the
Next button within the Step 1.
- Selected records
- All contacts in the current grid
- All contacts in the room
- Note: If no contacts are selected, the Selected records radio button will be
grayed out.

- Within the Step 2, select the required metadata fields and click on the
Export button.

- On the Export Contacts popup, click on the Get Results button.

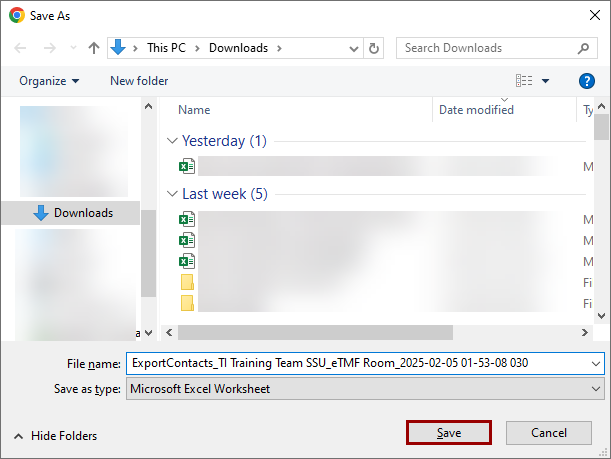
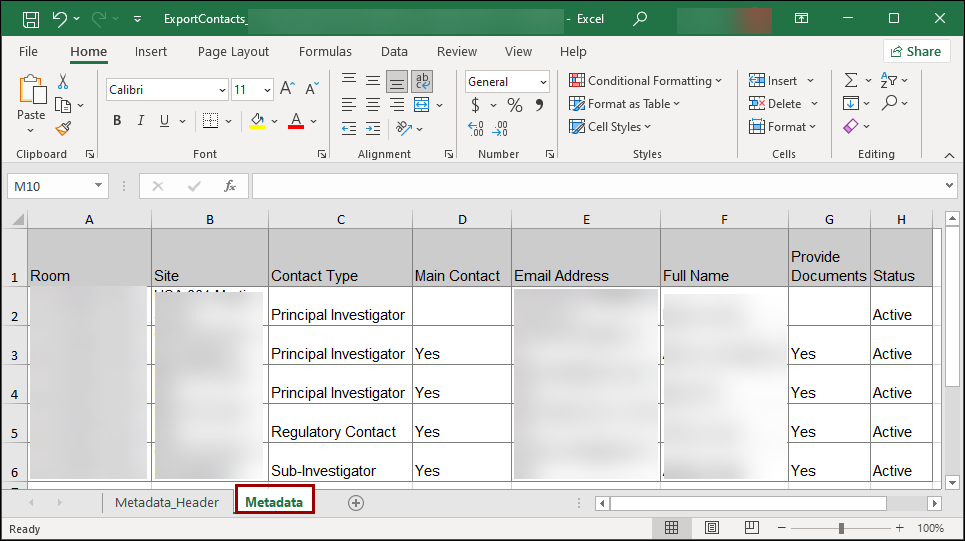
- Download the Microsoft Excel Worksheet on the local system.
- On the downloaded file, click on the Metadata_Header tab to view the header
details i.e.,
- Room name
- Exported On
- Exported By
- Time zone
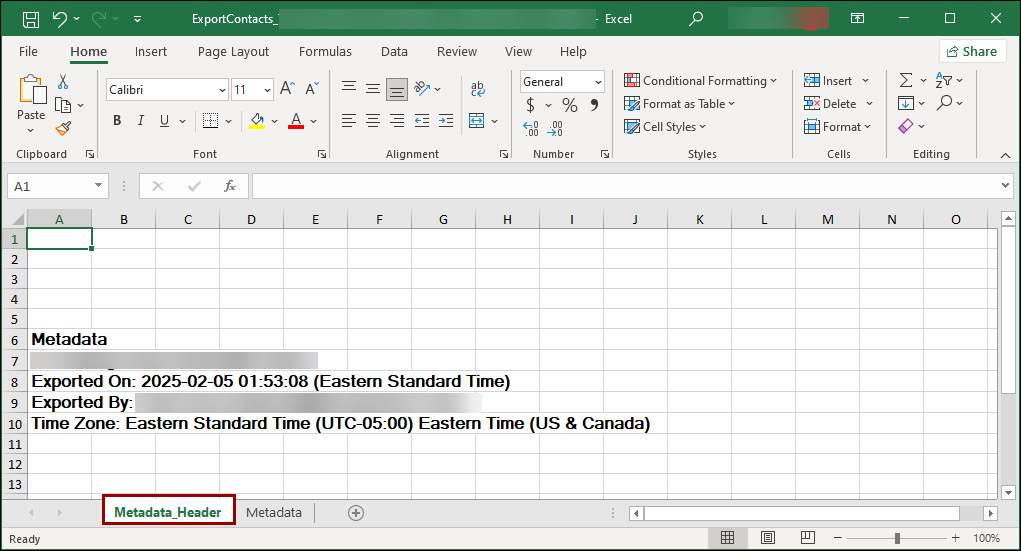
- Click on the Metadata tab, to view the contact details and the metadata.
 Linkedin
 X
X
