Add/Edit Users to the Group
To add users to a group, follow the steps below:
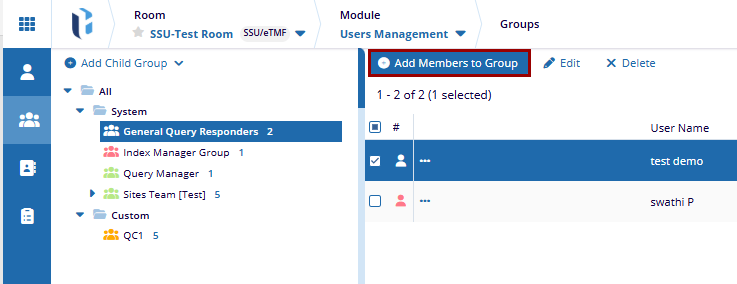
- In User Management, click the Groups icon in the left pane.
- Select the group you want to add users to, from the list in the left pane.
- Click Add Members to Group in the top menu bar.
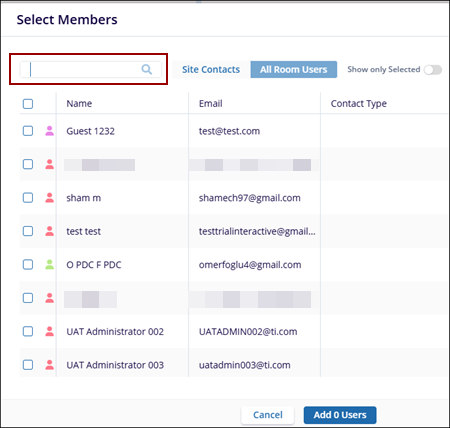
- The Select Members pop-up window is displayed with the list of the users. Here the user
can view:
- Search field: can directly serach the user name in the search box.
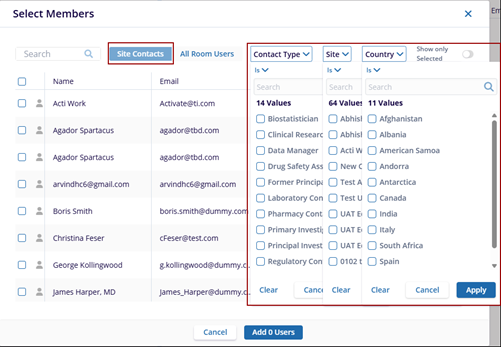
- Site Contacts: users can be searched by applying filters to the contact type, site,
country.
- All Room Users: where overall users are displayed.
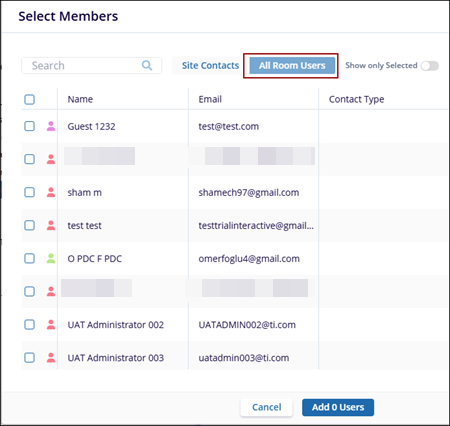
- Search field: can directly serach the user name in the search box.
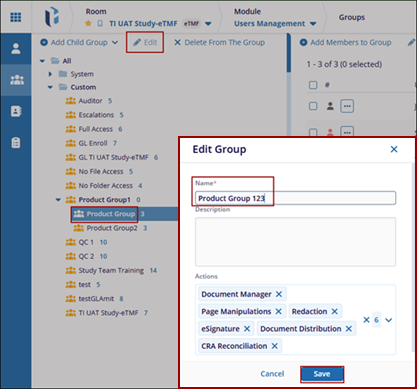
- The user can edit the group name by clicking on the Edit button in the top left pane, the Edit Group pop-up window is displayed.
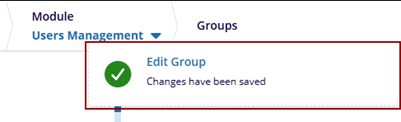
- Edit the group name and click Save. The notification message is displayed, the
changes have been saved successfully.
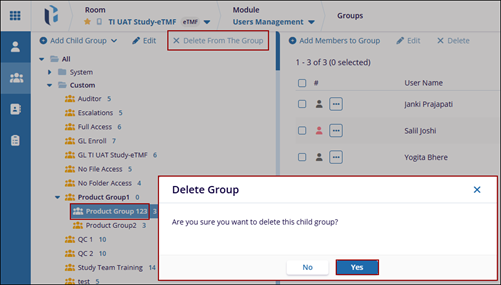
- Click Delete From The Group button to delete the group in the top left pane, the Delete Group pop-up window is displayed.
- Click Yes to delete the group.
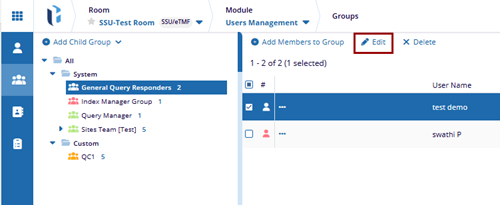
Edit User
To edit a user from a group, follow the steps below:
- Select the group containing the user you want to edit from the list in the left pane. The list of group members will appear on the right.
- Select the checkbox next to the user's name and click Edit in the top menu.
- The User details window will open, allowing you to modify the user's information. Follow
the on-screen instructions to edit the user details as needed.
.png)
- In the Groups tab, the user can manage the groups where it belongs to. The option are:
- Add the user to an existing group by selecting the desired group(s) and clicking Add to Existing Group.
- Remove the user from selected groups by marking the checkbox next to the group and clicking Remove from Groups.
.png)
- Once the user made the desired changes, click Save to confirm. If further modifications are needed, such as How to Assign a User to Sites, you can navigate to the Sites tab.
- Click on the Add to Sites button to add site to the user.
.png)
- In the Add to Site window, you can assign the user to multiple sites:
- Use the Search bar to find specific sites if needed.
- Select the checkboxes next to the sites to add the user to. The user can select multiple sites, and the count of selected sites will be displayed.
- Once the user made the selections, click Add to [Number] Site(s) to confirm.
.png)
- To make more modifications move to the next section Activity Logs.
- To filter and view specific user activity logs, follow these steps:
- Click on the Select particular activity types to display field dropdown to see a list of activity types. Choose the relevant activity type to view.
- Select the date range by clicking on the date fields.
- Click Apply to display the filtered activities.
- Review the displayed activities, and click Save.
.png)
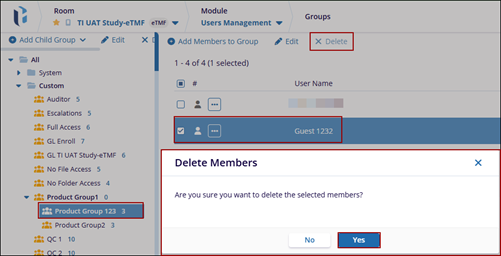
- To delete the member from the group, select the group in the left pane and then select the member to be deleted.
- Click Delete button in the top menu bar of the main page. The Delete Members pop-up window is displayed.
- Click Yes.