Tasks
A Tasks module allows users to create Tasks for specific rooms. Users can view tasks, add new ones, edit, delete, and export task records. The interface provides an option to filter tasks by different views.
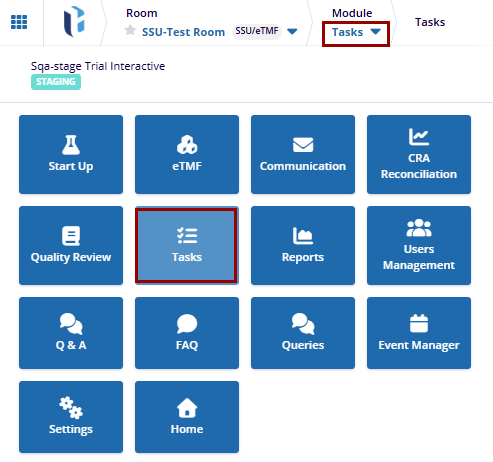
The Task module Includes:
- Tasks
- Audit Trails
Steps to Create Tasks
- Click the Add button located in the top menu, this will open the Create Task window.
- In the Create Task window, fill in the required data fields.
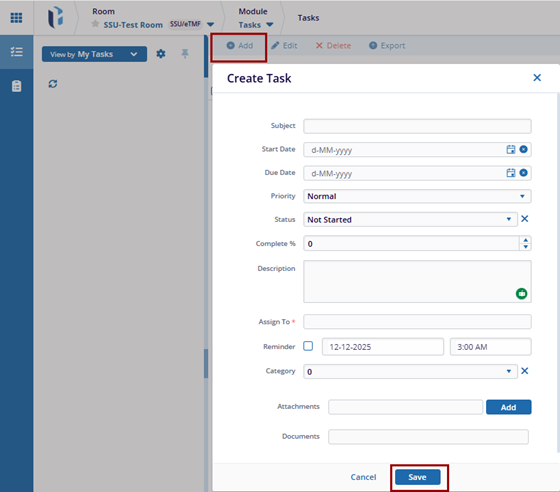
- Click the Save button at the bottom of the window, to save the changes or click on Cancel to discard the changes.
- Once saved, a confirmation message will popup ‘Task was added successfully’
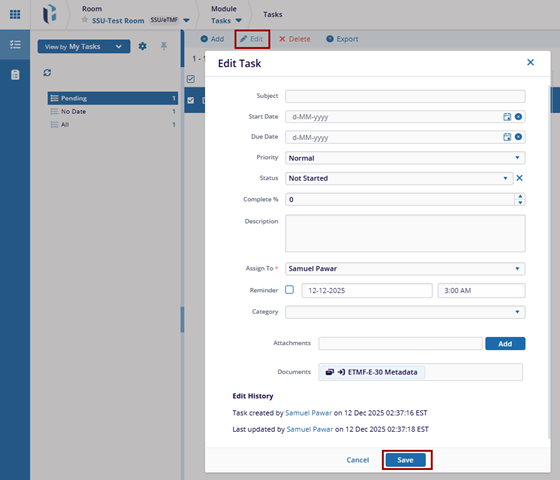
Steps to Edit Tasks
- Select the single task from the grid and document view and click the Edit button at the top menu.
- This will open the Edit Task window and fill in the required data fields.
- To attach the attachment, click the add button to select the specific file.
- Once changes are made, click the Save button to apply the changes
successfully.
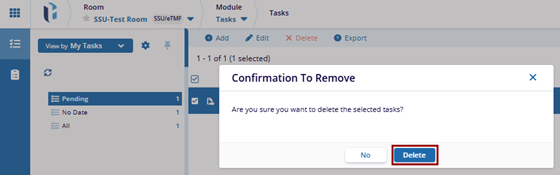
Steps to Delete Tasks
- Select the specific task from the grid view and select the checkbox, next to task.
- Click the Delete button at the top, this will pop up a confirmation message ‘Are you sure you want to delete the selected tasks?’
- Click on the Delete button to delete the task successfully.
Steps to Edit Tasks
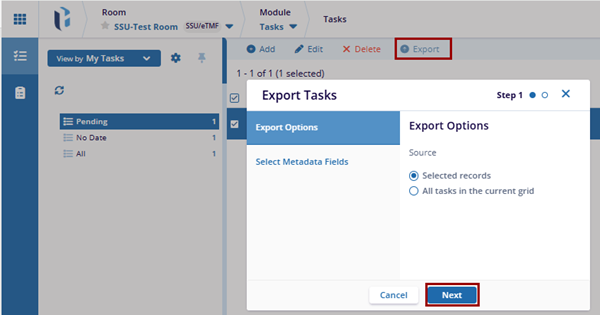
- Click the Export button located in the top menu bar. This opens the Export Tasks window.
- The Export Tasks window will display two options (by default export task is selected):
- The Export Options are a set of queries that will be included in the export. The user can choose the task that should be exported and select any required source.
- Click Next to proceed to the Select Metadata Fields section.
- Once proceed to the Select Metadata Fields option and select the metadata fields that are required, the user can sort it by Alphabet or Logic to include in the export.
- Metadata fields are characteristics of the queries, such as: (Subject, Status, Start date, Due date, etc.)
- After selecting both options, click on the Previous button to go back and
make changes, or click on the Export button to download the file.
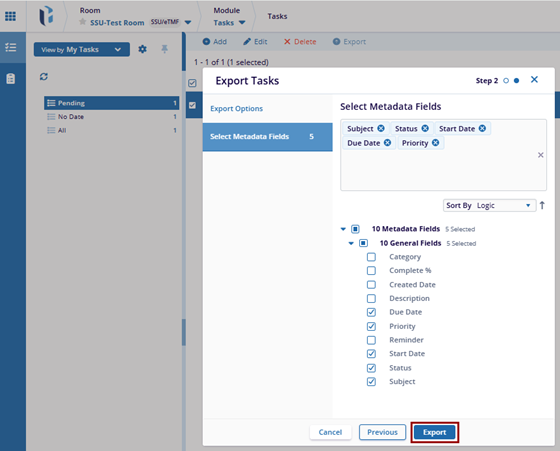
- Once click the Export button, a confirmation message will appear.
 Linkedin
 X
X
