Import
Explore Job Aids and Videos for more help:
Job Aids
Videos
The Import functionality within the Study Settings allows users to import subject records through a pre-defined template.
To import the subject records, follow the steps below:
- Navigate to the Study Settings by following the steps detailed in the Study Settings section.
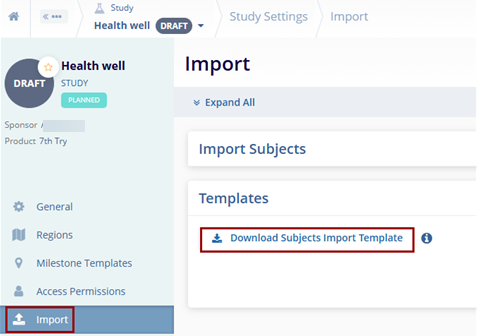
- Click on the Import link from the left-hand navigation pane.
- Expand the Templates section and click on the Download Subjects Import
Template button to download the template.
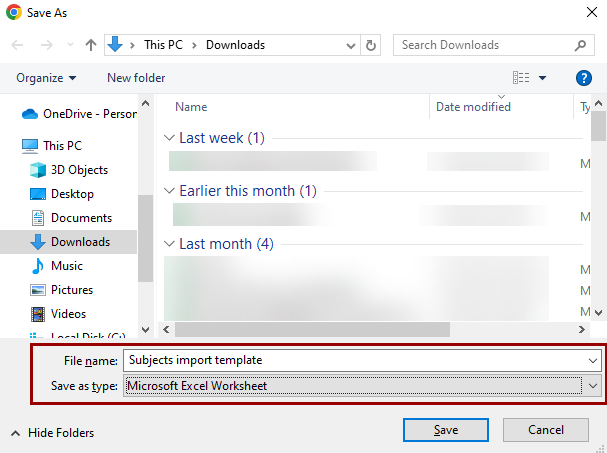
- Save the template as a Microsoft Excel Worksheet.
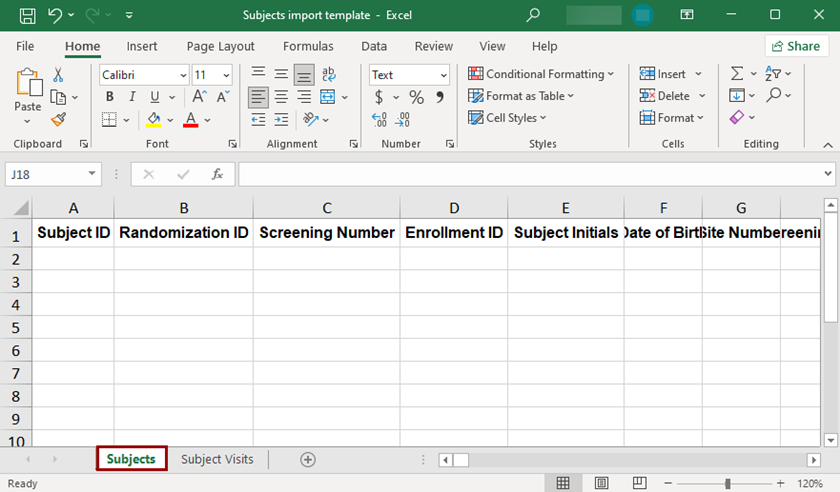
- In the downloaded template, fill in the following information within the Subjects
tab.
- Subject ID
- Randomization ID
- Screening Number
- Enrollment ID
- Subject Initials
- Date of Birth
- Site Number
- Screening Failure Reasons
- Early Termination Reasons
- Subject Outcome
- Notes
- Current Status
- Screened Status Date
- Screen Failed Status Date
- Run-in Status Date
- Randomized Status Date
- Enrolled Status Date
- Treated Status Date
- Early Terminated Status Date
- Lost to Follow-up Status Date
- Completed Status Date
-
Withdrawn Status Date
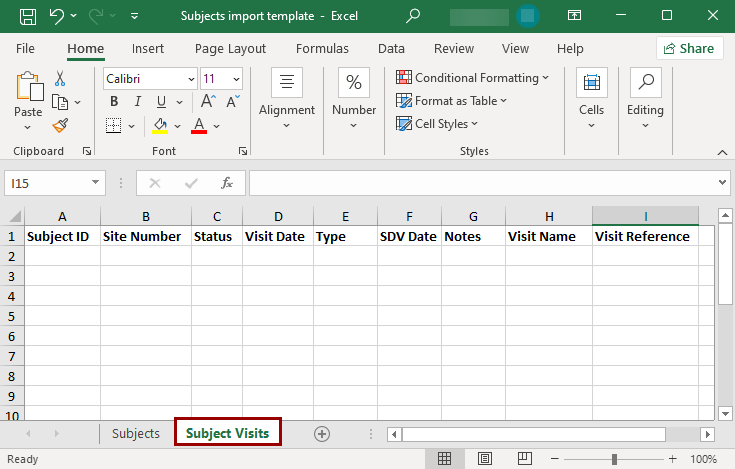
- Fill in the following details in the Subject Visits tab.
- Subject ID
- Site number
- Status
- Visit Date
- Type
- SDV Date
- Notes
- Visit Name
- Visit Reference
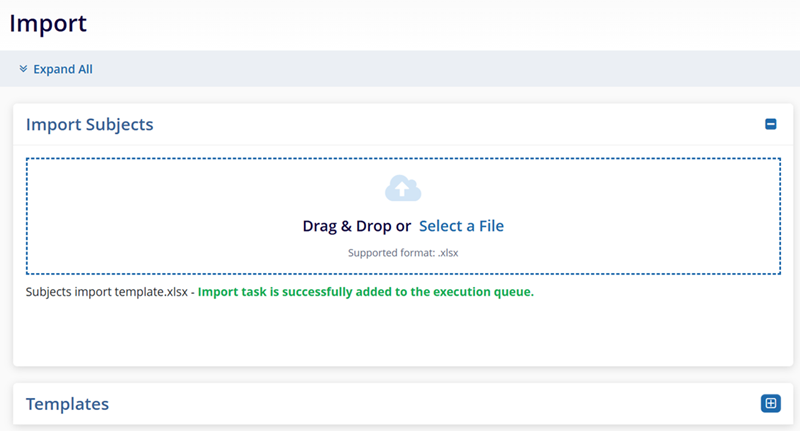
- Within the Study Settings > Import screen, expand the Import
Subjects section and upload the file by using the Drag & Drop
or manual upload functionality.
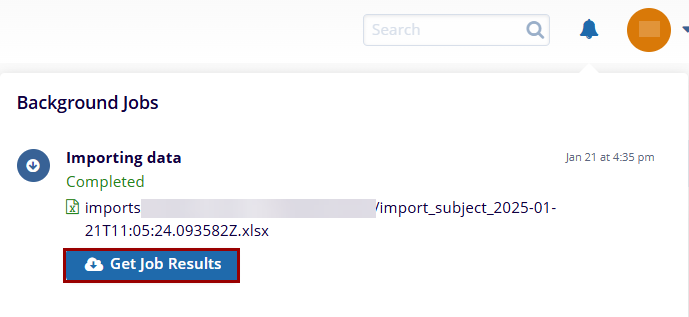
- Click on the notifications (bell) icon and select the Get Job Results button.
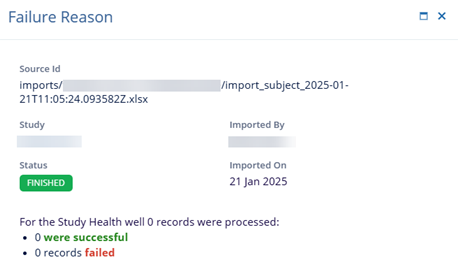
- On the Failure Reason screen, view the number of successful and failed records.
TransPerfect’s Trial Interactive is an industry leader in practical, global eClinical innovation
PRODUCTS
 Linkedin
 X
X
Didn’t find what you need?
Our dedicated Project Management and Client Services team will be available to meet your needs
24 hours a day, 7 days a week.
Toll Free:
(888) 391-5111
help@trialinteractive.com
© 2025 Trial Interactive. All Rights Reserved
