Claim Documents
Explore Job Aids for more help:
Job Aids
Videos
When a document is routed into an approval workflow, the assignee in the first stage must first claim the document before performing any review actions. Based on the auto-claim settings, the document may be auto-claimed or require manual claiming prior to review.
For more information about auto-claim settings, click here.
To claim a document for review, follow the steps below:
- Access the QC Review module from the navigation grid.
- Open the My Review tab to view the approval workflows to which the logged-in user is assigned.
- Expand the workflow dropdown to display the associated folder structure. The folders
are organized based on document status and may include the following:
- Approved
- Available for Review
- Claimed
- Clarification
- Overdue
- Rejected
- Open the Available for Review folder and select the document.
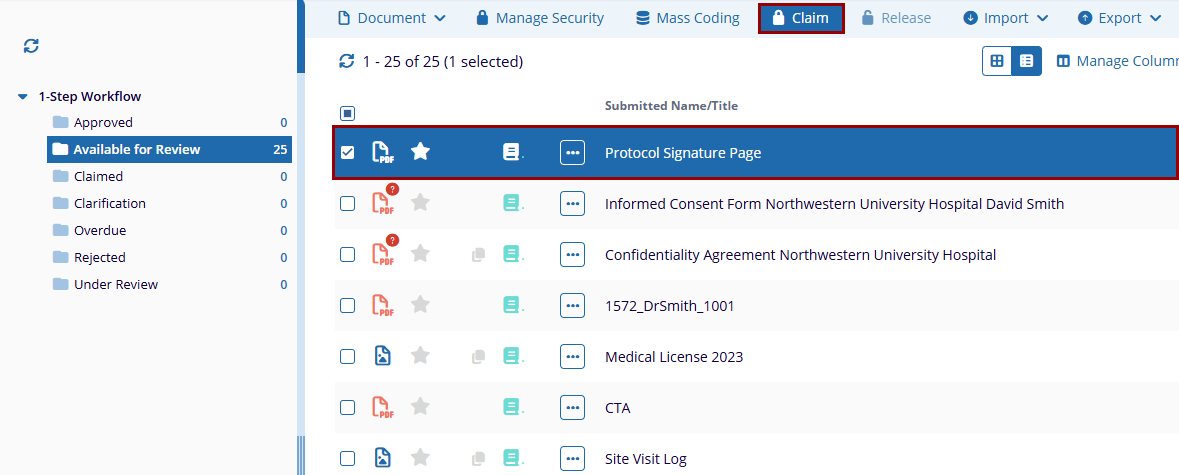
- Open the documents metadata panel and click the Claim button.
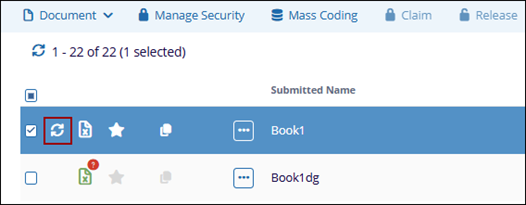
- To claim multiple documents, select the documents and click Claim from the top menu
bar.
-
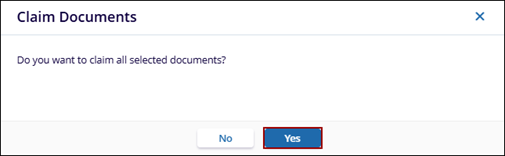
Click Yes on the confirmation pop-up.
-
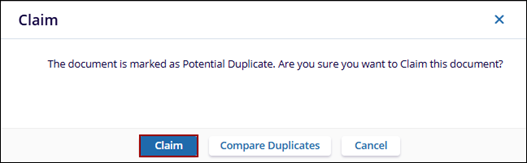
If the document is identified as a potential duplicate, click Claim on the confirmation pop-up.
-
Click the refresh icon next to the document icon.
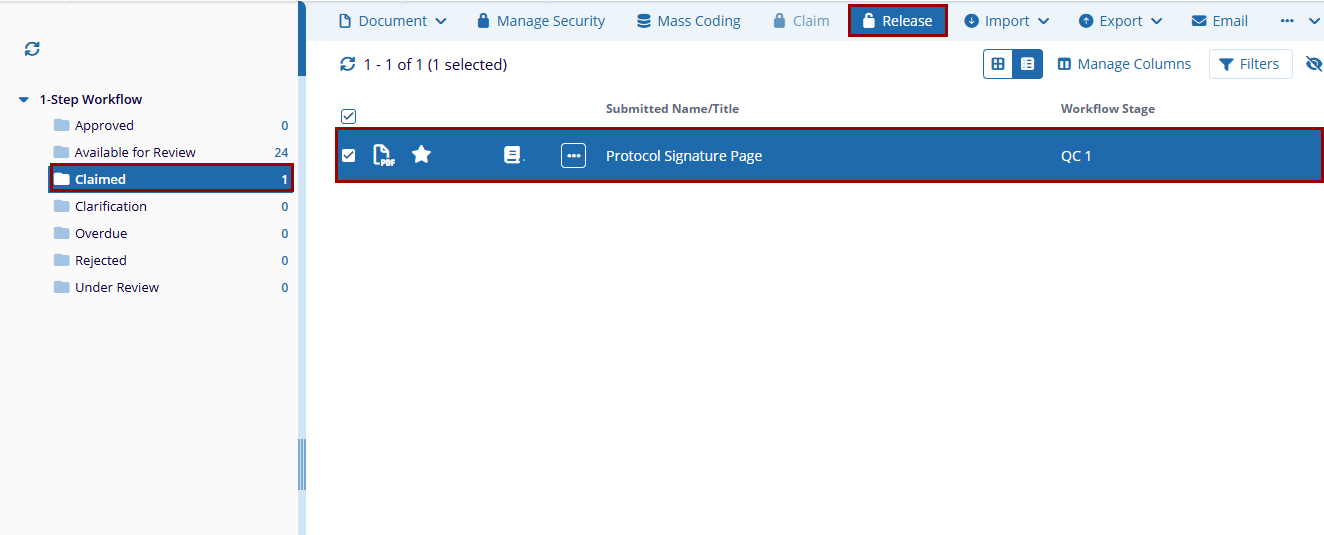
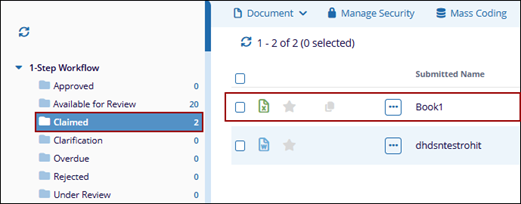
- Once claimed, the document is displayed in the Claimed folder.
Note: Users who have reviewed a document in step 1 of a multi-step QC
workflow will not be able to claim the document in any later step.
