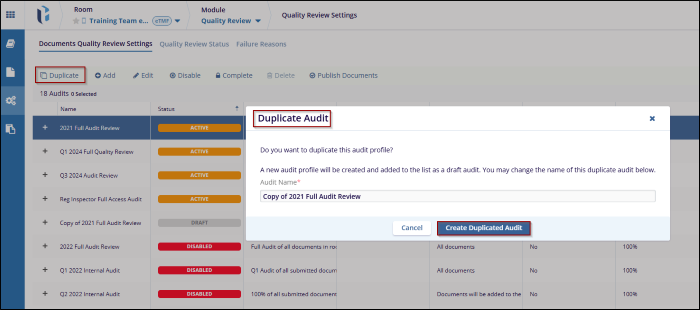
Create Audit Profile
Explore Videos for more help:
Videos
To create an Audit Profile, follow the steps below:
- Navigate to the Quality Review Settings and select the Documents Quality Review Settings tab.
- Click the +Add button in the top menu bar.
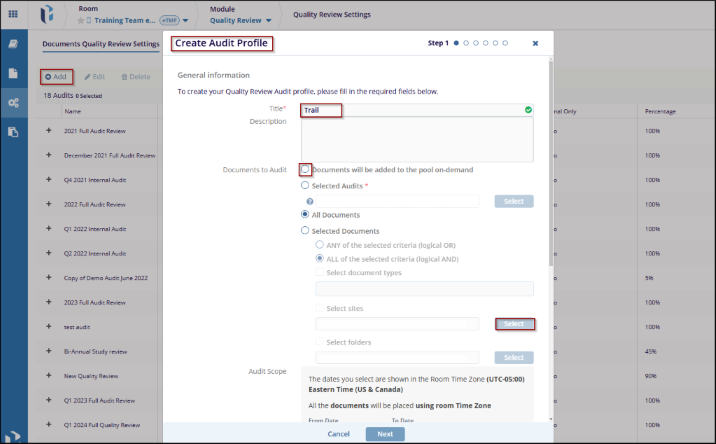
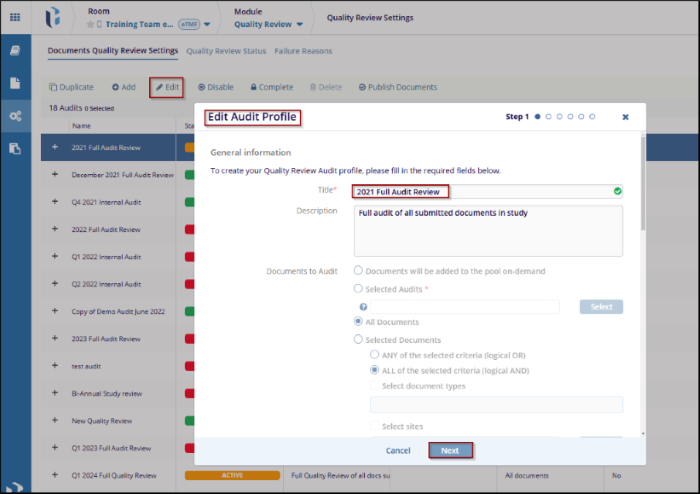
- On the Create Audit Profile window, mandatorily enter a Title for the audit profile.
- Optionally enter a description in the Description field.
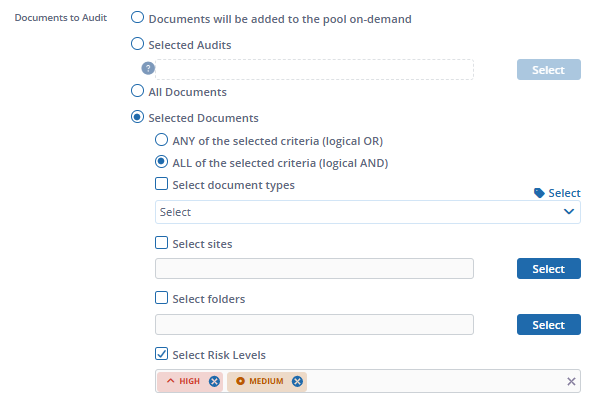
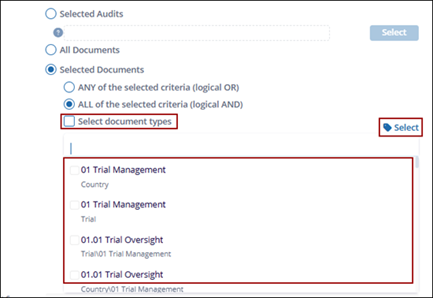
- In the Documents to Audit field, choose any one options by clicking their respective
radio button:
- Documents will be added to the pool on demand: If this option is selected no documents are included immediately and enables manual selection of documents from the documents cart.
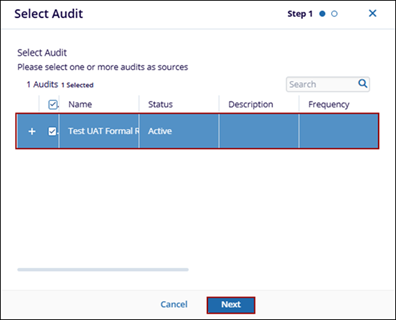
- Selected Audits: This option allows selecting a previous to review
the same documents. Perform the following to select previous audits.
- Click Select.
- On the Select Audit window, select the one or more audits.
- Click Next.
- Select one or more auditors and click Finish.
- Select folders: Click the dropdown menu and select the folders or
click the Select button and choose the folders.
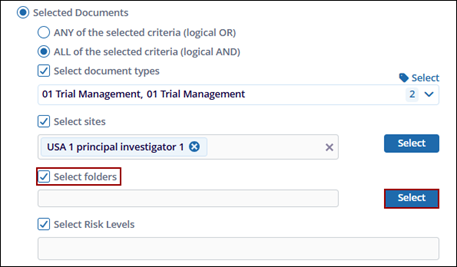
- Select Risk Levels: Click the dropdown menu and select the risk
levels i.e., Low, Medium and High.
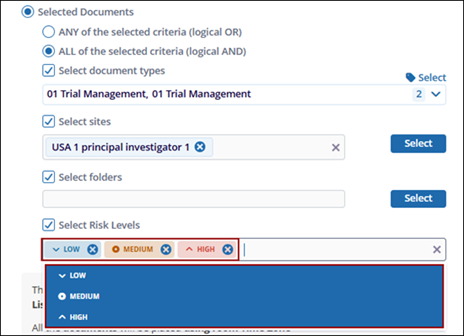
- Click Select.
- In the Audit Scope section, set a time window with a Start and End Date and click the Confirm button to validate it.
- Choose the date for inclusion by selecting the radio button for any one of the
following options:
- Use Submitted Dates: The date the document was submitted.
- Use Final Dates: The date when document was finalized.
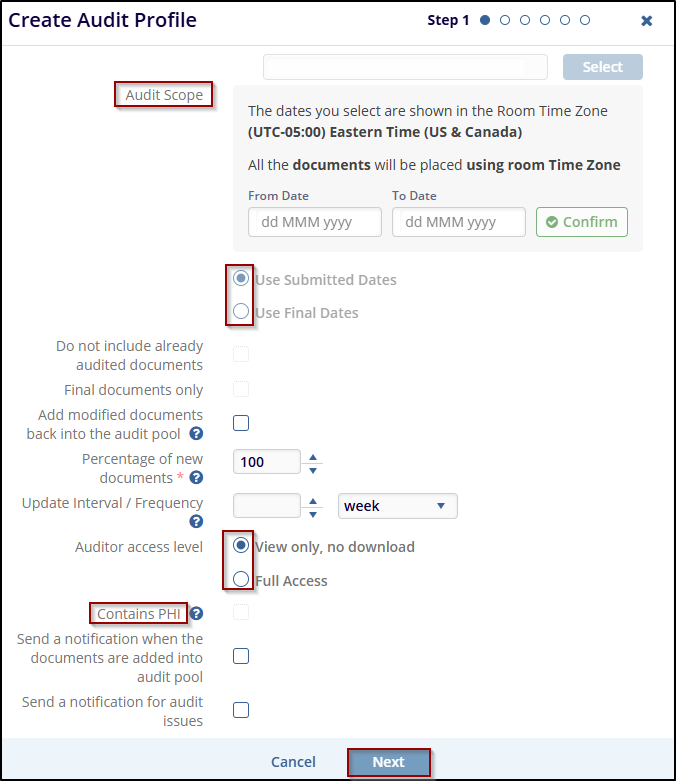
- Check the Do not include already audited documents checkbox to exclude already audited documents and vice versa.
- Check the Final documents only checkbox to enable inclusion of final documents only. This checkbox is activated if Use Final Dates is selected in Audit Scope.
- Check the Add modified documents back into the audit pool checkbox to include documents when their metadata or content is updated.
- Set the Percentage of new documents by clicking the up and down arrows.
- Set the Update Interval/Frequency for requeuing documents into the audit
- Indicate the auditor access level by selecting any one of the radio buttons.
- View only, no download: Restricts the auditor to view-only access.
- Full Access: Allows the auditor to download or modify documents based on their user access level rights.
- Check Contains PHI checkbox to enable deleting a document if it contains PHI.
- Check the following checkboxes to trigger notifications when documents are added to
the pool and for audit issues.
- Send a notification when the documents are added into audit pool
- end a notification for audit issues
- Click the Next button to proceed to the next step.
-
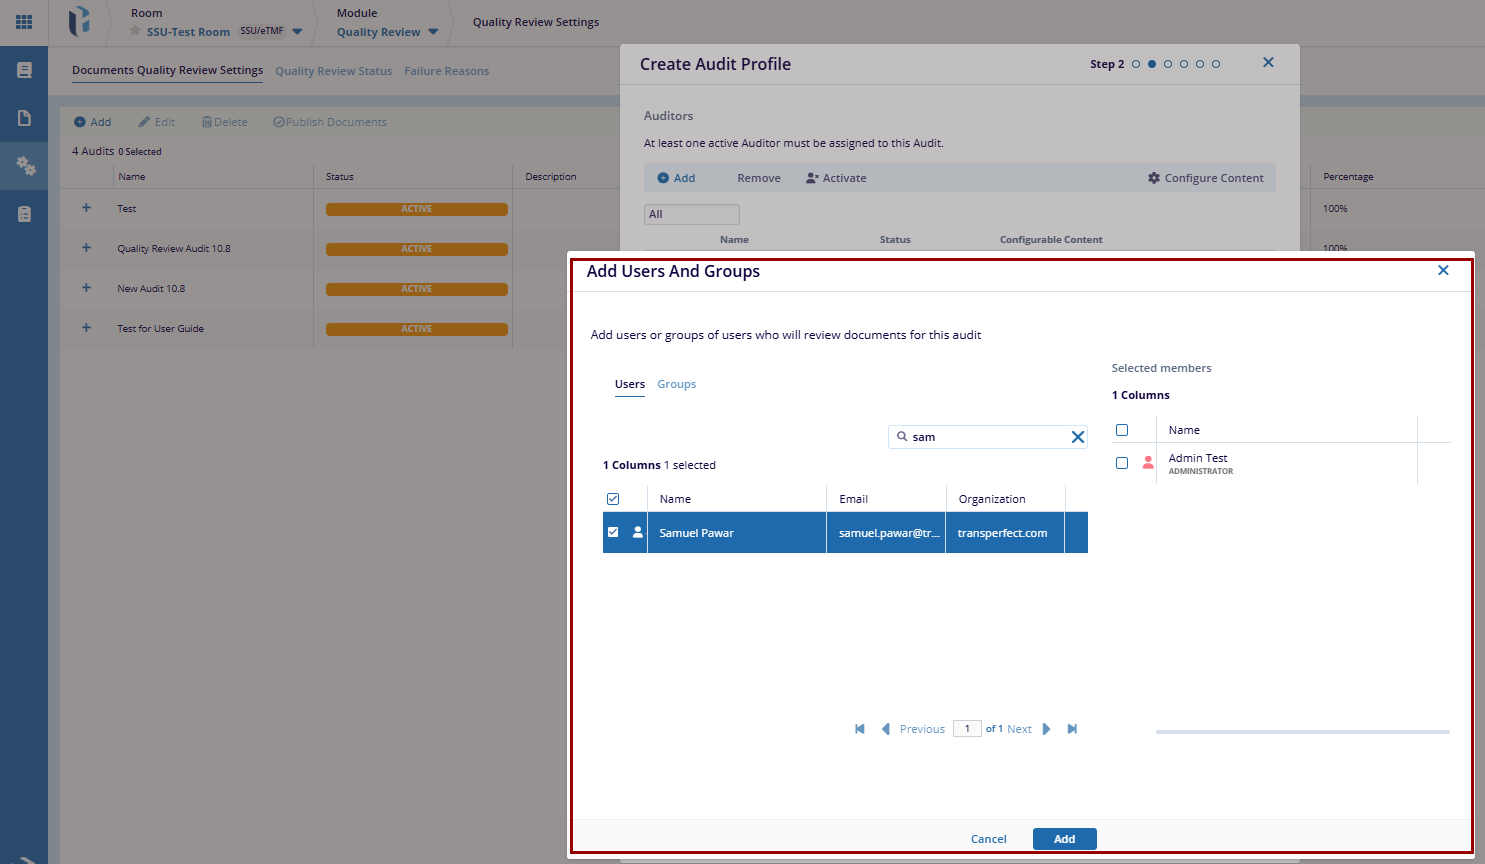
In Step 2, perform the following to add auditors to the audit profile:
- Click the +Add button.
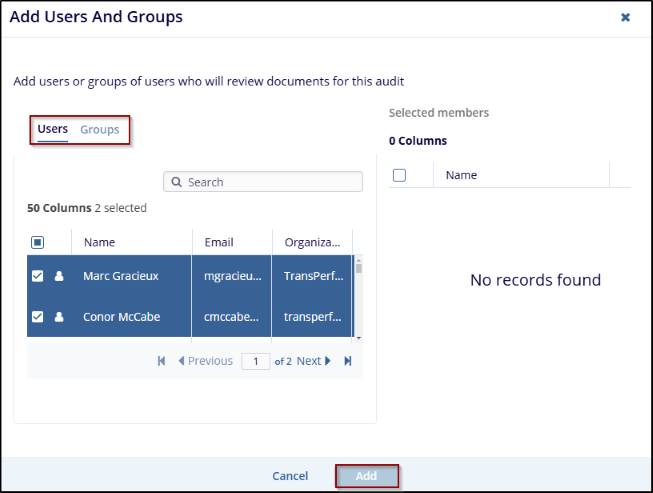
- On the Add Users and Groups window, select either Users or Groups tab.
- Select the required users to groups and drag & drop them to the Selected members section.
- Click Add.
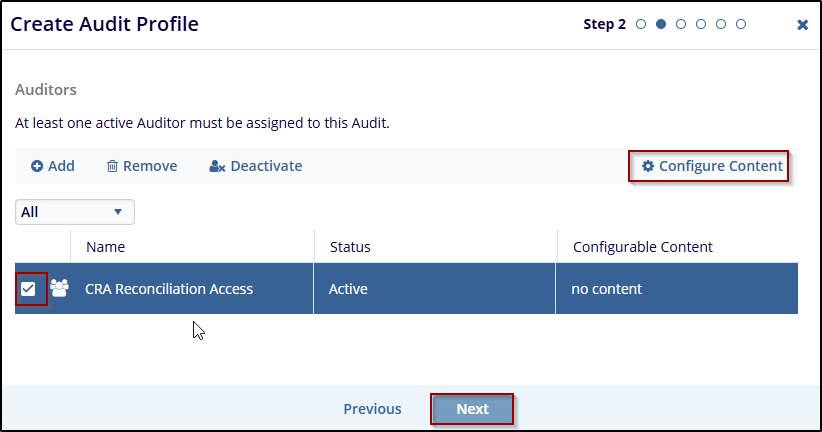
- To remove an auditor, select an auditor and click the Remove button.
- To deactivate an auditor, select an active auditor and click the
Deactivate button.
- To activate an auditor, select an inactive auditor and click the
Activate button.
- Select an auditor and perform the following to associate document types,
sites, folders, and risk levels
- Click the Configure Content button and choose the criterion
to assign documents to the selected auditor.

- Based on the criterion selected, choose the options from their
respective selection windows.
- Click the Configure Content button and choose the criterion
to assign documents to the selected auditor.
- Click Next.
- Click the +Add button.
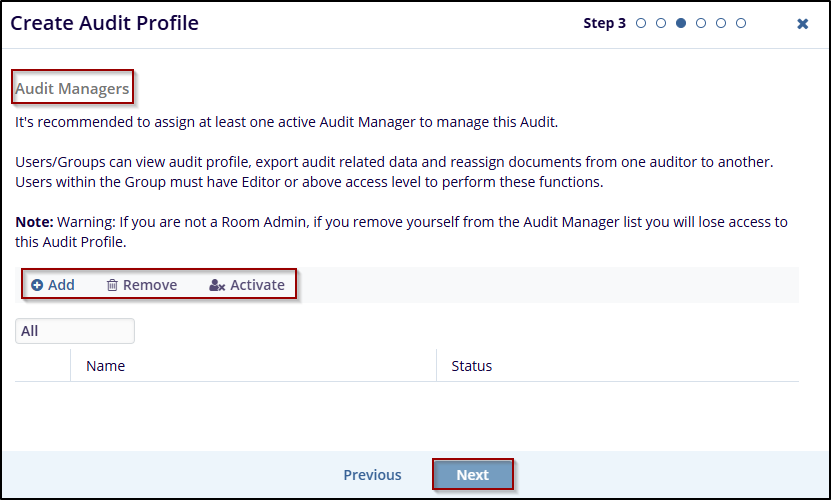
- In Step 3, add, remove, activate, deactivate audit managers by repeating steps related to adding auditors.
- Click Next.
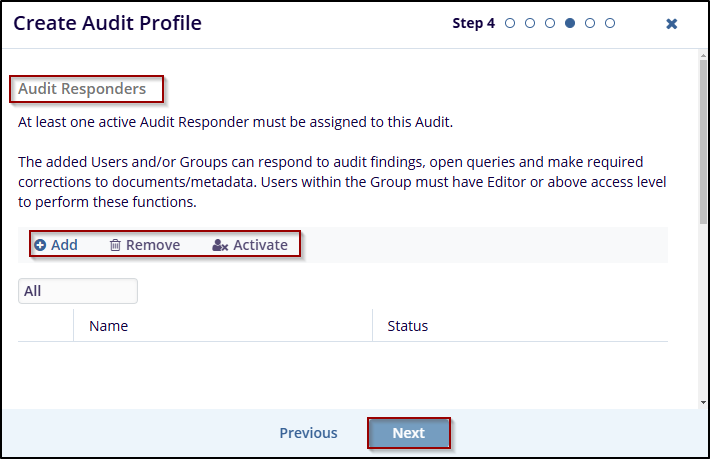
- In Step 4, add, remove, activate, deactivate audit responders by repeating steps related to adding auditors.
- Click Next.
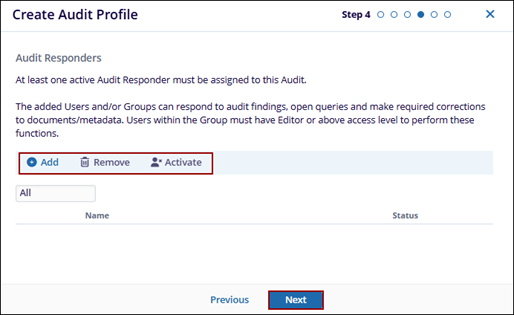 Note: The users cannot be the same for Audit Responders as those who are added as Auditor Managers.
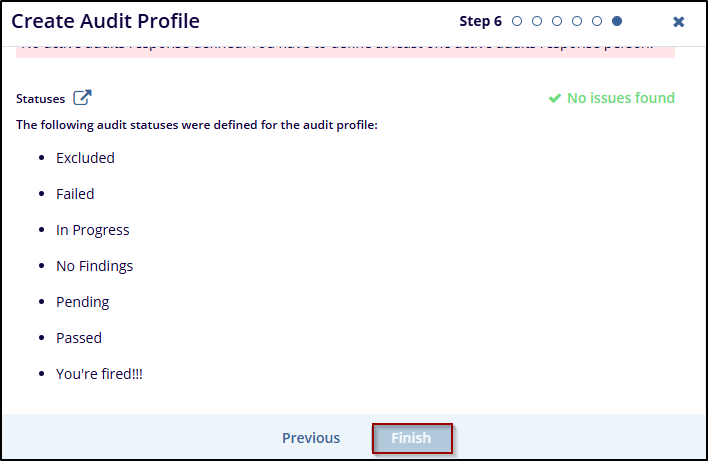
 - In Step 5, select the quality review statuses and ensure to include at least one
status from each of the five system statuses
- Passed
- Failed
- Pending
- In Progress
- Excluded
- Click the Next button.

- On the Audit Summary window, verify the audit profile details and click
Finish.
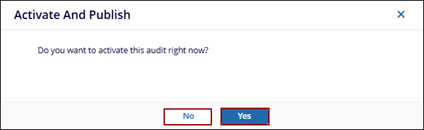
- On the Activate and Publish pop-up, click Yes to activate the audit
immediately and click No to create the audit profile as draft.
 Linkedin
 X
X
