Manage Security
Explore Videos for more help:
Videos
To manage folder security, follow the steps below:
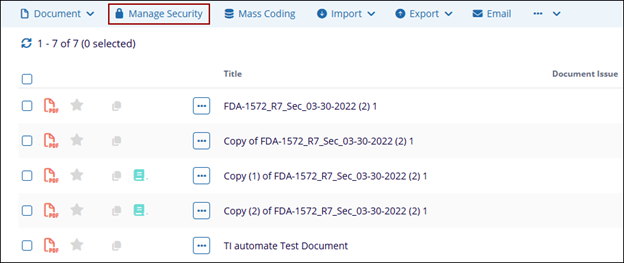
- Click Manage Security from the top ribbon bar. The Manage Security window
opens.
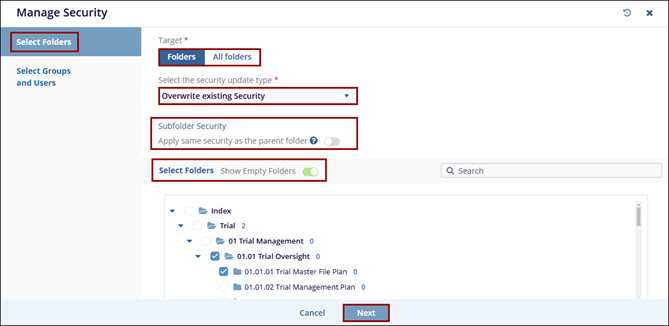
- Within the Target* section, click on the Folders tab and select the folders to apply security to. To search for a specific folder, enter the search term in the search box.
- Click on the All Folders button to apply security to all the folders.
- Select whether or not the changes should apply to all subfolders or only to the folders specifically chosen by accessing the Apply same security to the parent folder toggle switch.
- Enable or disable the Show Empty Folders toggle switch to display and hide empty folders respectively.
-
Select a security type by accessing the Select the security update page* dropdown options.
- Update existing security: This option leaves all current security definitions in place and adds on any new definitions set in step two of the manage security process.
- Overwrite existing security: This option erases all current security definitions and replaces them entirely with the definitions set in step two of the manage security process.
- Remove from existing security: This option leaves intact any security definitions already assigned but removes access for any group(s) or user(s) specified in step two of the manage security process.
- Restrict access to administrators only: This option erases all current security definitions in place and makes the target files/folders only viewable to administrators.
- Click on the Next button.
- On the Select Groups and Users screen, perform the following.
- Enter a keyword related to the users or groups, select the required groups and users
from the dropdown options and click on the Add button.
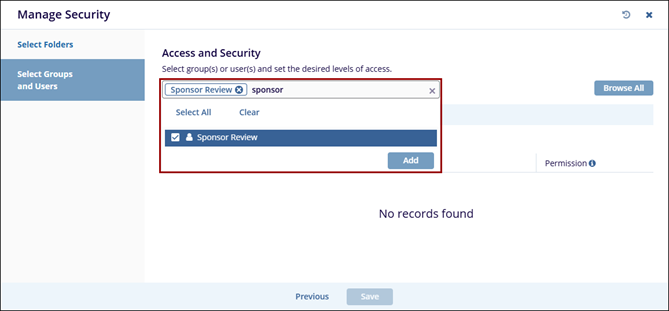
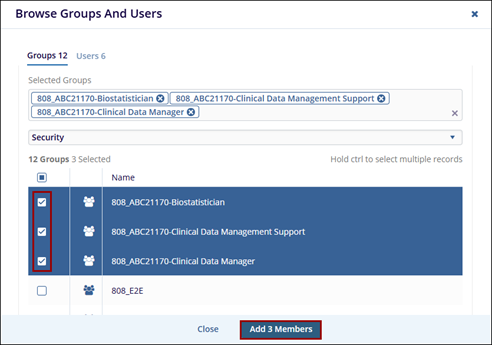
- Additionally, click on the Browse All button and select the required users and
groups by navigation to their respective tabs.
-
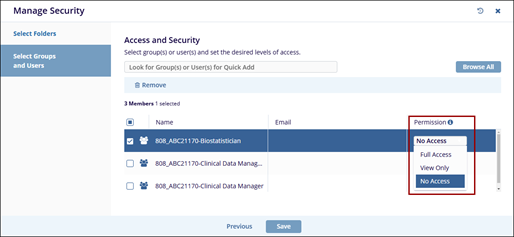
Once the required groups and users are added, click on the Permissions dropdown and provide the necessary permissions.
- Full Access: Users have unhindered access-level-appropriate access to the documents.
- Read-Only Access: Users can only view the documents.
- No Access: These users will not even see this folder on their room index and cannot access any associated files.
- No Watermark: This option will only appear for rooms in which the watermark option is enabled. It allows the selected user to view the documents in the chosen folders without the watermark.
- Proxy Document Owner (For collaborate rooms): This allows the specified user to
act as a document owner for any documents contained in the selected
folders.
- Enter a keyword related to the users or groups, select the required groups and users
from the dropdown options and click on the Add button.
- Once all the changes are made, click on the Save button.
 Linkedin
 X
X
