Edit Contacts
To edit contacts, follow the steps below.
- Click on the checkbox next to the contact.
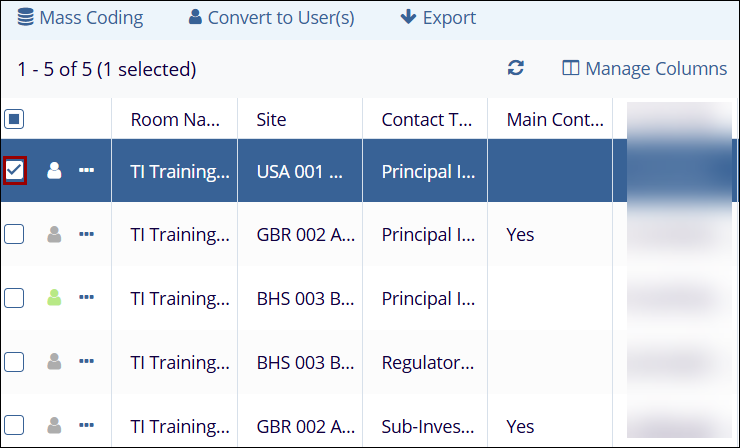
-
Within the metadata panel on the right-hand side, make changes to the following metadata fields.
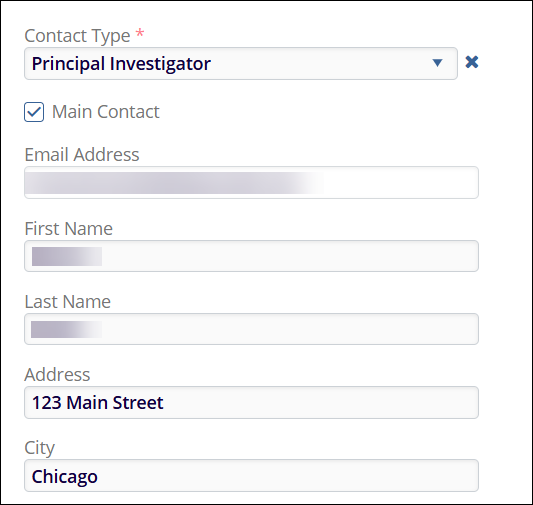
- Contact Type*: Select a contact type from the dropdown list. Contact types are configured in Settings > Contact Types.
- Note: Refer to the Contact Types section in Room Settings for more details.
- Main Contact: Check or uncheck the Main Contact checkbox to designate the contact as a main contact. If selected, the Main Contact column in the contacts screen will display Yes and vice versa.
- Email Address: This field is non-editable.
- First Name: Enter or update the contacts first name.
- Last Name: Enter or update the contact’s last name.
- Address: Enter or update the contact’s address.
- City: Enter or update the contacts city.
- State: Enter or update the contact’s state.
- Zip Code: Enter or update the contacts zip code.
- Country: Select a country from the dropdown list.
- Phone No: Enter or update the contacts phone number.
- Mobile No: Enter or update the contacts mobile number.

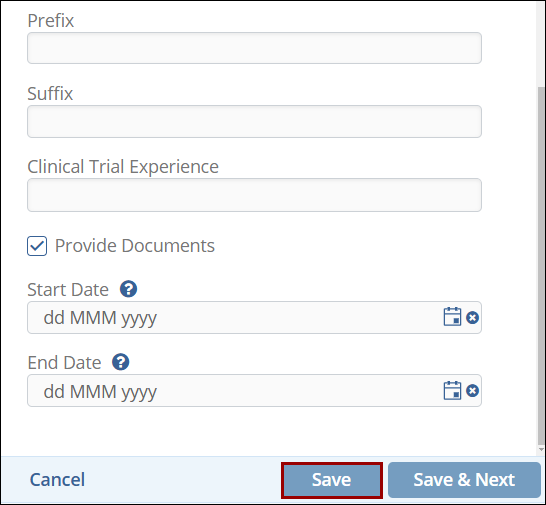
- Prefix: Enter or update the contacts prefix.
- Suffix: Enter or update the contacts suffix.
- Clinical Trial Experience: Enter or update the contacts clinical trial experience.
- Provide Documents: Check or uncheck the Provide Documents checkbox to enable or disable this setting. If selected, the Provide Document column in the contacts screen will display Yes and vice versa.
- Start Date: Select or update the start date using the calendar icon. This indicates when the contact started working at the site.
- End Date: Select or update the end date using the calendar icon. This indicates when the contact stopped working at the site.
- Once all the changes are made, click on the Save button.
 Linkedin
 X
X
