Home Screen Upload
The document uploading method is convenient when users have multiple documents to add, but do not need to specify their location or configure their metadata within the room. The documents will be stored in the Upload system folder.
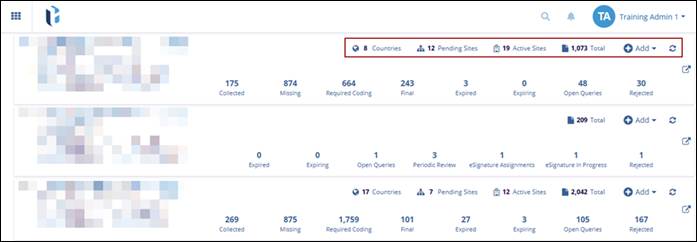
- Log in to the application, and the Home Screen is displayed with the available rooms.
- Each room displays the count of the Countries, Sites (Pending, Active),
Total, and the +Add button with a Refresh icon.
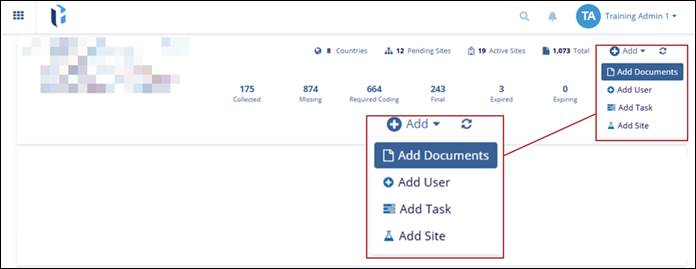
- Click the +Add button the drop-down is displayed. Click the Add
Documents option.
- The Import Documents screen is displayed with the Drop Files And Folders Here or Browse File/Browse Folders options.
- Browse File/Folder should open the Windows Explorer, where the user can select the files/folders.
- Drop Files And Folders Here, the user can drag and drop the files/folders
directly.

- The two options below on the Import Documents screen are used:
- Unpack Zip Archives option – Enables if the user has the documents in a zip file and needs to upload the contents of the zip file as separate documents.
- Convert Non-PDF files to PDF – Enables if the user needs to convert any
non-PDF documents to a PDF document.
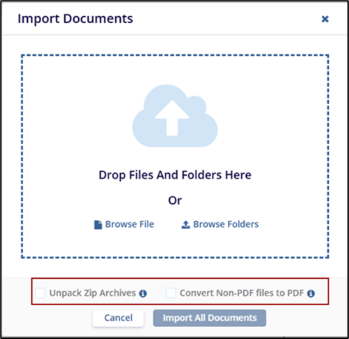
- Once the uploading document process is completed, click the Import All Documents button to finalize.
 Linkedin
 X
X
