Import to Documents View
The ribbon in the Documents module provides two upload options: the Add Document function—covered here—which allows for uploading a single document with full metadata; and the Import Documents function, which works similarly to the Add button described previously, but may adjust the upload location based on the currently selected folder. Note that some views within the module do not offer these upload options.
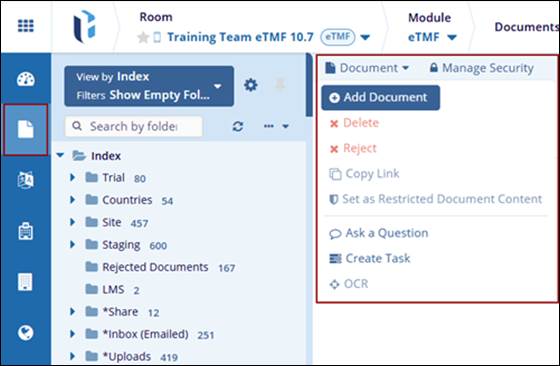
- Navigate to the Documents module and click the Document button on the top ribbon above the grid.
- The drop-down options are displayed. Select Add Document option.
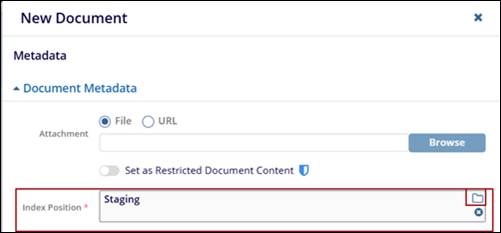
- Start by selecting a document with Browse.
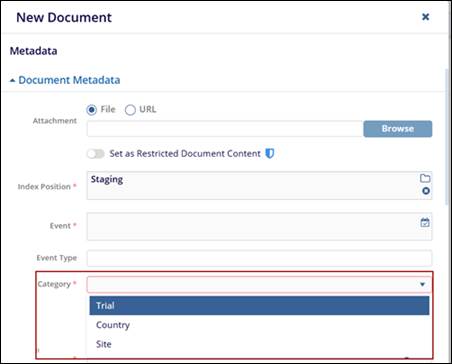
- The New Document window is displayed. Fill in all the required fields, such
as:
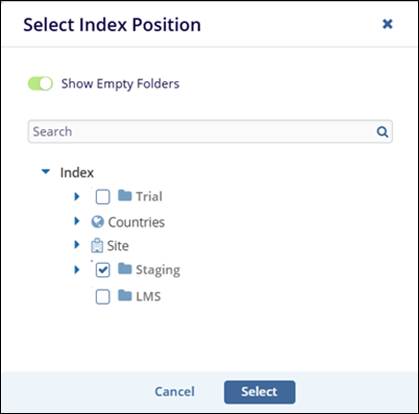
- Index Position: The Select Index Position window will open, where the
user needs to select the position of the document to be uploaded. Once
selected, click the Select button.
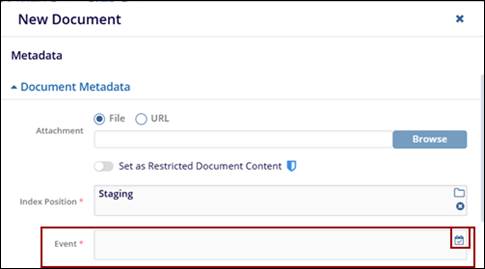
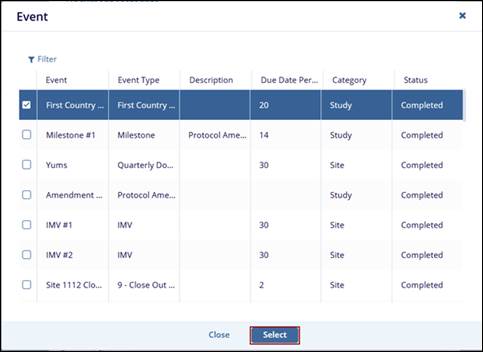
- Event: Where the user needs to select the Event from the Event
window. Once selected, click the Select button.
- Category: Need to select the Category where the uploaded document takes
place.
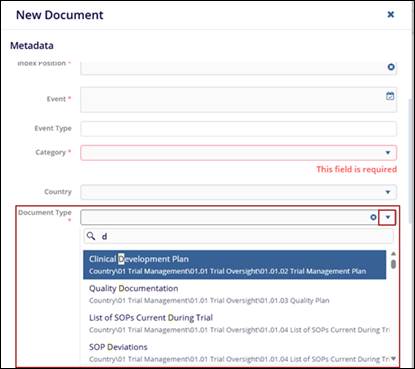
- Document Type: Where the document type should be specified.
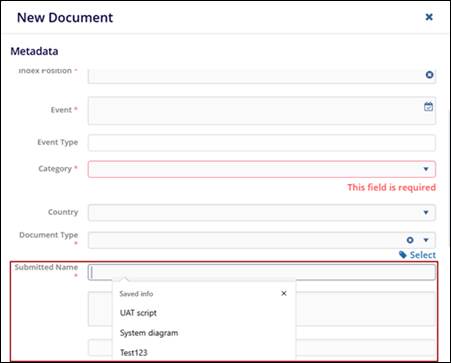
- Submitted Name: Need to provide the name of the user who submitted the
documents.
- Comments: Need to add any general document-related comments.
-
Expiration Dates: Need to provide the expiration date of the document.
Note: It is usually convenient to complete the Document Type first.
- Index Position: The Select Index Position window will open, where the
user needs to select the position of the document to be uploaded. Once
selected, click the Select button.
- Also, complete the discretionary metadata fields, review, and then click the Finish button.
 Linkedin
 X
X
