Workflows
There are 2 types of Workflows 1-step Workflow and 2-step Workflow.
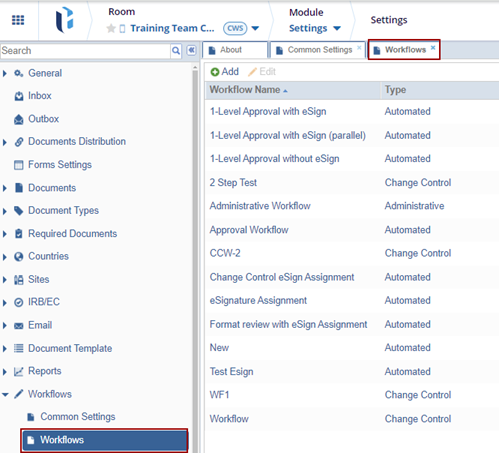
To create a Workflow, follow the procedure below:
- Click the Add button from the grid.
- The Workflow Editor window will open. Refer to the screenshot below:
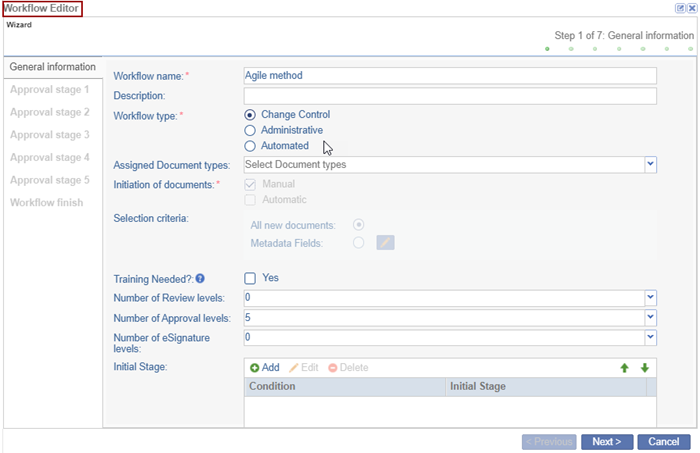
- The Workflow Editor window will open. Refer to the screenshot below:
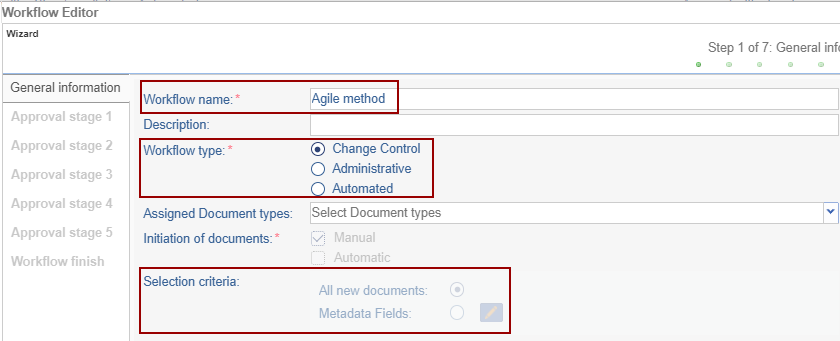
- Enter the ‘Workflow name’, ‘Workflow type’, and ‘Initiation of documents’.
- The Selection Criteria should be ‘All new documents’ or only those ‘Metadata fields’
that need to be reviewed.
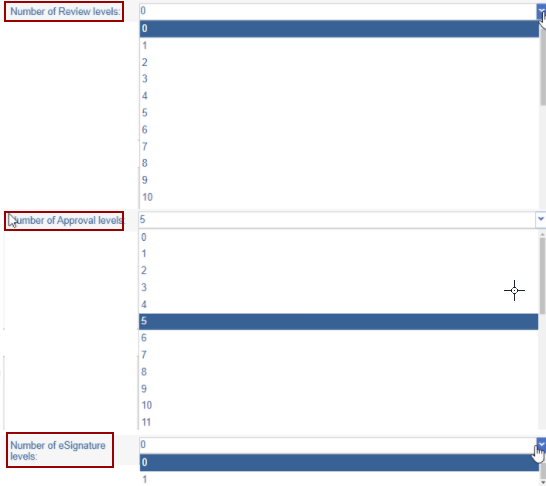
- The user can select the number of Review Levels, Approval Levels, and eSignature levels.
- Click Add on the Initial Stage option. The Initial Stage condition pop-up
window is displayed. The user may apply a condition to select documents for review
as per a particular condition.

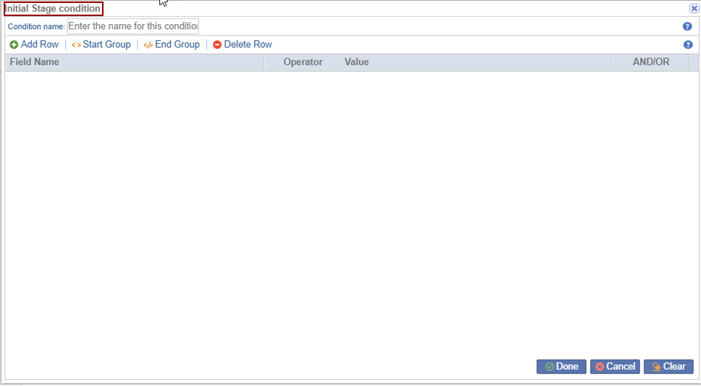
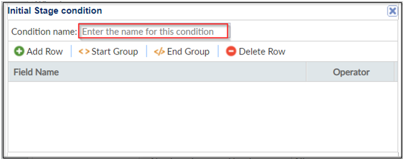
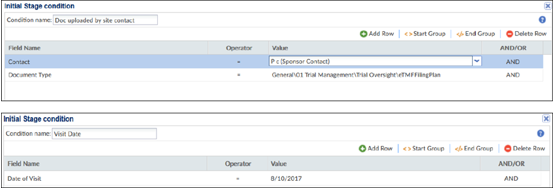
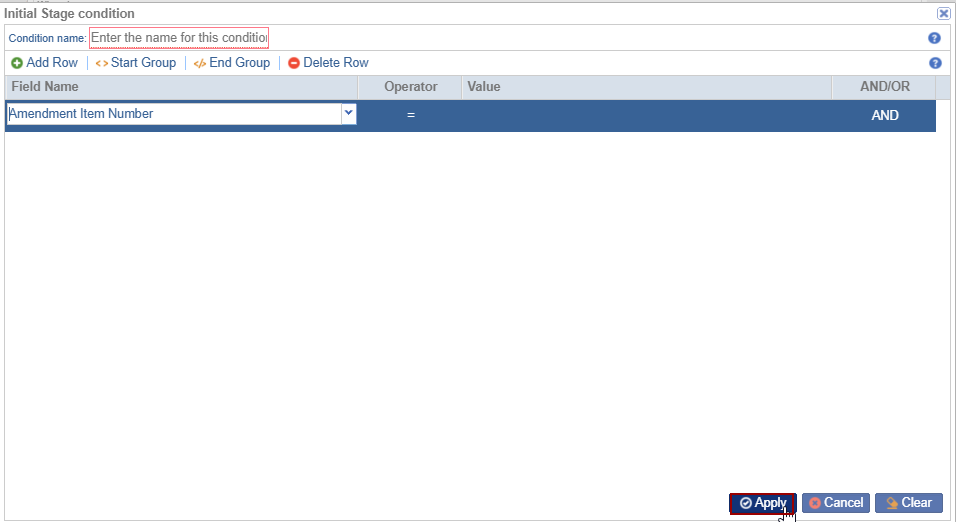
- Enter the Condition name in the blank field.
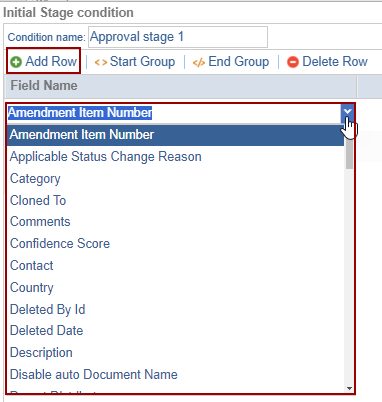
- The user may add multiple conditions by clicking the Add button the field
gets added below the Field Name.
- To decide their sequence filter documents with the green arrow keys. Use And / Or
operators if you want all / either of the conditions to execute.
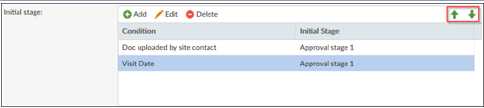
- As per the screenshot above, documents uploaded by the site contact on a particular
site visit date would be added to the workflow. The details of each condition are as below:
- Click Start Group to start the group by adding the category by clicking the
End Group the started group gets over.
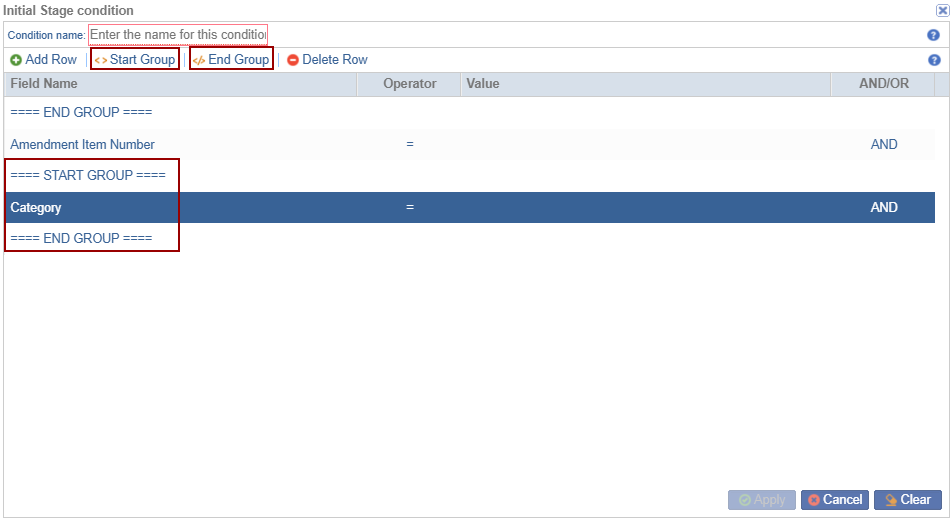
- Select the row and click Delete Row to delete the added row.
- Click Apply to apply the condition. Click the cross button at the top right
corner of the Initial Stage condition window to close it.
- Click Next. This leads you to the configuration wizard of the first stage of
the workflow. Refer to the screenshot below:
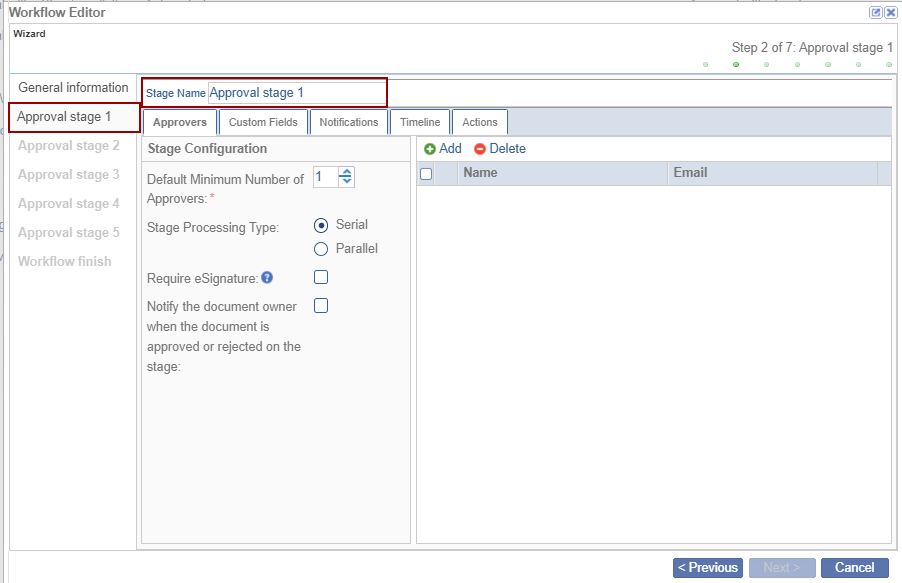
Approvers Tab:
- Change the Stage Name, if desired. Click the Approvers tab. Refer to the
screenshot above.
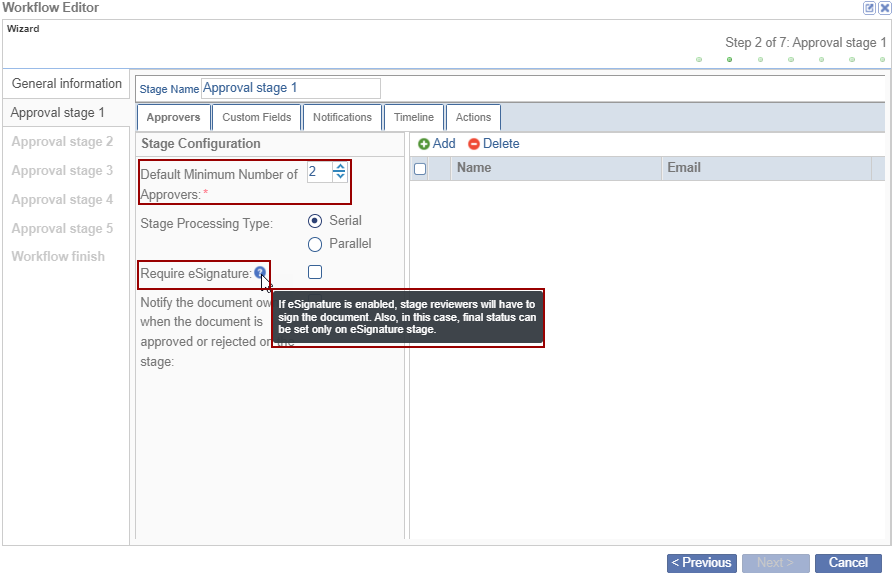
- As per the user’s requirement, the number of approves will be increased or decreased. The stage processing type will be in the Serial and Parallel.
- If the ‘Require eSignature’ check box is checked then the document will go for signature purposes.
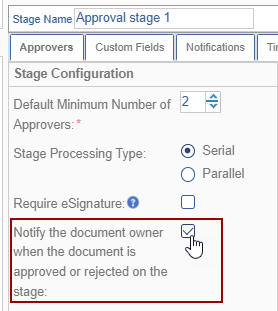
- If the user wants to notify the owner about the document status ‘Approved’ or
‘Rejected’ then the ‘Notify the document owner when the document is approved or
rejected on the stage’ checkbox should be checked.
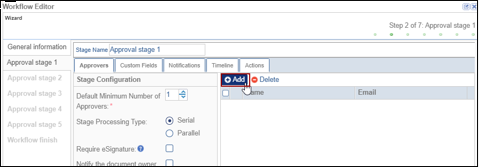
- This allows the user to add users/groups as reviewers of the documents for a
particular stage in the workflow.Note: It is recommended to add a Group to save configuration time.
- Select the user/group from the list. The selected user/group moves to the Approvers tab on the right side.
- Click Select.
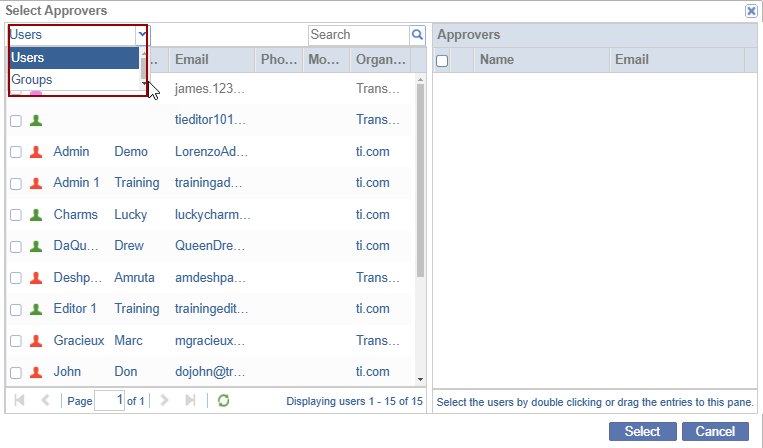
- Click the Delete button to delete the selected users/groups.

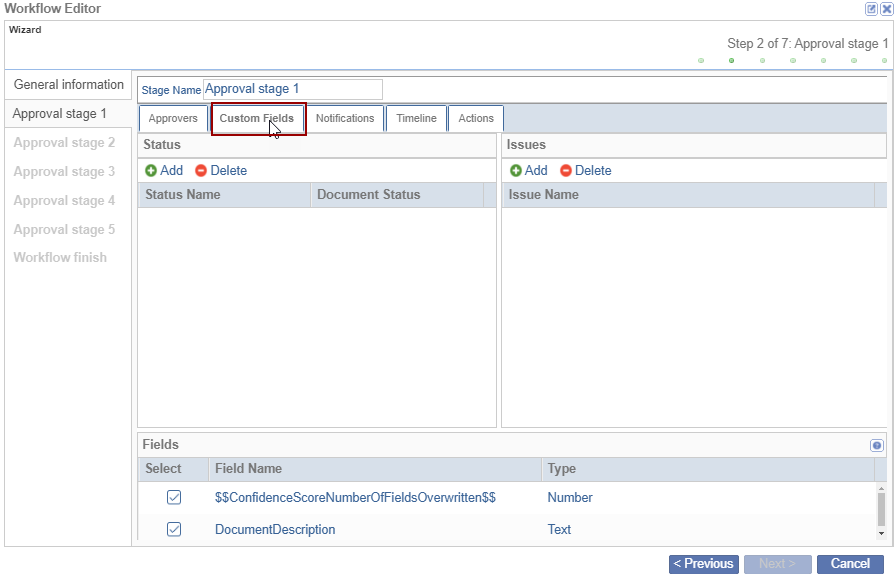
Custom Fields Tab:
Click the Custom Fields tab that displays the Status and Issues panels.
- Click Add below the ‘Status’ section. The empty field gets added below the
‘Status Name’ with the following status:
- Approved
- Ready for Signature
- Rejected
- Signed
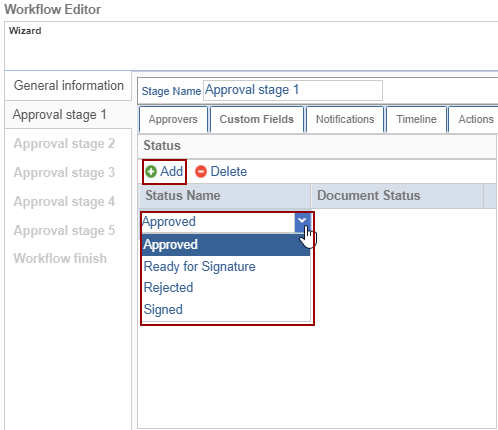
- Click the Delete button to delete the selected Status Name.
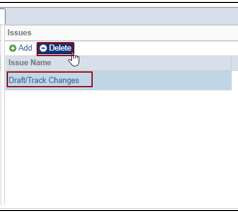
- Click Add below the ‘Issues’ section. The empty field gets added below the
‘Issue Name’ with the List of issues.
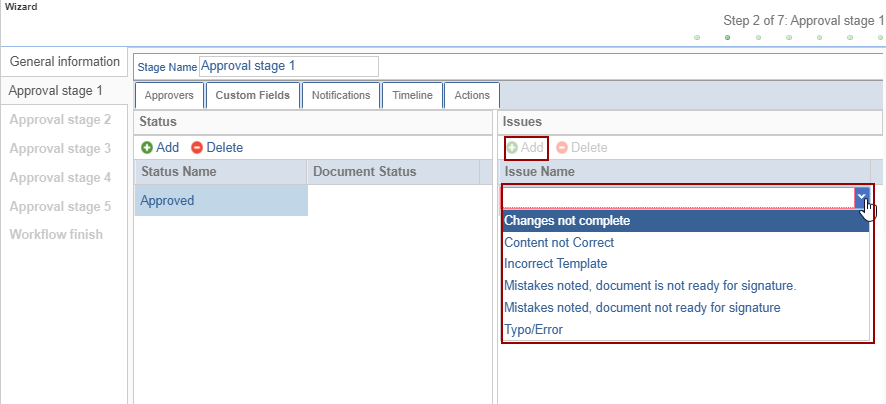
- Click the issues to assign the reasons in case the reviewer rejects a document/asks for clarification.
- To make metadata fields, as required, available for a workflow configuration, proceed to Forms Settings and select the Workflow Fields, as required.
- These fields will appear in the Fields panel at the bottom of the Custom Fields tab.
Tick the fields as required for the review. Refer to the screenshot below.

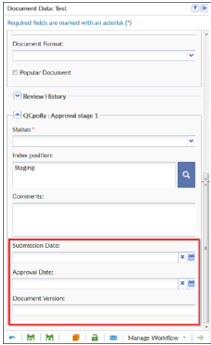
- These checked fields will appear in the Review panel of a document in the eTMF/ Documents module once a document is claimed for review.
- As shown in the screenshots, the Submission Date, Approval Date, and Document
Version fields checked in the workflow configuration appear in the Review Panel of
the document metadata window.
- Click the Delete button to delete the selected Issues Name.
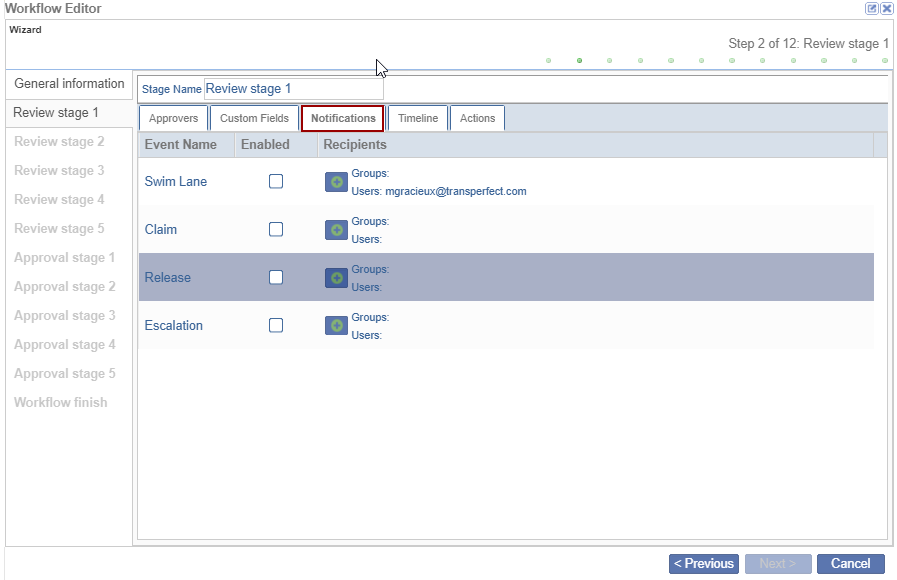
Notifications Tab:
- Click the Notifications tab.
- Here, the user can allow for email notifications to be enabled for the event names listed.
- For users who want to be notified only in case of Swim Lane, Claim, Release,
or Escalation, Users/Groups can be added accordingly.
- To add the Users/Groups to the specific Event Name
- Click the + (plus) icon available beside the event name.
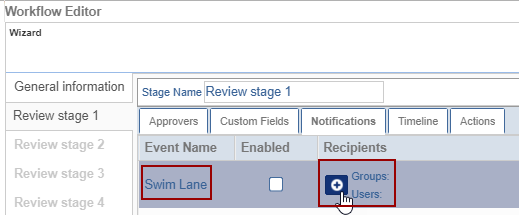
- The Select Recipients pop-up window is displayed with the list of Users/Groups.
-
Select the users/groups by double-clicking or dragging the entries to the right pane and clicking OK.
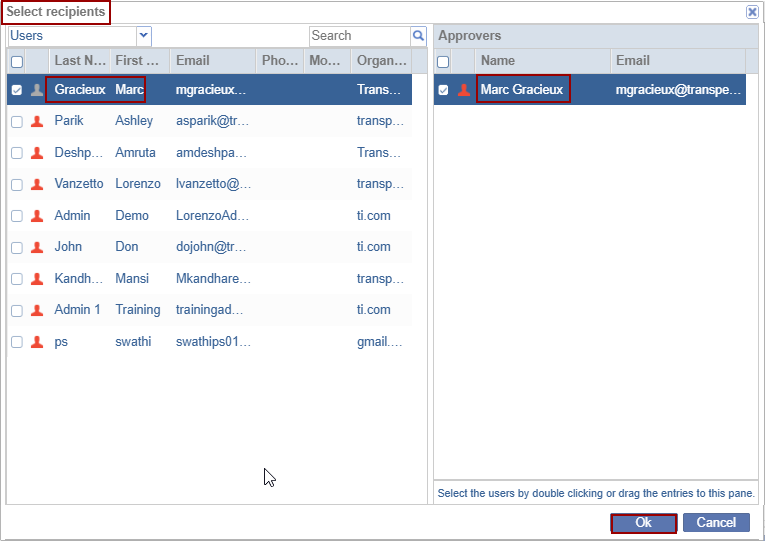
- The added users/groups are displayed on the ‘Workflow Editor’ pop-up window.

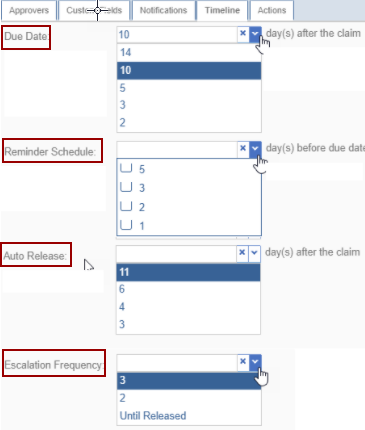
Timeline Tab:
- In case you have fed in values in Timeline Configuration, the values would be
populated by default in the Timeline tab. You may choose to override the previously
set configurations if desired.
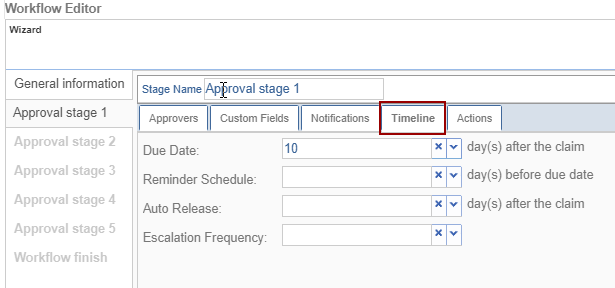
- The Due Date displays the days once the document is claimed.
- The Reminder Schedule displays the days before the due date comes.
- The Auto Release displays the days after claiming the document.
- The Escalation Frequency decides to escalate the document until the release.
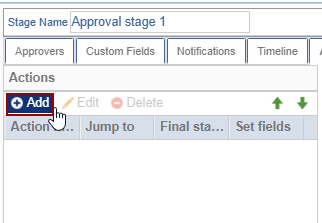
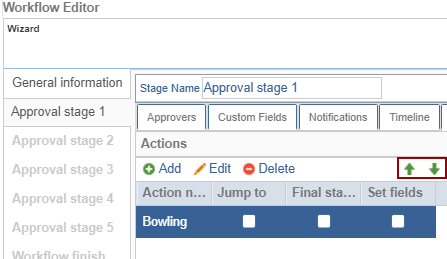
Actions Tab:
- Actions is an optional tab allowing for complex workflow building.
- It enables a workflow to have a jump. A specific document can jump to a certain stage.
- For example, a Form FDA 1572 after QC1 review, can jump to a stage 3 review, where Regulatory Affairs performs a 2nd review on the document.
- While efficient for complex workflows, it is not required for regular
workflow creation.
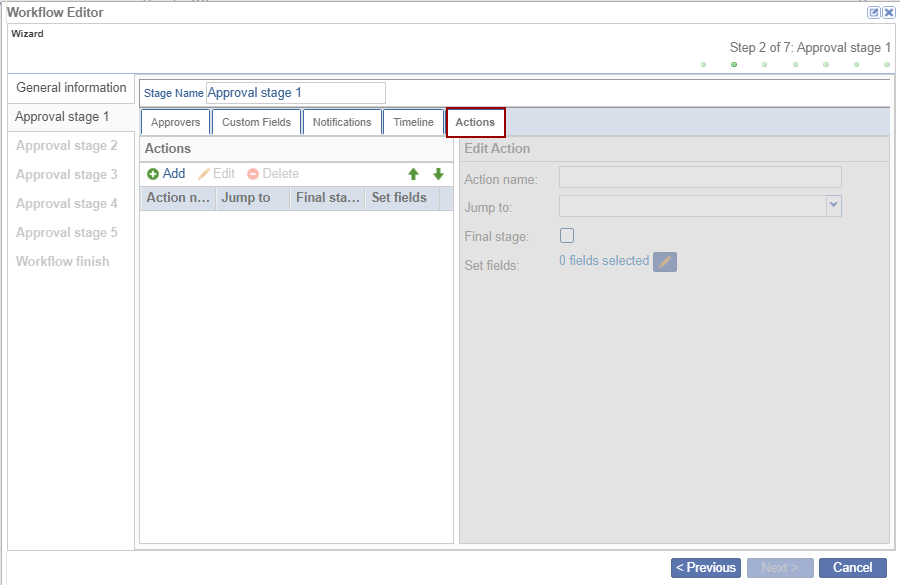
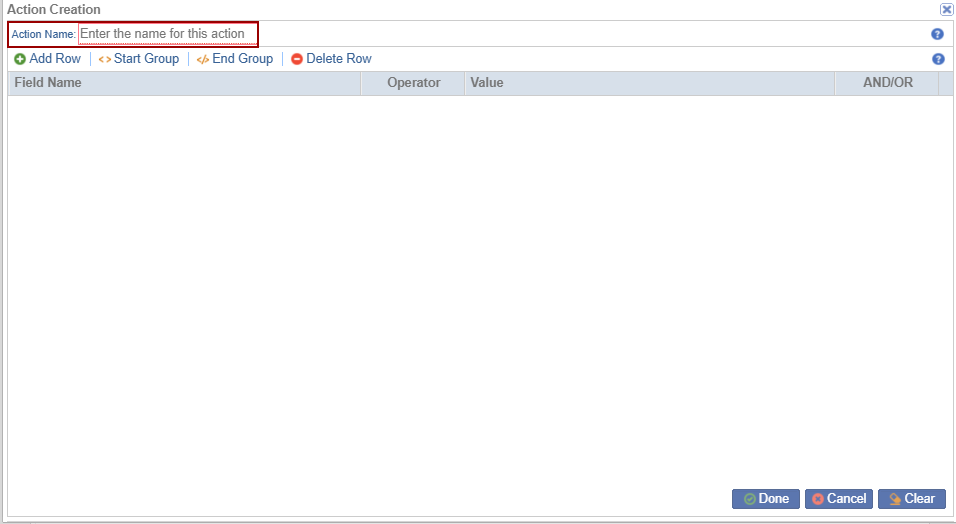
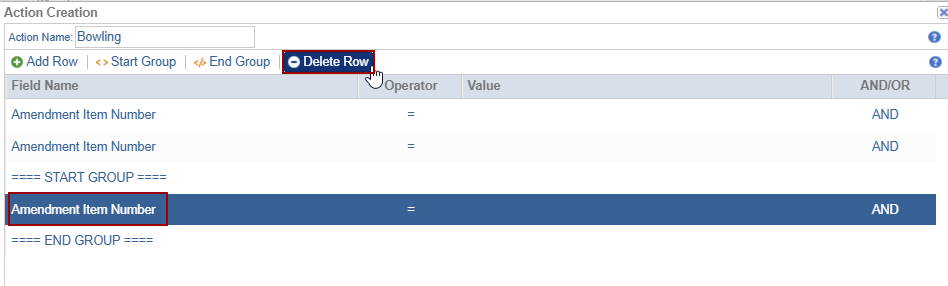
- Click Add in the ‘Actions’ panel, and the ‘Action Creation’ pop-up window is displayed.
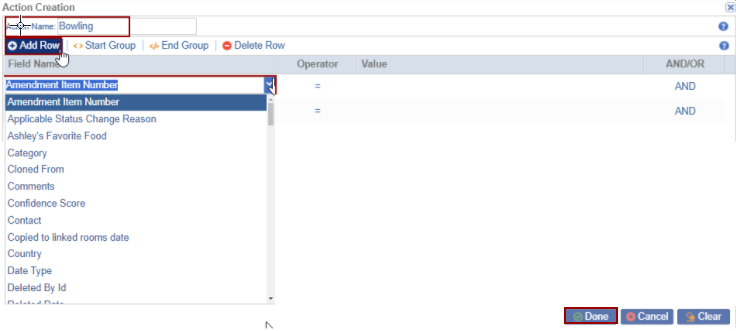
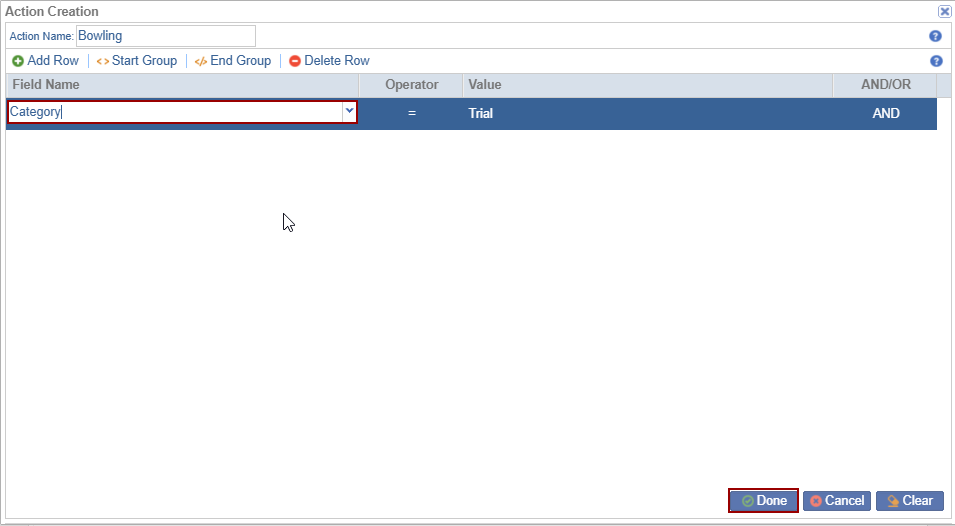
- Click Add Row, the row is added below the ‘Field Name’ with the drop-down
options, and click Done.
- Click Start Group to start the group by adding the category by clicking the End Group the started group gets over.
- Select the row and click the Delete button.
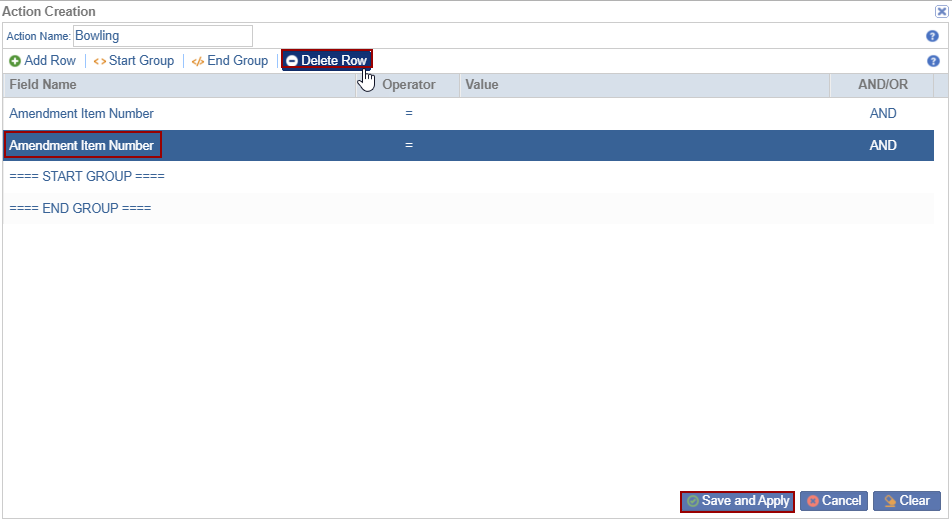
- Click the Save and Apply button.
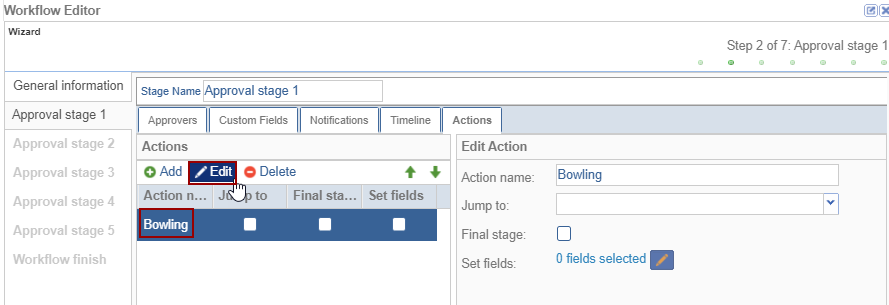
- Select the action and click the Edit button. The ‘Action Creation’ pop-up
window is displayed.
- Click Done once edited.
- Select the action and click Delete the selected action gets deleted.
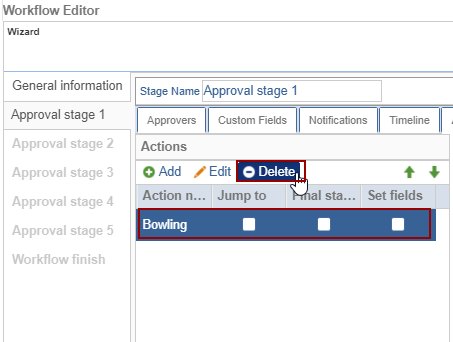
- The Move Up and Move Down arrows help the user to move the actions as
per the requirement.
- On the right side of the ‘Workflow Editor’ pop-up window within the Edit
Action panel, the user can see the following actions:
- Action name: the user adds the action name is displayed
- Jump to: the user can select the Approval Stages that are displayed in the drop-down list
- Final stage: if the checkbox is checked the user directly moves to the Final stage of the Workflow
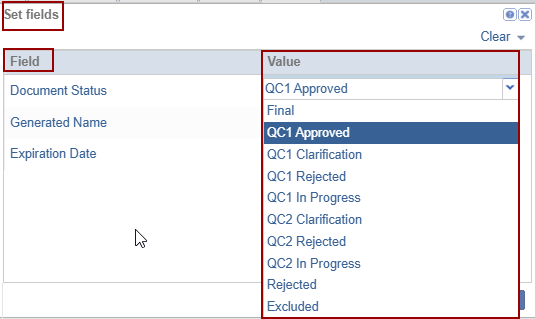
- Set fields with edit icon:
- Click the edit icon and the Set fields pop-up window is displayed with the 2 columns ‘Field’ and ‘Value.’
- The field column has 3 fields by default:
- Document Status
- Generated Name
- Expiration Date
- Double-click on the field in the Value
column. The drop-down options are displayed select
the appropriate value and click Save.
- Double-click on the field in the Value
column. The drop-down options are displayed select
the appropriate value and click Save.
- Click Next after reviewing all tabs.
- Repeat these steps for each approval stage.
- Settings, such as approvers, notifications, and timelines, may vary by stage.
- When finished, click Next.
- The Workflow Finish step is the final stage.
- Any workflow errors will be displayed here and must be resolved.
- If no errors are found, click Finish to complete the process.
Steps to be followed:
- Click the Edit button the ‘Workflow Editor’ pop-up window is displayed.

- Edit the required fields and click Next will proceed to the ‘Approval Stage
1’ information page.

- Edit the required fields and click Save As to save the workflow under a new name.
- Click Save as.


CAUTION: Editing of an existing workflow should be executed with caution because any saved changes require a new and revised workflow to be created.
As a result, only Super Administrators can edit an existing workflow.
- To request workflow changes, contact the TI Service Desk.Select a workflow from the
list you wish to delete and then click Delete from the top menu.

- The Delete pop-up window is displayed.

- If clicked Yes, the Information dialog is displayed.

Deleting an existing workflow will result in the removal of any related status from documents previously processed as a part of the deleted workflow.
 Linkedin
 X
X
