Email Templates
Explore Job Aids for more help:
Job Aids
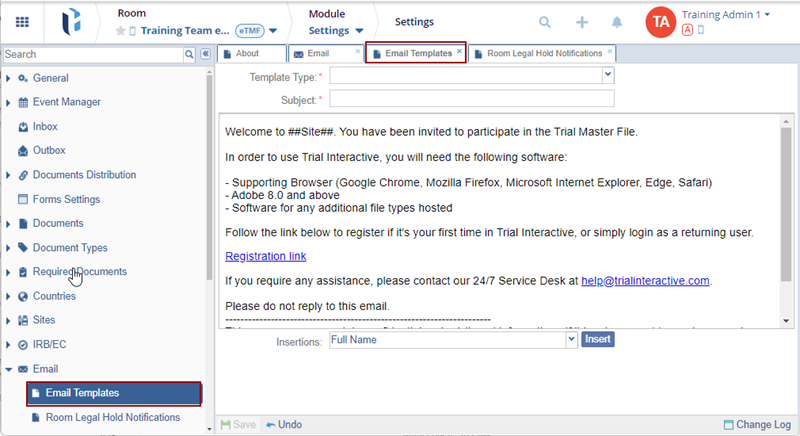
To configure the email templates, follow the steps below:
- Navigate to the Email Templates settings page.
- Click the Template Type dropdown and select a template from the dropdown
options.
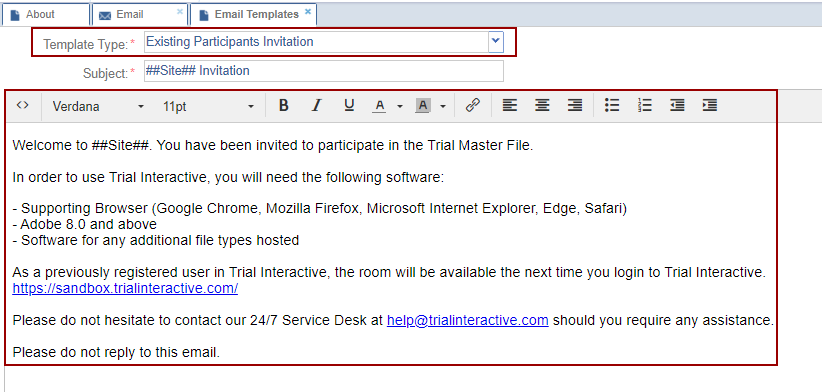
- By default, the subject line and email body content are populated in the ‘Subject’ field and the email message text box, respectively.
- Make the required changes to subject and email body content.
- Click Insertions dropdown, select an option and click Insert.
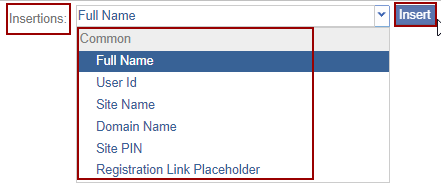
- Click Save.
 Linkedin
 X
X
