IRB/EC
The IRB/EC Settings allows administrators to configure the IRB/EC’s and enable or disable the IRB/EC statuses.
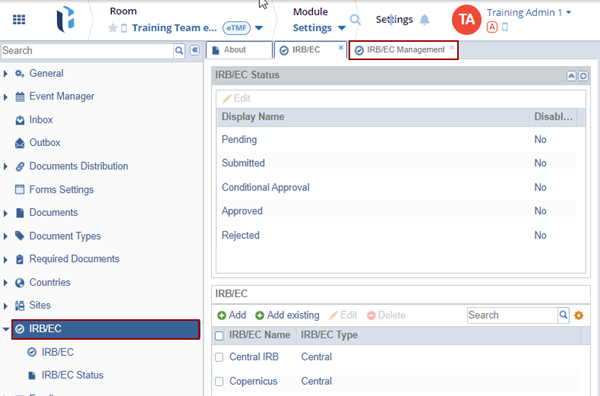
To access the IRB/EC settings, access the Settings module and select IRB/EC from the left-hand navigation pane which displays the following two options.
- IRB/EC Status
- IRB/EC Status
IRB/EC
On the IRB/EC Settings page, administrators can add new IRB/EC records, add existing IRB/ECs, as well as edit or delete IRB/EC entries.
Add New IRB/EC
To add a new entry, follow the steps below:
- On the IRB/EC settings page, click the +Add button.
- On the IRB/EC form, select the profile tab add the details into the respective field.

- Click on the Committee tab and click the +Add button.
- Double click on each of the following fields and add the required details.
- Committee Name
- Pre Submission
- Pre Meeting Date
- Meeting Date
- Dependency
- Approval Interval
- To delete a committee, select an entry and click Delete.
- Once the Profile and Committee tabs are configured, click OK.

Adding Existing IRB/EC
To add an existing IRB/EC, follow the steps below:
- Click the + Add Existing button.

- On the Select IRB/EC window, select one or multiple IRB/EC entries.
- Click OK.

Edit IRB/EC
To edit IRB/EC, follow the steps below:
- Select an existing IRB/EC and click the Edit button.

- The IRB/EC window opens with the existing information with the editable fields.
- On the IRB/EC window, make the changes to the Profile and Committee tabs
- Click OK.

Delete IRB/EC
To delete an IRB/EC, follow the steps below:
- Select an IRB/EC
- Click Delete from the top menu bar.

IRB/EC Status
On IRB/EC Status page, administrators can enable or disable the IRB/EC Statuses.
To enable or disable a status, follow the steps below:
- Select the Display Name in the IRB/EC Status and click the Edit button.
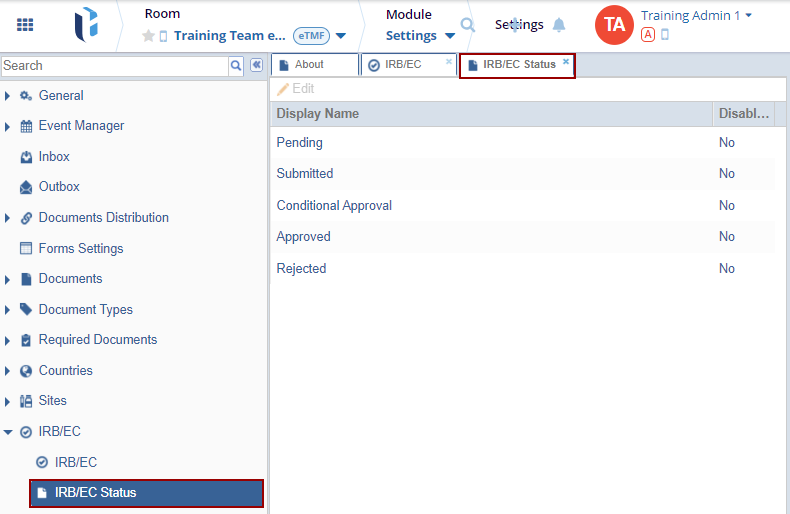
- Click the drop-down under the Disabled column and select either Yes or No for that status.

 Linkedin
 X
X
