Views
Save View
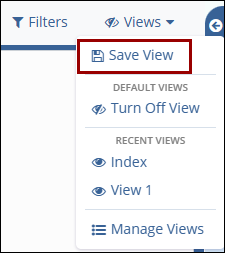
To Save the view using another method follow the steps below:
- On the Documents screen, click on the Views dropdown and select Save
View option.
- Make the necessary configurations within the Save View popup as mentioned above.
- Once the view is saved, it will be available in the list of all views. This list is accessible from the Views dropdown menu at the top-right of the Grid.
Share View
Once the view has been saved, it can be shared with any other room user. This is particularly useful when a new team member is brought on, as they may not be familiar enough with Trial Interactive to easily find the necessary information via the Grid.
To share the view, follow the steps below:
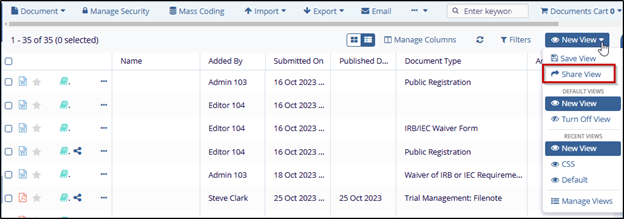
- Open the View menu at the top-right of the Grid and select the Share
View option. This opens the Share window.
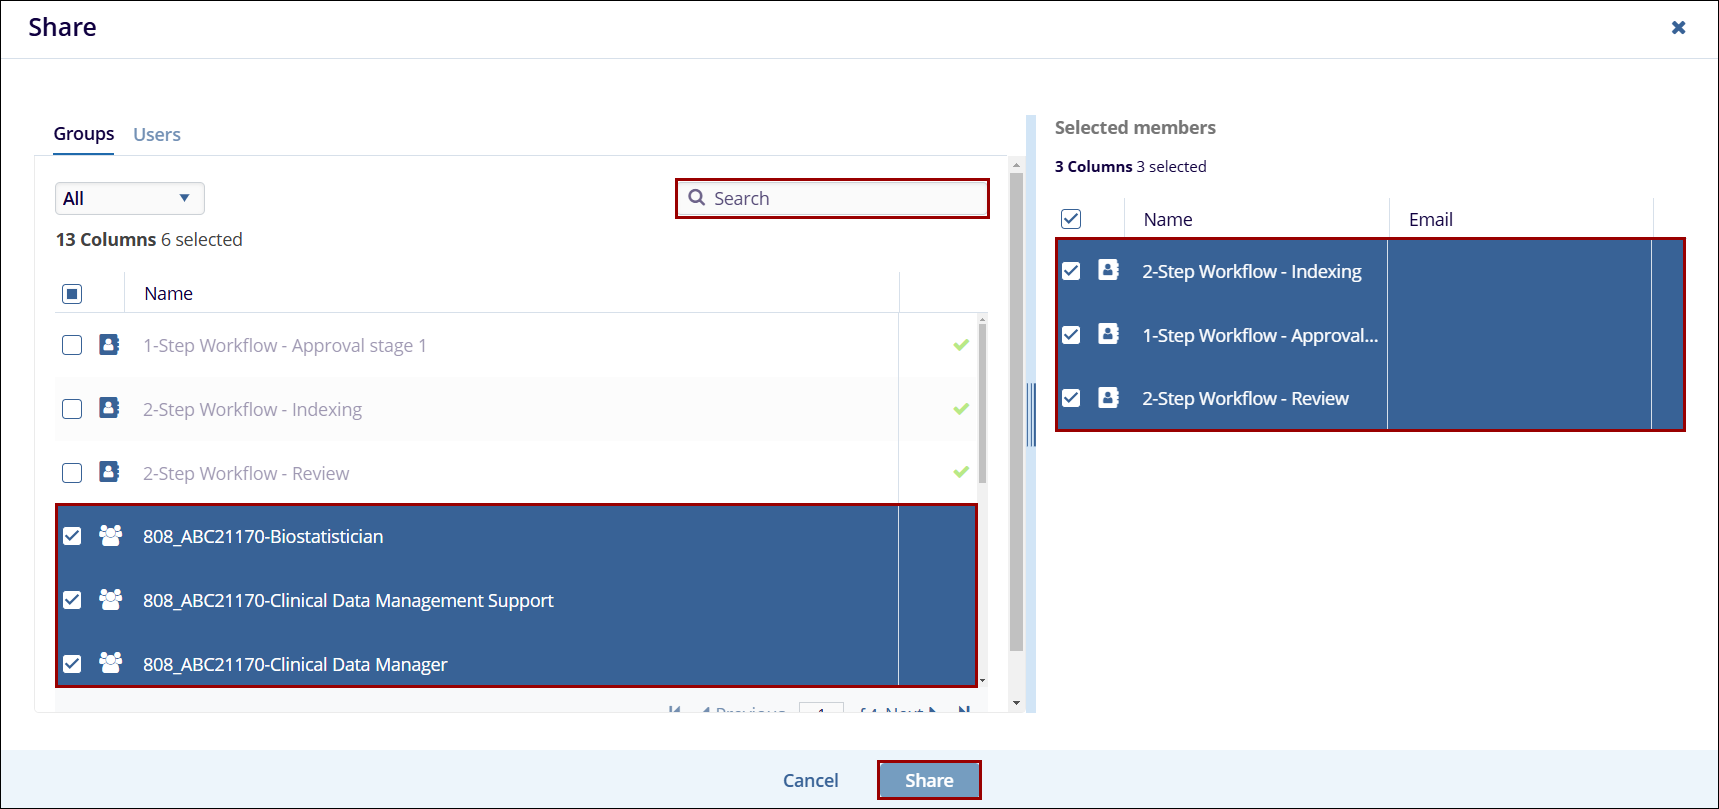
- Choose users or groups of users from the list at the left. Move these users to the right-hand panel by clicking and dragging or by hovering over the listing and using the + symbol at the right side of the line.
- Click on the Share button.
Manage Views
If the room has multiple views created in a room, and if they are visible to all users, it is possible to see all the views in a room.
To display all views, follow the steps below:
- Select the Manage Views option from the Views dropdown.
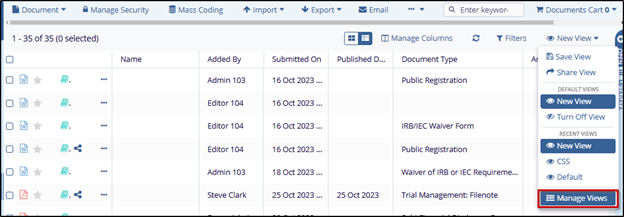
- The Views window opens which contains the following tabs:
- All: displays the list of all the views in a room.
- Created by me: displays the list of all views that are created by the user.
- Shared by me: displays the list of all the views that are shared by the user to the other users.
- Shared with me: displays the list of all the views that are shared with the user by the other users.
- Default Views: displays the list of all default views.
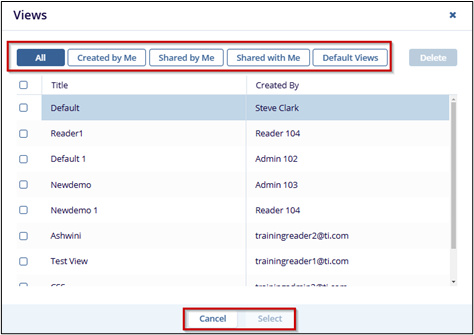
- To delete a view, select a view from the list and click the Delete button at the top right corner of the window.
 Linkedin
 X
X
