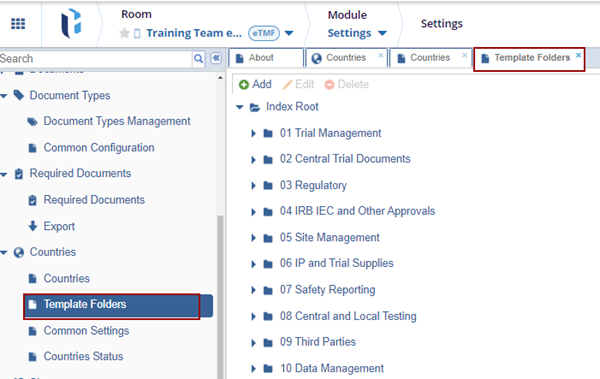
Countries Settings
On the Countries Settings page, administrators can add countries, associate applicable languages, and manage existing entries by editing or deleting them.
Add CountriesTo add countries, follow the steps below:
- Navigate to Countries page and click +Add from the top menu bar.

- On the Create Country window, click the Country dropdown and select a country
from the available list.

- If there is a country-specific Study Contact #, include the associated number in the field.
- Click Create. The name of the newly added country appears in the
alphabetized list.

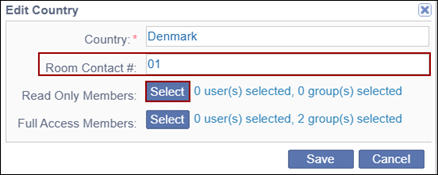
Edit Countries
To edit the country, follow the steps below:
- Select the country from the list and click Edit from the top menu bar.

-
On the Edit Country window, update the room contact.
-
Click Select next to the Read Only Members option.
- On the Read Only Members window, click on the dropdown at the top and select either Users or Groups.
- Drag and Drop the users or groups to the Selected Members section.
- Click OK.

- Click Select next to the ‘Full Access Members’ option.
- Repeat the same process to add the full access members
- Click Save on the ‘Edit County’ window.

Delete Countries
To delete countries, follow the steps below:
- Select the countries to delete.
- Click Delete from the top of the menu bar.
- Click Yes on the confirmation pop-up.

Note: Once documents are stored in the room’s index folders, countries
with associated documents cannot be deleted. However, the user can continue adding and
editing entries in the Countries list.
 Linkedin
 X
X
