Document Type Configuration
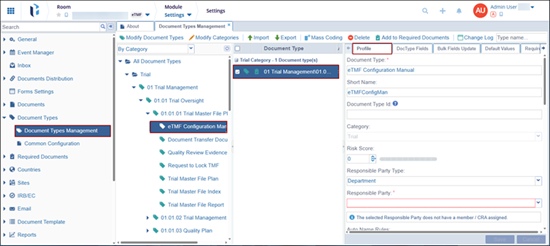
Administrators can select one or more documents to configure their profiles, manage the visibility and accessibility of metadata fields, perform bulk field updates, define default values, and configure TI Automate settings.
Document Type Profile
- Select a document type by expanding the category folders and associated sub-folders.
- Click on the Profile tab.
-
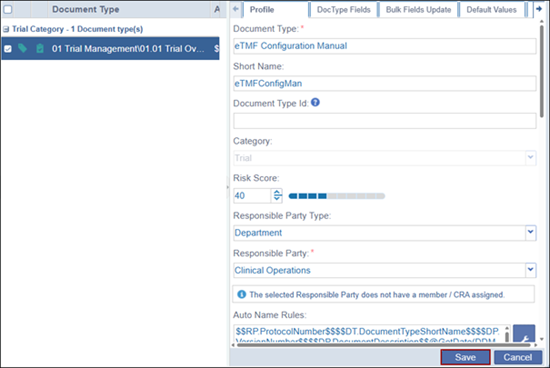
Within the profile tab, configure the following settings.
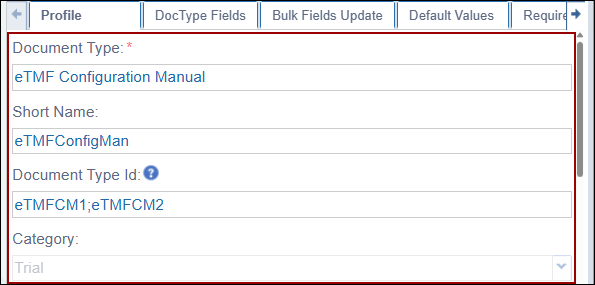
- Document Type*:The Document Type name is displayed by default, as it is defined during the document type creation process.
- Short Name: Enter the Short Name for the document type. This can be the same as the Document Type name created in previous steps or an abbreviated version if the original name is long.
- Document Type ID: This field is available only if IRB Integration is enabled in the room. Multiple values can be entered, separated by a semicolon, and must be unique within the document type category.
- Category: The Category field is grayed out and non-editable because
the selected document type is already associated with that specific
category.
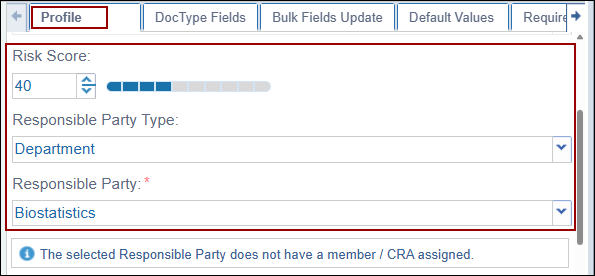
- Risk Score: The Risk Score option is visible if the risk score settings are configured from Documents > Risk Score setting section. Set a risk score in intervals of 10 by using the up and down arrows.
- Responsible Party Type: Select a responsible party type from the available dropdown options.
- Responsible Party*:Select a responsible party type from the
available dropdown options.
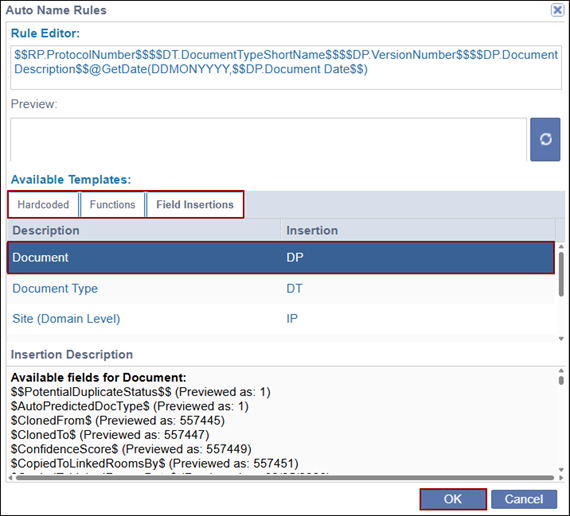
- Auto name rules: To configure the auto name rules, perform the
following:
- Click the wrench icon next to the Auto Name Rules
field.
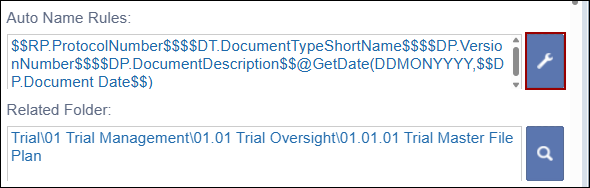
- On the Auto Name Rules window, select any one of the tabs
double click on a template to select and click OK.
- Click the wrench icon next to the Auto Name Rules
field.
- Related Folder: To specify the related folder, perform the
following:
- Click on the search (magnifying glass) icon.
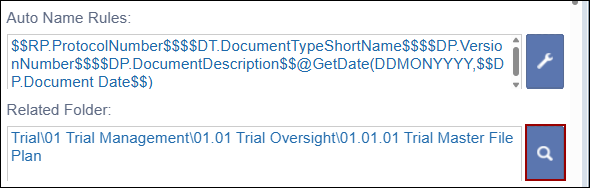
- Select a folder and click OK.
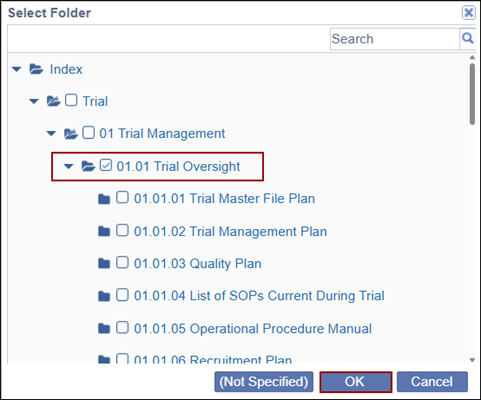
- Click on the search (magnifying glass) icon.
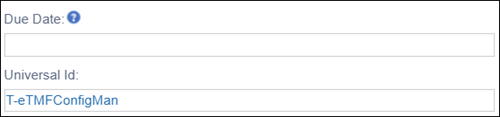
- Due Date: The due date will be calculated based on the submission date and the number of days.
- Universal ID: Specify a universal ID for the document type.
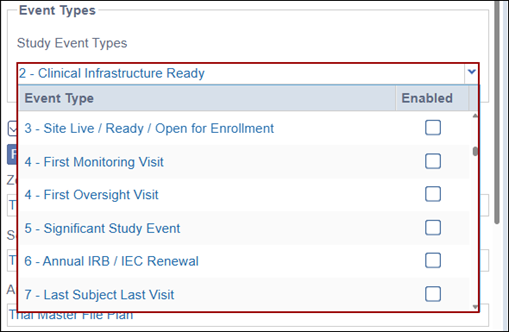
- Event Types: Click the dropdown and select one or multiple event
types.
- Include in Document Tracker Report: Select the checkbox to include
the document type in the document tracker report.
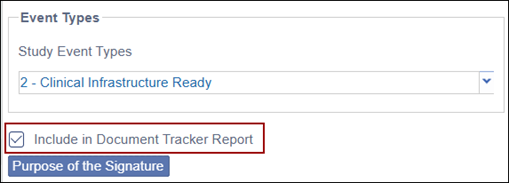
- Purpose of eSignature:
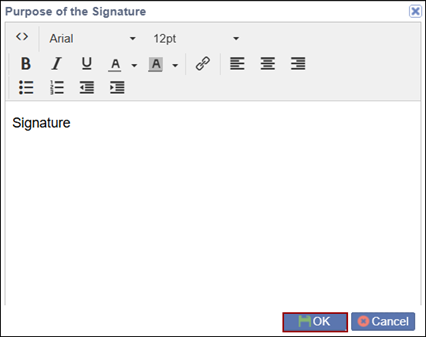
- Click on the Purpose of the Signature button.
- Enter some text and click OK.
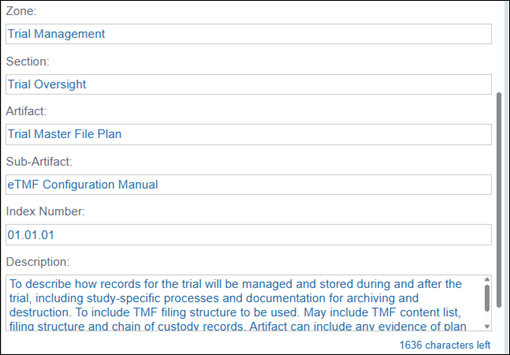
- Zone: Enter the appropriate zone name in the corresponding field.
- Section: Enter the relevant section name in the corresponding field.
- Artifact: Enter the artifact name in the corresponding field.
- Sub-Artifact: Enter the sub-artifact name in the corresponding field.
- Index Number: Enter the required index number in the corresponding field.
- Description: Provide a description for the document type in the text
box.
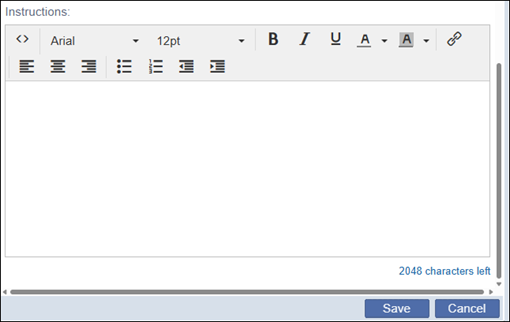
- Instructions: Provide instructions for the document type in the text
box.
-
Once the profile is configured, click ‘Save’.
Doc Type Fields
The Doc Type Fields section allows the user to control the visibility and requiredness of metadata fields that are associated with any given document type. The visibility and requiredness can be configured for a specific document type or they can be inherited from a folder level or a parent document type.
- Select a document type by expanding the category folders and associated sub-folders.
- Click on the Doc Type Fields tab.
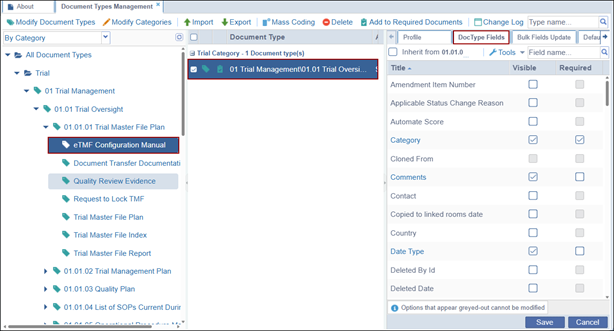
- Identify the fields that should appear in the document metadata panel when this
document type is selected, and select the checkboxes under the Visible column.
Note: If the field is marked as ‘Visible’ then it will be displayed in the metadata panel when the chosen document type is assigned to a file.
- Select the checkboxes under the Required column for fields marked as
visible.Note: If the field is marked as ‘Required’ (which can only be done for Visible fields) it will require a mandatory update while updating documents metadata.
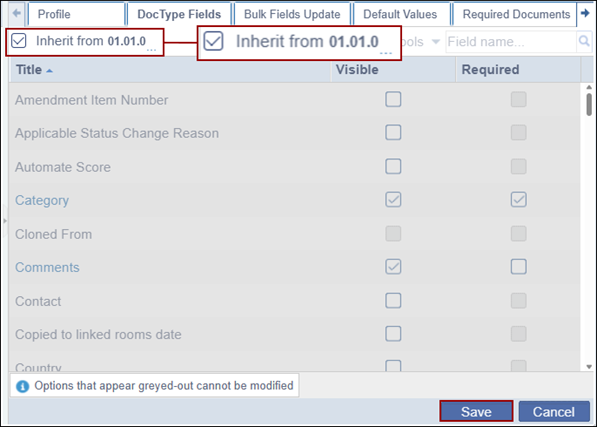
- To inherit the configurations from the parent folder, check the ‘Inherit’
checkbox at the top and click Save.
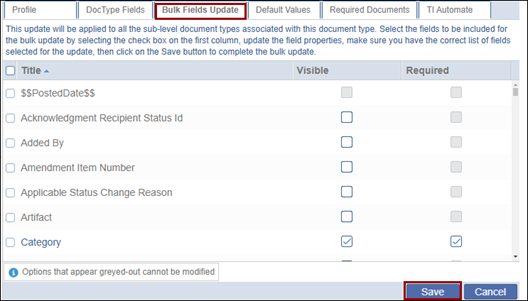
Bulk Fields Update
The Bulk Fields Update tab allows users to specify whether the field should be visible or required for all the sub-level document types associated with the parent document type.
- Select a document type by expanding the category folders and associated sub-folders.
- Navigate to the Bulk Fields Update tab.
- Select the appropriate Visible and Required checkboxes for the fields.
- Click Save to apply the changes.
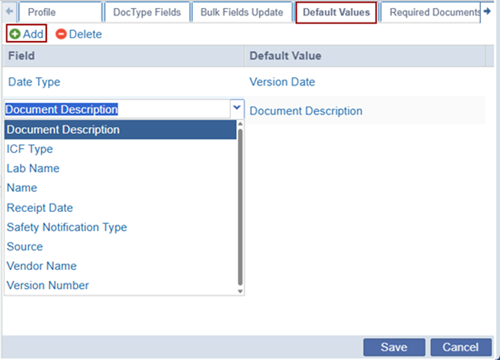
Default Values
By using the Default Values options while configuring a document type’s profile coding, users can define metadata field values that automatically populate based on the selected document type. A custom metadata field must first be created in Form Settings and included in the Coding configuration.
- Select a document type by expanding the category folders and associated sub-folders.
- Click the Default Values tab.
- Click the Add button.
- Click the dropdown arrow and select the necessary custom metadata field from the list.
- Set the field’s default value by typing the value in the textbox.
- Click on the Save button.
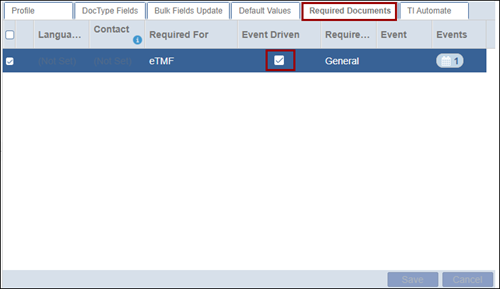
Required Documents
- Select a document type by expanding the category folders and associated sub-folders.
- Click the Default Values tab.
- Check the Event Driven checkbox.
- Click Save at the bottom.
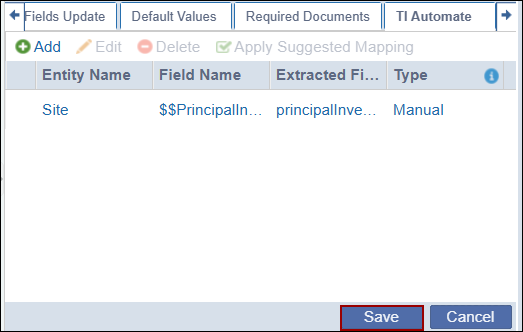
TI Automate
- Select a document type with a universal ID.
- Click the TI Automate tab.
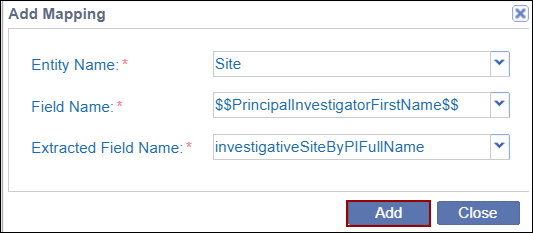
- Click +Add.
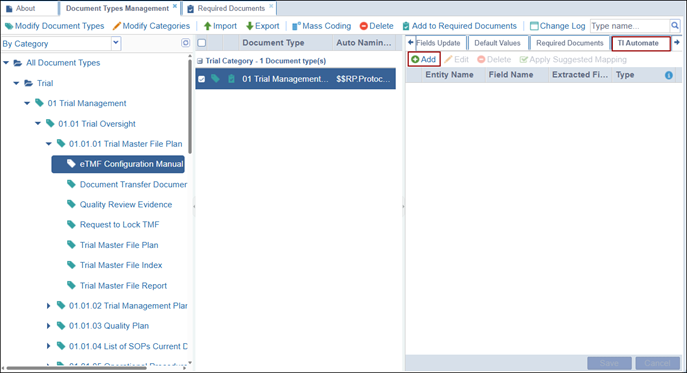
- On the Add Mapping pop-up window mandatorily specify Entity Name, Field Name,
and Extracted Field Name and click Add.
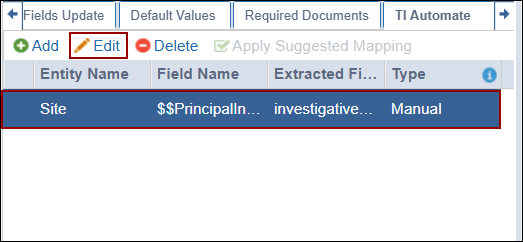
- To edit the mapping, select the initially added mapping and click
Edit.
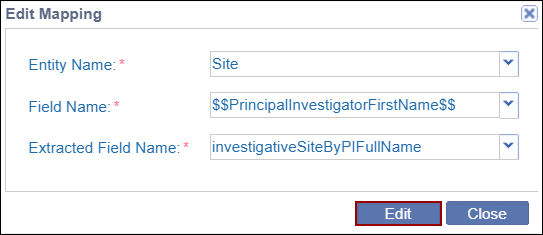
- On the Edit Mapping pop-up window make the required changes and click
Edit.
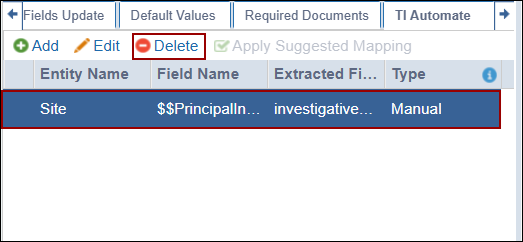
- To delete the mapping, select the initially added mapping and click
Delete.
- Click the Save button once the necessary configurations are
done.
 Linkedin
 X
X
