Document Types Management
Within the Document Types Management, users can perform the following:
- Modify Document Types
- Building the Document Type Profile
- Specifying the Related Folder
- Include Phases/Milestones
- Adding Document Types to Required Document
- Include in Document Tracker Report
- Auto Document Type Prediction Keyword(s)
- Modifying Document Types Fields
- Default Values
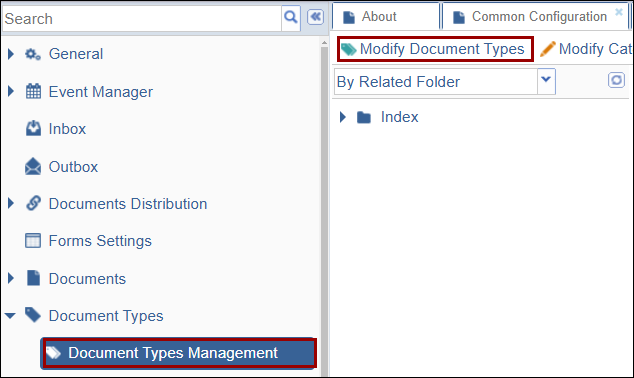
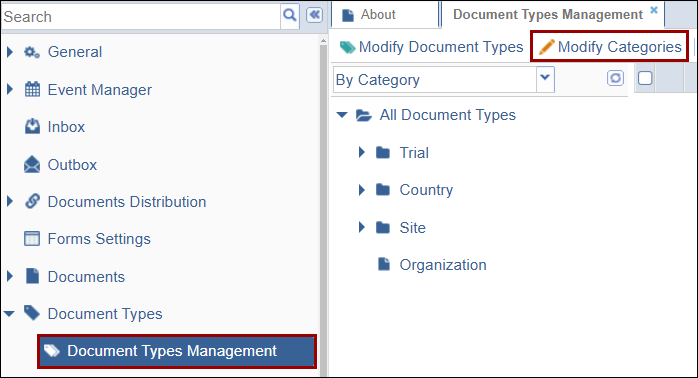
Modify Document Types
The Modify Document Types setting allows users to add, edit, or delete document types to the respective category folders.
Add Document Type
To add a new document type, follow the steps below:
- On the Document Types Management screen, click ‘Modify Document Types’ from the
top menu bar.
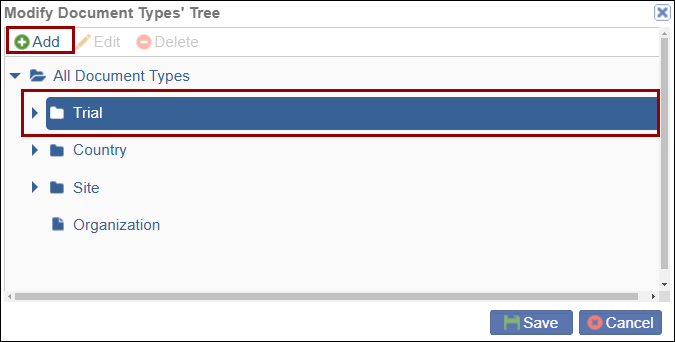
- On the Modify Document Types Tree window, select a folder and click on the
+Add button.
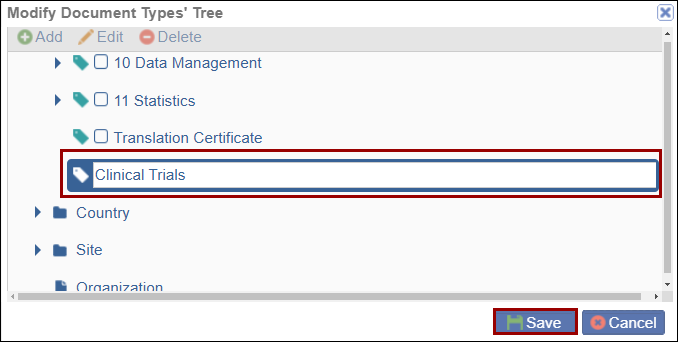
- Enter a name for the newly added document type and click on the Save button.
Edit Document Type
To edit the document type, follow the steps below:
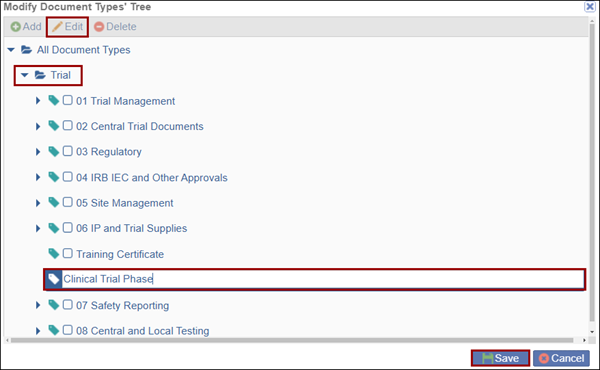
- On the Modify Document Types’ Tree window expand the category folder where the new document type was added.
- Select the Document Type and click on the Edit button.
- Edit the document type name and click on the Save button.
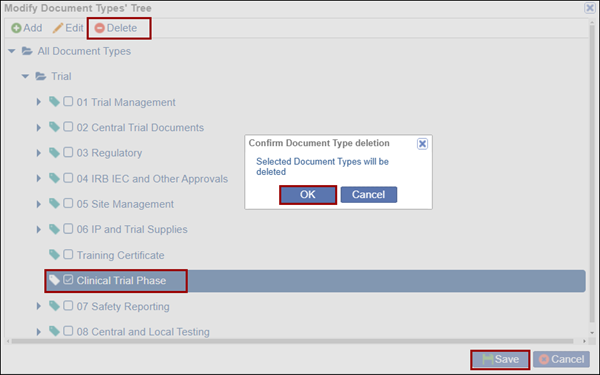
Delete Document Type
To delete the document type, follow the steps below:
- Select the document type by clicking on the checkbox.
- Click on the Delete button
- Click the OK button on the confirmation pop-up.
- Click on the Save button once the record is deleted.
Modify Categories
The Modify Categories tab allows users to configure the Categories the document types are associated with.
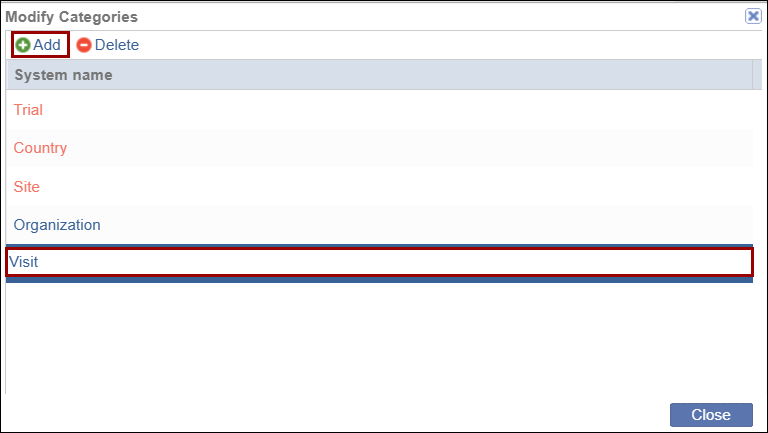
Add Category
To add a new category, follow the steps below.
- Click on the Modify Categories tab from the top menu bar.
- On the Modify Categories window, click on the +Add button and enter the
new category name.
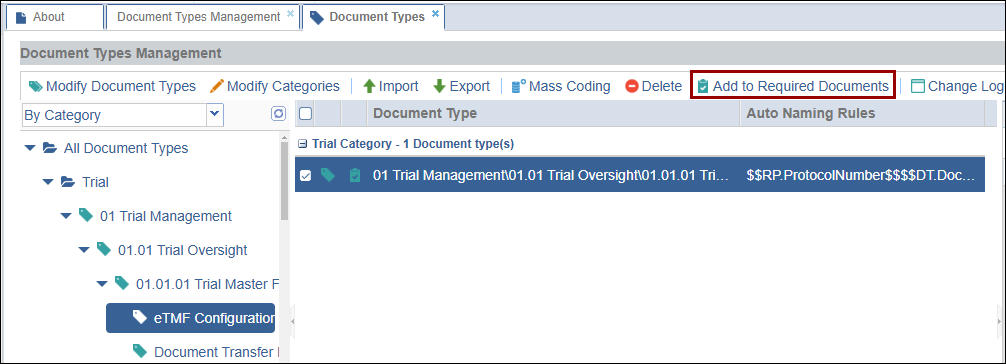
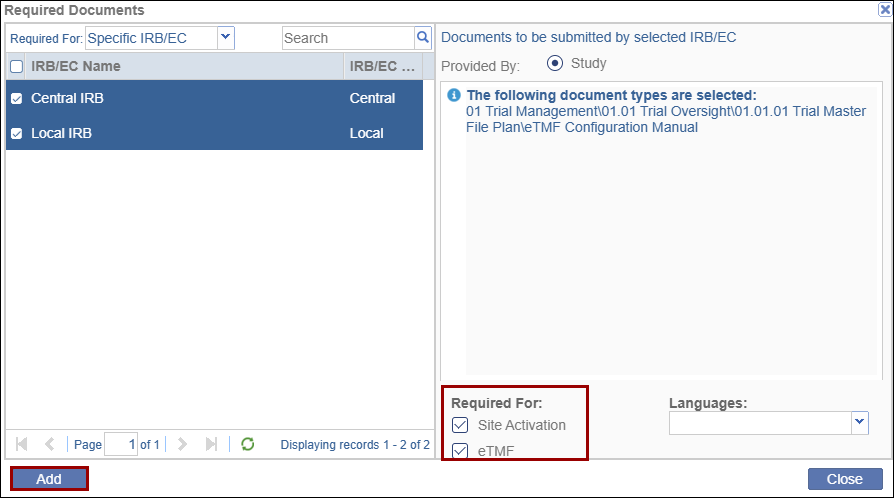
Add to Required Documents
To add documents as Required Documents, follow the steps below:
- Select a document type by expanding the category folders and associated sub-folders.
- Click on the Add to Required Documents button from the top menu bar.
- On the Required Documents window, select General or Specific IRB/EC options from
the Required For dropdown.

- If a Specific IRB/EC option is selected, specify whether Central or Local IRB.
- Mandatory to specify whether the document type is required for Site Activation or eTMF by clicking on the checkboxes.
- Click on the Add button once the necessary details are configured.
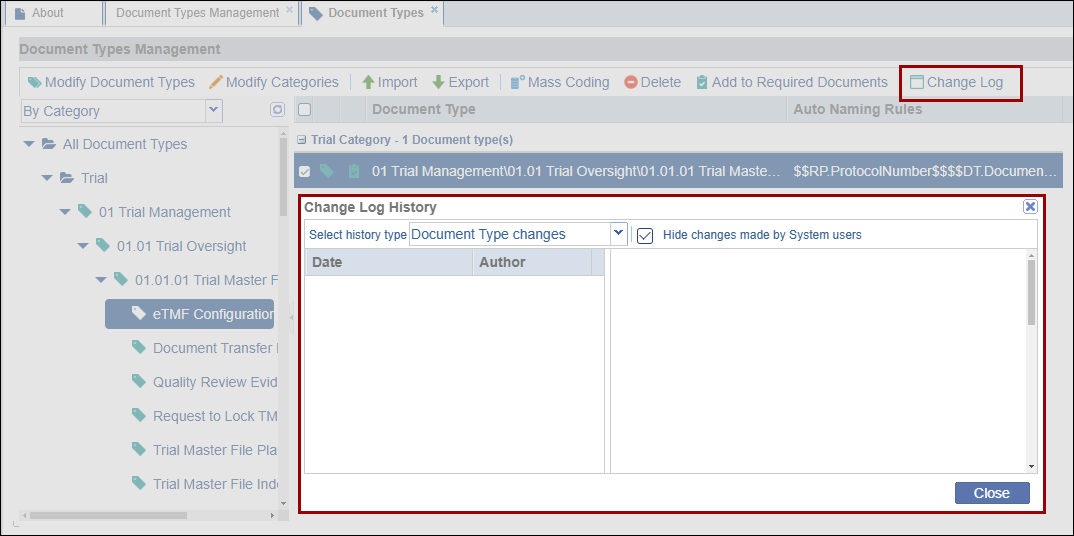
Change Log
To view the change log history, follow the steps below.
- Select a document type by expanding the category folders and associated sub-folders.
- Click on the Change Log button from the top menu bar.
- On the Change Log History window, view the changes made to the document type.
 Linkedin
 X
X
