Confidentiality Agreement
An Administrator can strengthen room security by enabling the Confidentiality Agreement. Once enabled, the agreement can be configured to appear either only during a user’s first visit to the room or every time the user logs in. Administrators can also exempt specific users or groups, such as those whose email addresses share a designated domain, from being required to acknowledge the agreement.
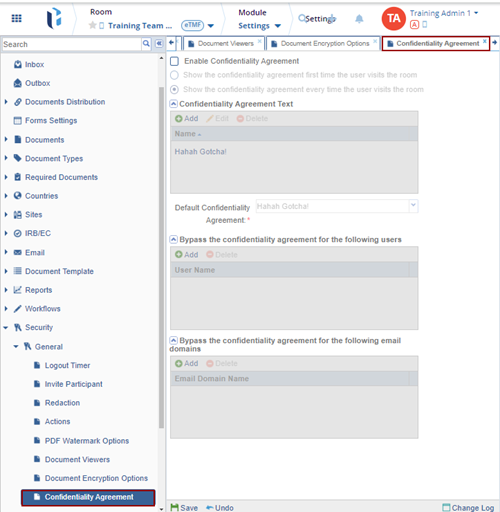
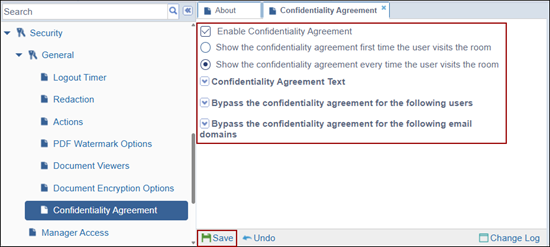
To access the Confidentiality Agreement settings, expand the Security > General settings dropdown and select the Confidentiality Agreement.
To configure the Confidentiality Agreement setttings, follow the steps below:
- Check the Enable Confidentially Agreement the checkbox to enable the feature within the room.
- Select any one option from the following by selecting its radio button
- Show the confidentiality agreement first time the user visits the room
- Show the confidentiality agreement every time the user visits the room
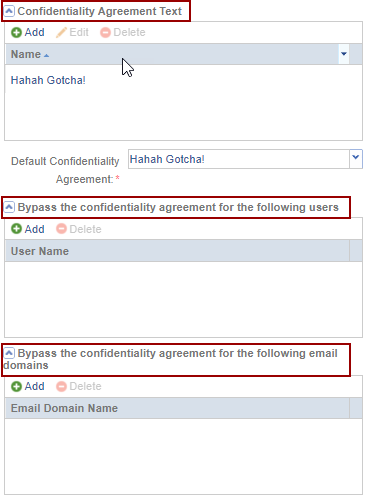
- To configure the Confidentiality Agreement Text, perform the following:
- Click +Add
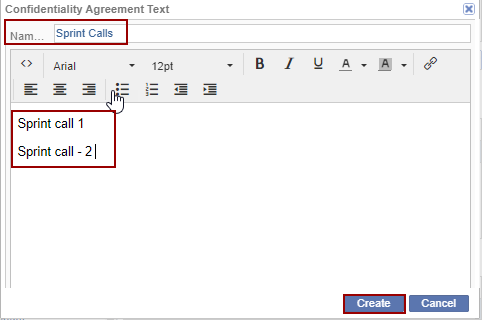
- Enter a name and the agreement text in the text box.
- Click Create.

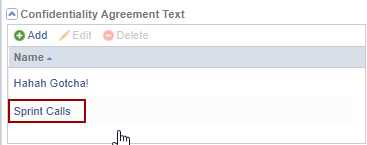
- Click the dropdown next to Default Confidentiality Agreement dropdown and
select any one of the agreement texts created.
- To edit the agreement text, select a text and click Edit.
- Make changes to the confidentiality agreement name and text, then click Save.

- Select an agreement text and click Delete.
- Click Yes on the confirmation pop-up.
- Click +Add
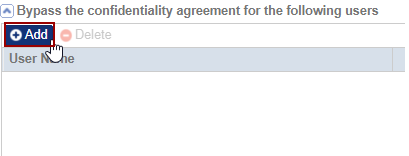
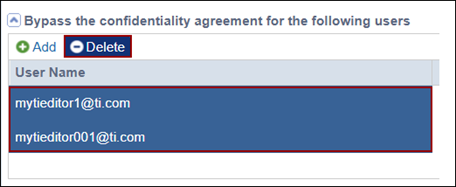
- To configure for which users the confidentiality agreement shall be bypassed,
perform the following:
- Click +Add
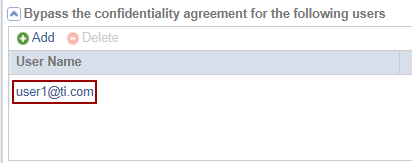
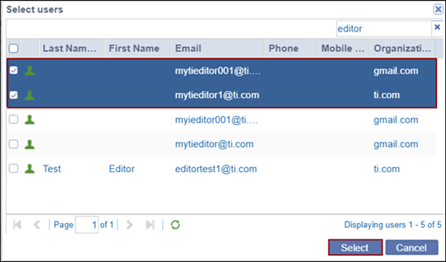
- On the Select users window, select the users can click Select at the bottom.
- To remove users, select the users from the list and click Delete
- Click +Add
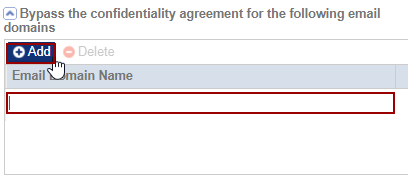
- To configure for which email domains the confidentiality agreement shall be
bypassed, perform the following:
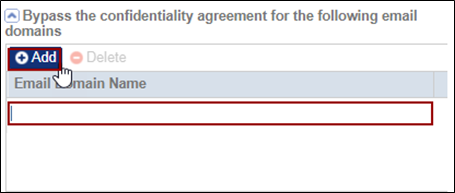
- Click +Add
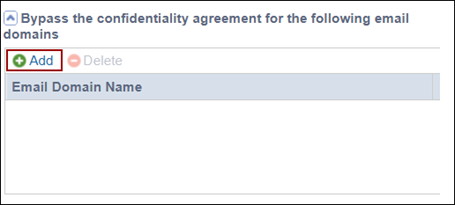
- Specify the email domain
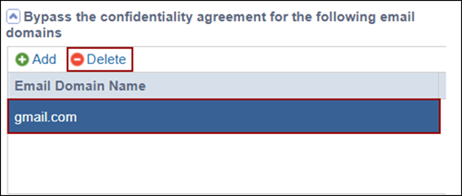
- To remove the domains from the list, select the domain name and click Delete.
- Click +Add
- Click Save once the settings are configured.
 Linkedin
 X
X
